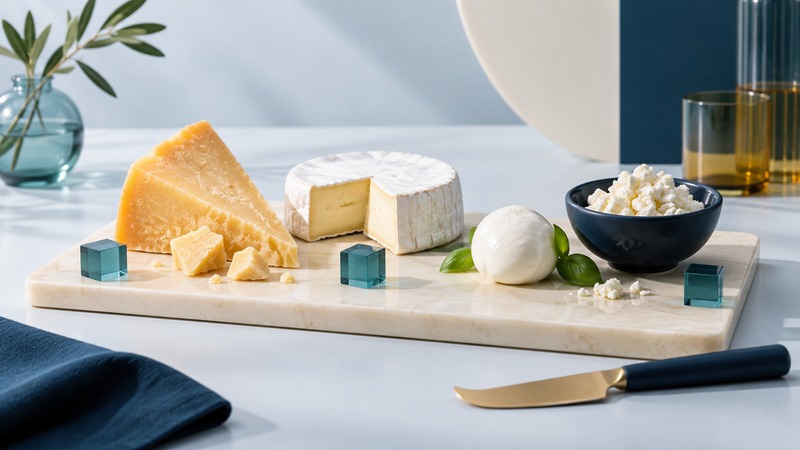
Choose cheese by what you want it to do: melt into dinner, crumble over a salad, grate as a finishing ingredient or stand on its own. Flavor, moisture and age all matter. A cheese you enjoy on crackers can behave very differently in a saucepan.
Start with the dish
Focus the table and use the arrow keys to scroll sideways.
| Job | Try | Check before buying |
|---|---|---|
| Smooth melted filling | Young cheddar or Monterey Jack | Age and flavor; buy a small amount for a first trial |
| Stretchy topping | Mozzarella | Fresh versus low-moisture; follow the recipe’s specified form |
| Crumbled accent | Feta or blue cheese | Saltiness; taste before salting the whole dish |
| Finishing shavings | A firm aged cheese | Buy a manageable wedge and grate only what you need |
These are culinary starting points, not interchangeable formulas. For a recipe naming a particular cheese, keep its moisture level and form when substituting. Compare price per usable weight, especially when a large rind or brine contributes to the package weight.
Melt gently and taste a small trial
Cabot’s melting guide recommends mild or sharp cheddar for a smoother melt than its more heavily aged cheddars. Shred the cheese, reduce the heat and add it gradually to the recipe’s warm sauce. Excess heat encourages a greasy, separated result.
For an unfamiliar cheese, cook one small toast first. Watch whether it softens, stretches, browns or releases oil. Use that result to choose the main dish. If a sauce begins to separate, take it off the heat; more boiling generally worsens the texture. Follow a sauce recipe with the appropriate liquid and thickener instead of expecting a block of cheese alone to become a stable sauce.
Cheeses for macaroni and cheese gives a more focused starting point for a baked pasta dish.
Store for the next use
Keep refrigerated cheese at 40°F (4°C) or below, using its package storage directions and date. Reseal opened portions and label them so the oldest usable piece is easy to find. FDA’s refrigerator guidance explains temperature control and why smell alone cannot establish safety.
Freezing is most useful when the next use involves cooking. U.S. Dairy’s freezing guidance notes that texture can become crumbly, particularly with aged cheese. Portion before freezing and thaw in the refrigerator.
For unexpected mold, USDA distinguishes hard blocks from soft or cut cheese: discard affected soft, shredded, crumbled or sliced cheese. On a hard block, cut at least one inch around and below the spot, keeping the knife clear of the mold, then rewrap. Mold intentionally used to make a cheese requires a different judgment; consult the producer when its normal appearance is unclear.
Plan a small board
Illustrative tasting: four people sampling three cheeses at 15 g of each per person need 4 × 3 × 15 = 180 g total. This is a tasting alongside other food; adjust for a cheese-centered meal. Slice part of each cheese and replenish from the refrigerator so you can keep unused portions cold.
Keep perishable cheese out for no more than two hours, or one hour above 90°F. Use a separate knife for each cheese to keep flavors distinct. Put crackers, fruit and nuts alongside rather than covering the cheese. Ask about milk and other food allergies before assembling the board; separate utensils alone cannot make an allergen-containing spread suitable for everyone.