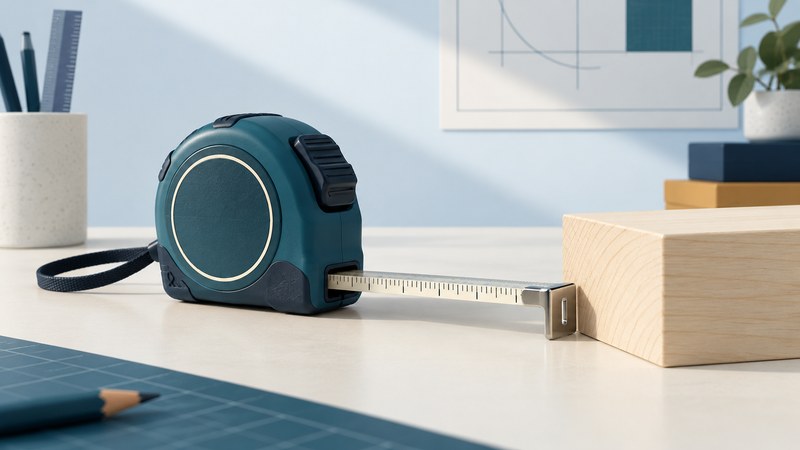
Read the scale in two steps
Start by identifying the units and the smallest divisions on your own tape. On an inch scale divided into sixteenths, read the last whole inch, then count the divisions beyond it. The sixth small division after 5 inches is 5 6/16 inches, which simplifies to 5 3/8 inches. Different tapes use different graduation patterns; inspect the interval between two numbered marks before counting.
| Scale | Reading process | Record this |
|---|---|---|
| Sixteenths of an inch | 5 whole inches plus 6 of 16 equal intervals | 5 3/8 in |
| Eighths of an inch | 8 whole inches plus 3 of 8 equal intervals | 8 3/8 in |
| Millimeters | 23 centimeters plus 7 millimeters | 237 mm, or 23.7 cm |
| Feet and inches | 2 whole feet plus 3 1/2 inches | 2 ft 3 1/2 in, or 27 1/2 in |
Write the unit with every reading. A note saying “23.7” leaves the next person to guess. Avoid switching between feet, decimal inches and fractions partway through a cut list. If a dimension falls between graduations, record the uncertainty instead of inventing a precise extra digit.
Understand the sliding end hook
Stanley explains the moving hook as compensation for the hook’s own thickness. Pulling the hook against an outside edge and pressing it against an inside surface use opposite ends of that travel. Normal lengthwise movement is intentional; it is not a reason to hammer the rivets tight.
Inspect for a bent hook, loose or missing rivets, kinks and unreadable marks. Lay the blade straight along the dimension, with the hook square against the starting surface. A diagonal path measures a different distance. Support a long span so sag does not undermine the reading, and view the endpoint directly rather than from a steep angle.
Choose an inside-measurement method
For an opening, define the exact surfaces you need to measure. Trim, plaster irregularities and out-of-square corners can make the width differ at the top, middle and bottom. Label those positions in your notes; follow the fitting supplier’s instructions for which measurement controls the order.
If the tape maker provides a case-length method, press the back of the case against one side, read the exposed blade and add the stated case dimension. Use only the dimension marked or documented for that model. Bending the blade into the corner makes the endpoint hard to read. A suitable inside-measuring tool or a laser measure with the correct reference setting may be easier for a room.
Transfer the reading without losing the reference
- Choose one sound reference end or edge and identify it on the workpiece. Measure the required dimensions from that reference rather than chaining several short measurements.
- Keep the blade straight and make a fine mark at the required graduation. Identify which side of the mark is waste before cutting.
- Use a suitable square to extend the mark where needed. Verify the dimension again from the original reference, not from another fresh mark.
- Before cutting several parts, make and check one sample. Account for the cutting tool’s kerf and the specified finished size in the cutting setup.
For repeated identical parts, a properly designed stop or template can avoid repeatedly interpreting the scale. Establish its position from a verified first part and follow the cutting tool’s safe stop arrangement. See the miter-saw setup guide before using a saw for repeated lengths.
Keep useful notes and recognize special marks
Record the object, reference surfaces, units, readings and required fit. Keep an unrounded measurement separate from any allowance specified by a supplier. For example, “opening at top: 812 mm” and “order allowance: confirm with supplier” are more useful than an unexplained reduced width.
Stanley’s black-diamond explanation identifies a 19.2-inch layout interval on its tapes. Such special marks are layout aids, not the graduations to use for every job. Follow the actual drawing or framing specification rather than assuming a colored symbol sets the required spacing.
Wipe the blade clean and control its return according to the tape’s instructions. Replace a damaged tape before the next layout session. Keep one checked tape as the common reference for a group of mating parts, and resolve disagreements between measuring tools before cutting.
Choose your next guide
- Tape Rules — Compare tape blades, markings, hooks and working reach.
- Pocket Tape Measures — Choose a compact tape and record a practical fit check.
- Digital Tape Measures — Compare digital readouts and verify the measurement reference.
- Laser Distance Measures — Plan distance measurements, targets and reference settings.
Browse measuring and layout or explore all 47 tool guides.