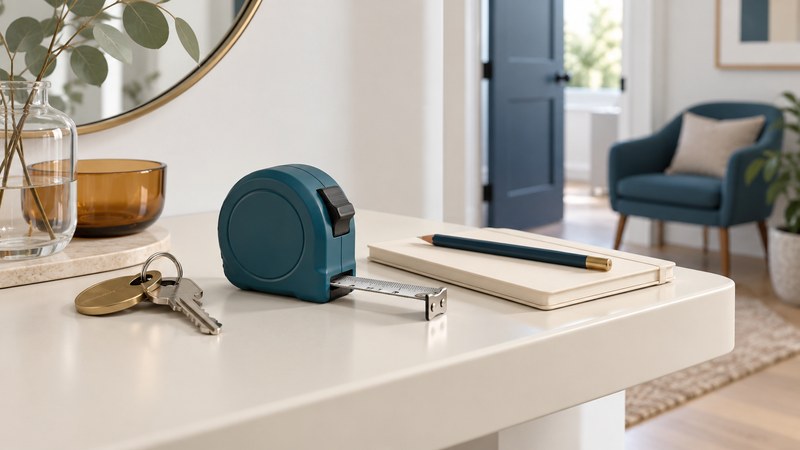
Choose a tape you will carry and read comfortably
A pocket tape is useful for checking a shelf, small piece of furniture or store display when you have the dimensions of the space with you. Choose enough blade length for those tasks, a case that fits your pocket or bag and a scale you can read without guessing. Add a small notebook or phone note with a simple sketch.
The Stanley 33-115 pocket tape illustrates a slim format: its listing specifies a ten-foot tape with a quarter-inch-wide blade and a separate diameter scale on the reverse. Read the correct scale for the task. Diameter markings serve a different purpose from ordinary linear measurements; check the tool instructions before using them.
Test the grip, lock and hook access on a small object. A very compact case may be convenient while a narrow scale is harder for you to read. Carry a larger tape when the planned span or unsupported reach demands it, and use a suitable rigid rule for a small dimension that is awkward to reach with a hook.
Measure the space before going shopping
Sketch the intended position and label width, height and depth. Mark the endpoints rather than saving three unexplained numbers. Include baseboards, trim, sockets, handles, doors and other projections that reduce usable space. Where the opening varies, measure the relevant locations and record the limiting dimension.
| Record | Example of what it means | Why keep it |
|---|---|---|
| Usable width | Between the two actual obstructions at the item’s height | The wall-to-wall width may be larger |
| Height and depth | From the supporting surface; to the usable front limit | Trim, slopes or projecting feet may matter |
| Operating space | Room for doors, drawers, cables or required ventilation | An item must work after it is placed |
| Access route | Clear doorway opening, turns, stairs and lift restrictions | The item or package must reach the space |
| Product form | Assembled dimensions, packaging, removable components | Delivery and final use may involve different sizes |
For appliances or equipment with required clearances, obtain the manufacturer’s installation instructions. A pocket-tape note is a record of the available space; it does not establish a permitted installation.
Take a reading you can identify later
- Choose the scale and units before starting. Place the tape along the dimension being measured and keep it supported where possible.
- Confirm both endpoints. Avoid bending the tape into a corner and estimating the curve; use the appropriate inside-measurement method described for the tool.
- Read squarely at the endpoint, then repeat after repositioning. Investigate a difference before saving a preferred number.
- Record the dimension with units, endpoint labels and date. Add a photograph or sketch that shows the obstruction or orientation.
Keep precision consistent with the task and the scale you can reliably read. If a fit is close, repeat with a better-supported setup or get a more suitable measuring tool. See the tape-measure guide for sliding hooks, inside measurements and transferring a reading. Keep control of the blade as it retracts.
Separate clearance arithmetic from a delivery decision
Then check the access route. A cabinet’s width alone cannot prove it will turn through a hallway or climb a stair. Compare the supplier’s delivery requirements and packaged or assembled dimensions with the route, including door openings and corners. For a tight or heavy delivery, ask the supplier to assess the route with your measurements and photographs.
Record which components the manufacturer permits to be removed for delivery or assembly. Avoid assuming that legs, doors or handles detach just because they look separate.
Save a reusable dimension card
Keep one record per location or item. Use this plain-text fit-check record as a copyable note. Fill in units and endpoints first; distinguish measurements you took from dimensions supplied by a seller. Mark unverified fields so a shopping decision does not silently depend on a guess.
Before buying, compare the specific product’s outside and operating dimensions against the limiting measurements, then check the route. After placing the item, retain the record if it will help with a future replacement. The tape and the note work best as a pair.
Choose your next guide
- Tape Rules — Compare tape blades, markings, hooks and working reach.
- Tape Measures — Check reference points, reading technique and measurement errors.
- Laser Distance Measures — Plan distance measurements, targets and reference settings.
Browse measuring and layout or explore all 47 tool guides.