Choose around the finished cut
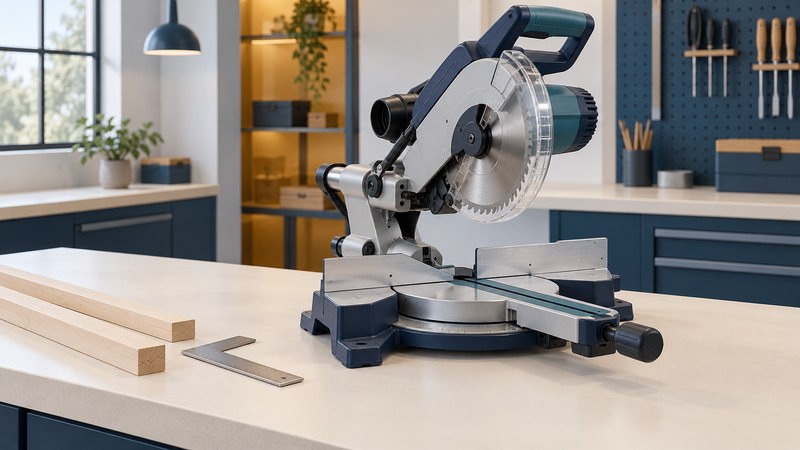
Write down the material, its actual width and thickness, and the cuts you need. A miter saw is especially useful for repeatable crosscuts and angled cuts within its stated capacity. Use the exact model’s capacity chart, including the angle and stock orientation; blade diameter alone cannot tell you whether a board will fit.
| Feature | What changes | Question for your project |
|---|---|---|
| Miter adjustment | The table turns the cut across the board | What width fits at the required left or right angle? |
| Bevel adjustment | The head tilts the blade through the board | Can the stock be supported and clamped at that tilt? |
| Sliding mechanism | The head travels to extend crosscut reach | Is there space for the full travel and rear clearance? |
| Dual bevel | The head tilts to either side | Does this simplify repeated cuts without awkward stock reversal? |
A compound cut combines miter and bevel. For molding, specify whether it will lie flat or sit in its installed orientation. Those setups use different references. Bring a sample and the required cut to the supplier when the chart leaves the fit unclear.
Prepare a stable, supported station
Mount the saw securely and support long stock level with its table. Provide room for the head, rails, dust hose and workpiece throughout the intended cut. Keep loose material out of the movement path. Use the manual’s clamping arrangements and minimum stock limits; short offcuts can be difficult to secure safely.
CCOHS miter-saw guidance calls for working guards, suitable eye and hearing protection, a clean work area and waiting for the blade to stop before removing the work. Keep hands outside the model’s specified exclusion area. Make adjustments with power off and disconnect power before servicing or changing the blade.
Select a blade approved for the saw, material, bore and speed. Keep the stock against the intended table and fence references. Follow the exact model’s slide-cut sequence: the direction of head travel is a safety instruction, not a matter of personal preference.
Separate the scale, blade and cut checks
A digital angle display, laser line or detent helps locate a setting. Verify the resulting cut before committing finished material. Start with the saw disconnected, the table and fence clean, and a dependable square. Check the model’s prescribed blade-to-fence and blade-to-table alignment procedure.
The DeWalt DWS779 manual (PDF) treats miter alignment, bevel alignment and pointer adjustment as separate checks. It also requires fence clearance checks for bevel positions. Use those distinctions to diagnose a problem, while following the fasteners and sequence in your own manual. A generic adjustment sequence may move the wrong part.
| Observation | First things to inspect | Next step |
|---|---|---|
| Cut differs from the intended angle | Stock seating, locked settings and alignment | Check the relevant axis with the manual’s method. |
| Length varies between nominally identical pieces | Reference face, mark placement and stock movement | Restore a repeatable measuring and support routine. |
| Torn fibers at the cut | Blade condition, suitability and support | Resolve these before changing angle settings. |
| Binding, vibration or guard interference | Setup, clearance and possible damage | Stop, disconnect and resolve the fault before another cut. |
Manufacturer setup and calibration videos can help identify controls, but match their model and version to yours. For used or older equipment, check the manufacturer’s safety notices with the model and date code; DeWalt’s miter-saw recall notice is an example of a model-specific check.
Use a test cut before the final stock
- Choose a straight, sound test piece large enough for the required support and clamping. Mark its reference face and edge.
- With power disconnected, confirm the settings, locks and clearance through the intended movement using the manual’s procedure.
- Connect power only after setup is complete. Make the cut following the tool’s operating instructions, maintaining the prescribed hand position and support.
- Keep the head controlled and wait for the blade to stop before lifting or retrieving material as instructed. Inspect the cut with a dependable reference.
- Change one cause at a time and repeat a safe test. Record the successful setup before cutting finished stock.
Keep the finished length, reference face and waste side marked consistently. When a measurement comes from the room, use a labeled room-dimension record so the workshop cut refers to the correct opening.
Choose your next guide
- Delta Table Saws — Identify the saw and plan its cutting setup.
- Tape Measures — Check reference points, reading technique and measurement errors.
- Hearing Protectors — Choose protection for the exposure and check the fit.
Browse woodworking and shaping or explore all 47 tool guides.