Start with the two endpoints
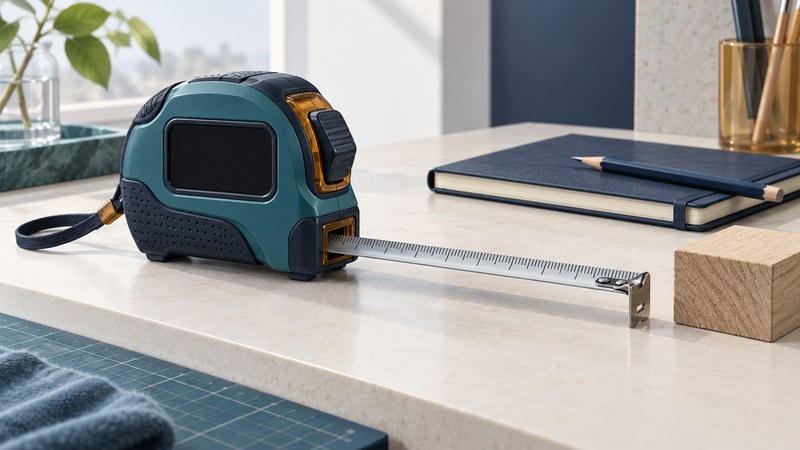
A digital tape measure uses a physical blade and an electronic readout. Before reading the screen, decide which two points the measurement should describe. The selected reference may be the front of the case, the rear of the case or a temporary zero you set. Write down the mode when the result will be used later.
These instruments differ from laser distance meters, even when a product combines both functions. Identify which measuring system is active. This guide focuses on the physical tape and its display, where blade position, case reference and stored values need to agree.
| Setting or state | What to establish | Useful record |
|---|---|---|
| Units | Millimetres, centimetres or an inch format | Write the unit beside every saved dimension |
| Case reference | Front or rear edge included in the measurement | Name the selected edge and the contact point |
| Absolute or relative | Original reference or a user-set zero | Record any offset and its direction |
| Live or captured reading | Current blade position or an earlier stored value | Label the captured location and sequence |
| Display status | A valid reading, low battery or an error indication | Resolve the indication before using the number |
Check the tool and compare readings
Inspect the blade, hook and case reference surfaces for damage or dirt. Let the instrument acclimatize as its instructions require. Establish a repeatable check on a suitable known reference, and keep the blade aligned and supported so repeated measurements refer to the same endpoints.
The SOLA CITO operating instructions (PDF) provide a specific check: inspect the printed blade pattern and compare the display with the blade value at the stop surface. Its front/rear selection must match the physical measurement setup. Follow the model’s check before relying on its results, especially after transport or storage.
Separate display resolution from measuring tolerance. SOLA lists CITO’s digital tolerance separately from the tape’s accuracy class. More digits on a screen do not establish a tighter result. Choose a measuring method whose verified capability suits the clearance or fit you need; a quick comparison is not a calibration certificate.
Use relative zero deliberately
REEKON’s T1 relative-measurement instructions explain a mode that starts counting from a selected blade position. Extension beyond that point produces a positive relative value; retraction past it produces a negative one. Exiting the mode restores the normal reference. This behaviour belongs to that model and mode, so check your own tool’s controls before using an offset.
Before making a cut from a relative reading, identify the original datum and confirm the direction. Clear or deliberately retain the mode before the next task. A correct number with the wrong reference can still produce the wrong part.
Save context with every dimension
A capture button removes one transcription step, but the measurement still needs a name. Use a short consistent label for the object, location and orientation. For an opening that may vary, record separate top, middle and bottom readings instead of overwriting them with one convenient value.
- Confirm units, selected reference and any relative mode before taking the reading.
- Hold the intended endpoints consistently and wait for a valid stable display.
- Capture or write the value with its location, orientation and reference.
- Check the stored entry against the live reading before moving on.
- When exporting to an app or worksheet, verify units, order and labels on a small sample first.
Keep a measurement log separate from a cut list. The measured opening, fitting allowance and final part dimension are different entries. Record who selected an allowance and where it came from; the tape supplies a measurement, while the project specification determines the required fit.
Resolve a doubtful reading before using it
If repeated readings disagree, check the endpoints, reference selection, units and blade position first. Follow the manual’s inspection and checking routine. Stop using a damaged instrument or an unexplained result for a consequential fit, and compare with an appropriate independent method.
REEKON’s T1 quick-start guide (PDF) explains that dashes can appear while the instrument is locating its blade position; its prescribed response is a slow extension and retraction. Treat an error indication as something to resolve, not a value to estimate from an old saved reading.
Respond to low-battery indications and charge using the specified equipment. Store the tool clean and protected, guide the blade’s return and keep the hook from striking the case. Recheck before the next task, and preserve the measurement labels along with the numbers.
Choose your next guide
- Laser Distance Measures — Plan distance measurements, targets and reference settings.
- Tape Rules — Compare tape blades, markings, hooks and working reach.
- Pocket Tape Measures — Choose a compact tape and record a practical fit check.
Browse measuring and layout or explore all 47 tool guides.