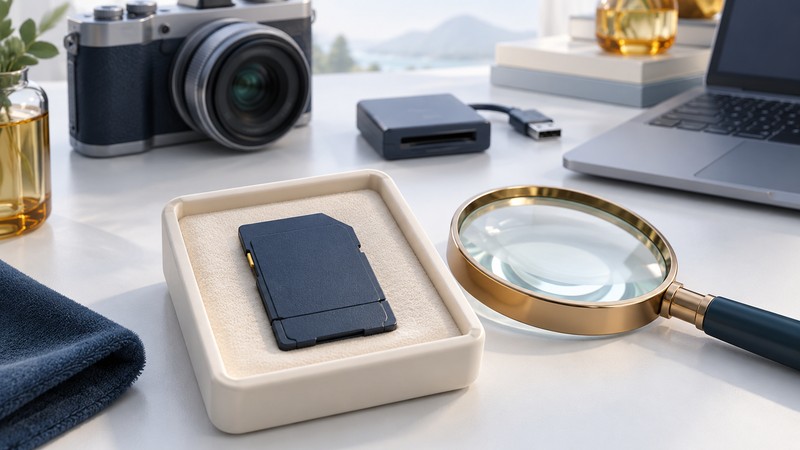
Some legacy SD cards included their own USB connection. The SanDisk Ultra II SD Plus is a specific hinged design: its lower cover folds away for direct USB access. Identify the product before moving that cover, then choose a supported transfer route and verify the files on separate storage.
Recognize the design before opening it
SanDisk’s illustrated Ultra II SD Plus connection instructions (German) show the lower section folding around its hinge to expose the USB connection. The sequence ends with the card ready for the computer’s USB port. Match your card’s name and construction to those pictures before handling it.
An ordinary SD card has no such opening procedure. A separate USB card reader accepts an SD card and supplies the computer connection itself. Keep these two designs distinct when looking for instructions: the words “SD USB” on a listing may describe either arrangement.
Photograph the card’s markings and closed condition. Record the capacity and the camera or other device that used it. If the model is uncertain or the hinge or case is cracked, stop before opening or inserting it; resolve the identity and preservation needs first.
Choose a supported transfer route
On a narrow screen, swipe the table or focus it and use the arrow keys.
| Route | What must match | What it helps you avoid |
|---|---|---|
| SD mode through a reader | Card fully closed in its intended SD shape; reader explicitly supports the card family and capacity | Opening the USB cover when a suitable reader is already available |
| Built-in USB connection | Exact hinged design and manufacturer opening diagram; compatible computer connection with sufficient clearance | Needing a separate card reader for the documented direct-USB design |
Choose the supported route that is mechanically straightforward. Follow the manufacturer’s illustrated sequence for direct USB: fold the hinged lower cover as shown, expose the connector, then align it with the matching computer port. Stop if the cover resists or the card would be under strain. Do not bend the card body or force an uncertain orientation.
For SD-reader use, close the cover to its intended card shape before insertion and follow the reader’s orientation markings. If a connection needs an adapter, verify that adapter’s data-transfer support and fit before relying on it. A damaged hinge or case calls for a preservation decision, not repeated attempts at both routes.
Keep card-family and USB compatibility separate
Direct USB access gives the computer another route to the card’s files. Camera compatibility still depends on the card family and capacity supported by that camera. The SD Association’s capacity and compatibility guidance distinguishes SD, SDHC, SDXC and SDUC hosts and cards. Check the actual logo and capacity; a similar-sized card from a later family may require different host support.
Copy, check and remove
- Have a separate destination ready. If the card contains needed files, cancel any format, erase or initialize prompt. Stop ordinary copying attempts on repeated read errors or disconnects.
- With a healthy card connected through the chosen documented route, open its file volume and copy the needed folder tree. Preserve the source files until verification is complete.
- Compare file counts and sizes, then open copied photographs, videos or documents. For a byte comparison, use hashes of corresponding files; Get-FileHash is documented by Microsoft. Keep the verification result with the copy.
- Use the host’s eject procedure when available, and wait for transfer activity to finish before removal. Restore the cover to the closed SD shape before placing a confirmed intact card back in an SD device.
- Keep an independent backup. Reuse the legacy card only after the intended host can reliably record and retrieve expendable test files.
The card offload record provides a place for the source identity, connection, destination and verification result. If files are inaccessible through a supported route, continue with the reader diagnostic guide before making changes to the card.