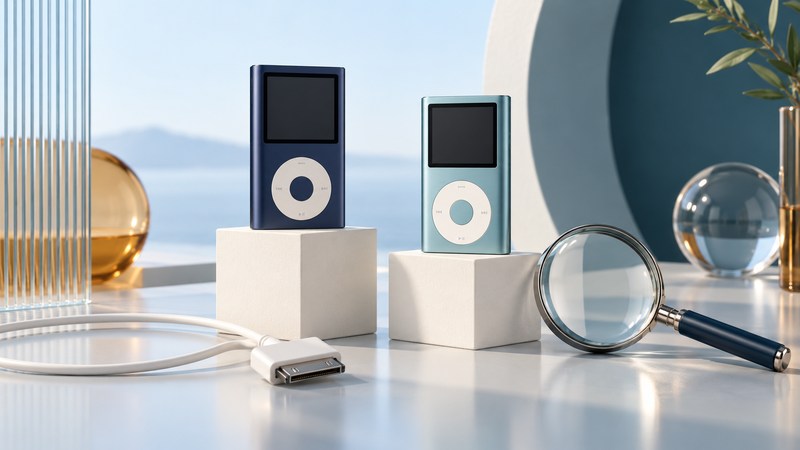
Identify an iPod mini by combining its model number, original capacity and exterior details, then check charging, music transfer and accessory operation separately. Both generations use A1051, so that number alone leaves an important question unanswered. Start with the player in front of you and keep any existing music safe while you investigate.
Use several identification clues together
Apple’s iPod identification reference lists A1051 for the original mini introduced in January 2004 and the second generation introduced in February 2005. Its second-generation clues include a capacity engraving on the back and Click Wheel lettering that matches the enclosure color.
Scroll sideways on a small screen to compare the generations.
| Generation | Original capacity | Useful evidence |
|---|---|---|
| 2004 iPod mini | 4 GB | A1051; compare the enclosure and wheel with Apple’s first-generation image. |
| 2005 iPod mini | 4 or 6 GB | A1051; original rear capacity engraving and color-matched wheel lettering. |
A 4 GB description fits either generation. Photograph the front, rear and ports, and record what the player reports under Settings > About. A replaced enclosure or storage modification can separate the physical appearance from the original configuration. If the clues disagree, describe the unit as unconfirmed until its history or a qualified inspection resolves the mismatch.
Keep the mini distinct from the iPod nano family. A seller’s use of “mini” to mean small is insufficient identification. Match the actual family before selecting a case, cable or dock.
Check charging, transfer and audio as separate functions
The first-generation Apple manual (PDF), pages 45–46 documents charging through a suitable powered computer connection or its specified power adapter. It describes FireWire and high-power USB 2.0 routes; a four-pin FireWire port supplies no charging power. Its computer requirements belong to 2004.
The second-generation manual (PDF), pages 9–10 and 42–44 describes high-power USB 2.0 and an optional FireWire connection. Use the correct dock-connector cable and check the battery’s charging indication. Avoid treating a cable’s physical fit as proof that an entire adapter chain supports data and power.
- Inspect before connecting. Check the enclosure, port and cable for damage. Have a visibly damaged unit assessed before charging it; forcing a tight connector is not a troubleshooting step.
- Establish power. Use the documented charging arrangement for the unit. Note whether the charging indication appears and whether the player subsequently runs disconnected.
- Establish recognition. Record the computer, operating system and software that actually recognize the player. For a Mac, use the Mac player connection guide as the starting point.
- Establish sound. After disconnecting properly, try a known track with known-working wired headphones at a low starting level. Test docks and car accessories afterward, so their behavior does not obscure the player’s own result.
A unit can charge while remaining absent from a music application. Conversely, a recognized player can have a worn battery. Keep these observations separate in your notes. For a speaker dock, check its exact model using the SoundDock connection guide.
Protect the existing library before testing a transfer
The second-generation manual describes a managed iTunes library and warns that automatic updating can remove songs absent from the computer’s library. If the player holds the only surviving copy, stop before accepting a replacement-library prompt, restoring or formatting. First locate the original music files and backups or arrange a preservation assessment.
Apple’s current iTunes syncing overview explains selective synchronization and distinguishes subscription downloads from transferable library content. That overview is useful background; confirm that your particular mini is recognized by your computer setup before making changes. The historical CD’s software requirements do not establish compatibility with a present-day operating system.
Once preservation is settled, prepare a small playlist of local files in a format listed in the matching mini manual. Include one familiar album and a longer track if you regularly listen to talks or audiobooks. Select that small set in the recognized device’s sync controls, complete the transfer, eject, and listen on the disconnected player. Check album order, track beginnings and endings, pause/resume and volume control.
Keep a record you can use again
Write down the identification evidence, software version, working cable and computer, test playlist and separate power/audio results. “A1051, generation uncertain, charges through this USB cable, recognized on this computer, test album plays” is more useful than “works.” It also gives a repairer or future owner a clear account of what was established.
For a secondhand unit, continue with the used-player inspection checklist. A short successful test establishes the functions observed during that session; longer listening is needed to assess whether the player meets your daily routine.
Explore Music Players
Browse music-player guides and earlier reporting, or follow the offline-library setup guide. Primary documentation is linked alongside the guidance. Sources and model details checked October 7, 2026.