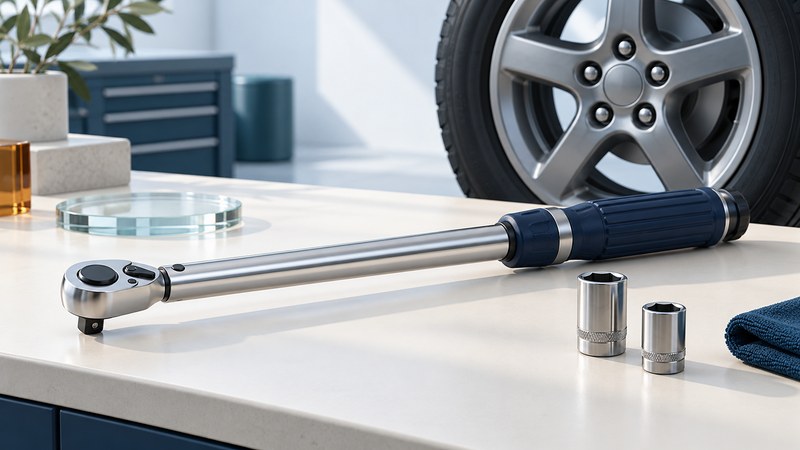
Give each tool a clear job
A torque wrench measures or signals applied turning effort so you can follow a specified tightening procedure. For wheel fasteners, begin with the exact vehicle, wheel and hardware instructions. A generic lug-nut value cannot account for those differences.
| Tool | Useful role | What it establishes |
|---|---|---|
| Breaker bar or lug wrench | Applying leverage for removal or initial assembly | Leverage without a calibrated tightening indication. |
| Click torque wrench | Signaling a preset torque | A target indication when used within its stated range and direction. |
| Indicating or electronic torque wrench | Displaying applied torque; features vary | A reading whose mode, units and accuracy range need checking. |
| Geared torque multiplier | Increasing output turning effort | Requires its own reaction arrangement and input/output procedure. |
A multiplier’s gear ratio by itself does not prove the final torque at the fastener. Norbar’s HandTorque specifications illustrate the use of a torque wrench with a geared unit and an adjustable reaction arrangement. Such tools need model-specific training and instructions.
Write down the complete specification
- Exact vehicle or equipment identification, assembly and fastener location.
- Source document, revision or model year, page/section and specified torque with units.
- Thread and seating-surface condition, including any prescribed lubricant, coating or replacement hardware.
- Tightening order, stages, angle steps and any later recheck specified by the manufacturer.
Torque is an indirect way to control a joint’s clamping force; friction changes the relationship. Norbar’s torque guidance discusses lubrication, surface condition and joint design. Follow the assembly’s stated condition rather than adding lubricant as a general shortcut.
For a concrete example, the 2022 Ford Transit owner’s manual (PDF) warns against grease or oil on the specified wheel-fastener threads and contact surfaces. That instruction belongs to that vehicle’s procedure; locate the corresponding instructions for your own vehicle. Obtain service help when the correct procedure or hardware condition is uncertain.
Check range, direction and units
Choose a wrench whose documented accuracy range includes the target, with a suitable drive size and access to the fastener. Check which tightening directions are calibrated. A reversible ratchet does not establish that both directions carry the same accuracy specification. Read the calibration record and manufacturer requirements for checking the tool.
The conversion is 12 in-lb per ft-lb and approximately 1.3558 N·m per ft-lb. Write the unit beside every number, including numbers copied into a job record. If the procedure calls for an angle stage, confirm that the equipment and method can perform that stage.
Understand a click wrench’s indication
For the TEKTON micrometer models in its product manual (PDF), set and lock the target, grip the specified handle position and pull smoothly. Stop applying torque at the first click. Continued pulling can overtighten the fastener. Keep within the tool’s rated limits and use the manual’s correction method for an attachment that changes effective length.
The same manual calls for storage at the lowest marked value, avoiding use as a loosening ratchet, and verifying accuracy after a drop or damage. Other wrench designs can have different storage requirements. Save the instructions with the tool.
A click on an already-tight fastener establishes that the setting was reached during that check. It does not reveal how far the fastener may previously have been overtightened. If assembly quality is uncertain, use the manufacturer’s inspection or service procedure; repeating clicks cannot diagnose the joint.
Wheel work also requires the vehicle’s lifting, support and tightening sequence. This guide covers tool selection and specification checks; use the full vehicle procedure for the job.
Keep a short record with the specification
Download the torque-job record (plain text) and save a copy per assembly. It prompts for units, source, thread condition, tool range, calibration status and follow-up requirements. It supplies no torque values.
Before working, resolve every blank that changes the procedure. Afterward, record the date, tool identity and any anomaly. That makes a later recheck or service conversation much more useful than a note saying only “tightened.”
Choose your next guide
- Cordless Impact Wrenches — Check drive size, sockets and control before powered fastening.
- Automotive Tool Sets — Plan sockets and hand tools around specific vehicle tasks.
- Metric Tool Sets — Audit metric sizes, drive systems and useful coverage.
Browse hand tools and kits or explore all 47 tool guides.