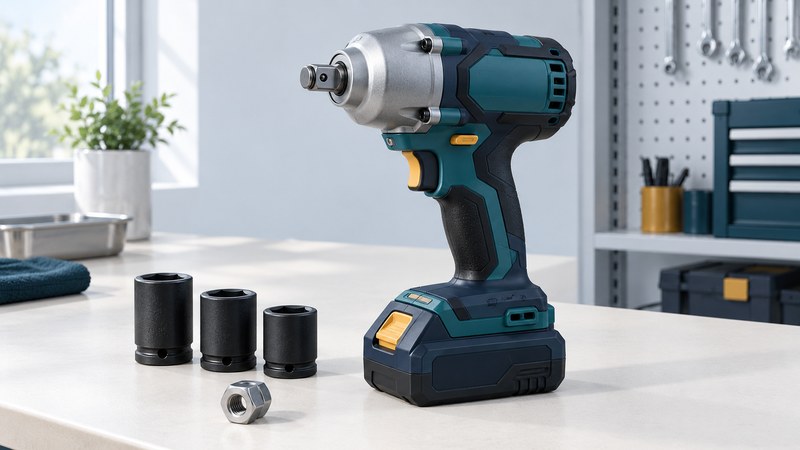
Start with the interface and the fastener
For ordinary socket work, an impact wrench typically has a square anvil, while a compact impact driver commonly accepts 1/4-inch hex-shank bits. Inspect the actual interface and application rating. Product names are imperfect shorthand: specialized hex-drive wrenches also exist, and an adapter does not turn every driver into a suitable wrench for a demanding fastener.
| Decision | Information to collect | Why it matters |
|---|---|---|
| Drive and socket | Anvil size; socket drive and fastener size; retention system | All interfaces must fit and be approved for impact use. |
| Access | Space for tool, installed battery, socket and hands | A compact body can still be too long with a deep socket. |
| Fastening procedure | Required torque, units, sequence and thread condition | The equipment specification determines the finished joint. |
| Work pattern | Repeated small fasteners or occasional difficult removal | Weight, control and service support matter alongside peak power. |
Measure the available space at the job before buying. Include nearby hoses, bodywork and the route for a released nut. Choose the smallest suitably rated system that can perform the specified task with controlled access; unnecessary bulk makes accurate placement harder.
Read torque claims with their labels
Fastening torque and breakaway or nut-busting torque describe different tests. They are not interchangeable settings. For example, Makita’s GWT01D product specification lists fastening and nut-busting figures separately. Compare the stated test, battery and configuration, then check the tool’s operating limits. This is a specification example, not a recommendation for that large tool.
A numbered power mode controls tool behavior; it should not be treated as a calibrated torque setting. Consider trigger response, forward and reverse modes, retention and balance with the intended battery. Confirm battery and charger compatibility within the exact platform rather than matching voltage alone.
Prepare a suitable socket system
Use the exact-size impact-rated socket, with an impact-rated extension or adapter only where the manufacturers permit it. A dark finish alone does not prove an accessory is impact rated. Confirm its identification, inspect it for cracks and worn drive surfaces, and follow the anvil’s ring, pin or detent retention instructions.
The Makita GWT09/GWT10 manual (PDF) warns that socket condition, battery state, fastener characteristics and extensions affect fastening performance. Its model-specific charts are not settings for other wrenches. Read your own manual for attachment, inspection and handling requirements.
Remove the battery before changing accessories or investigating a fault. Establish the required eye and hearing protection, secure the work and keep stable footing. If access forces a poor grip or a crooked socket, change the setup before applying power.
Separate removal, run-down and final tightening
- Identify the fastener and the equipment maker’s procedure. Resolve an unknown thread direction, locking device or removal restriction before using the tool.
- Seat the socket fully and keep it aligned. Use the tool’s prescribed handling and control; stop for slipping, damage or a fastener that will not release.
- Before assembly, inspect the threads and mating parts as the service instructions require. Start a nut or bolt by hand to avoid cross-threading.
- Use powered run-down only if the procedure permits it, stopping before final torque. Complete tightening with the specified torque tool and sequence.
- Record the specified value and unit, the procedure used and any unresolved damage. Replace single-use hardware where the service instructions require it.
Makita’s manual calls for torque-wrench verification after fastening. Avoid relying on a click from a torque wrench to prove that an impact-tightened fastener was never overtightened: a click only shows that the applied threshold was reached. Follow the torque-wrench guide and equipment procedure from the start.
Recognize when more impact is the wrong next step
Repeated hammering on a seized or damaged joint can worsen the problem. Stop and establish an approved removal method if the socket rounds the fastener, the joint moves unexpectedly or access is unstable. Heating, cutting and extracting fasteners each introduce a different job and need their own equipment and procedure.
For wheel work, use the vehicle manufacturer’s lifting, support, tightening and recheck instructions. A wrench is only one part of that system. Do not use it to substitute for proper vehicle support or to guess a wheel-nut torque.
A useful purchase brief therefore says what fasteners you work on, the drive and socket range, the available clearance, the battery system and the final-tightening method. Bring those details to the supplier rather than asking only for the highest advertised torque.
Choose your next guide
- Torque Wrenches — Plan specified final torque and check the wrench setup.
- Automotive Tool Sets — Plan sockets and hand tools around specific vehicle tasks.
- Metric Tool Sets — Audit metric sizes, drive systems and useful coverage.
Browse powered fastening and air tools or explore all 47 tool guides.