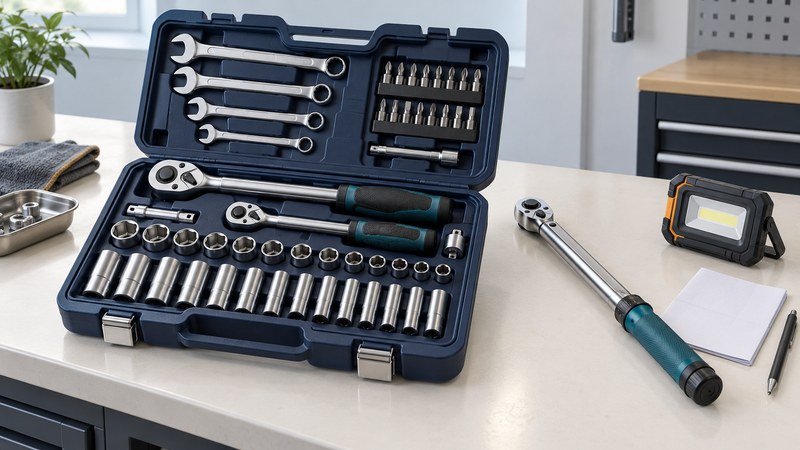
Begin with a short job list
An automotive kit becomes useful when it supports a defined maintenance task from preparation to final check. Write down the vehicle’s year, model and relevant engine or equipment variant, then identify the service information for each intended job. That information determines the fasteners, torque requirements, replacement parts and supporting equipment.
Start with work you understand and can carry out in an appropriate space. A large case of sockets still needs task-specific instructions, consumables and a way to check the finished work. Keep roadside assistance items separate from a workshop repair plan.
Check size, profile and access
| Feature | What it tells you | What to verify |
|---|---|---|
| Fastener size | Metric or SAE opening | Exact sizes required, including gaps in a set |
| Profile | Hex, twelve-point or a dedicated drive shape | Match the actual fastener |
| Drive size | Ratchet and accessory interface | Compatible sockets, extensions and torque tool |
| Depth and outside diameter | Reach over a stud or into a recess | Clearance on the actual assembly |
| Construction and rating | Approved use of the socket | Impact-rated accessories when an impact tool is used |
Socket drive size and fastener size describe different dimensions. A 3/8-inch drive socket can have a metric opening; selecting a drive system does not settle which fastener sizes the kit covers.
Match the internal profile to the fastener. Tekton’s six-point and twelve-point explanation describes matching six-point tools to six-point fasteners and twelve-point tools to twelve-point fasteners, with access angle another consideration. Inspect worn or damaged fasteners before applying force.
Plan tightening and verification
Read the applicable service procedure before loosening parts. It may specify a torque value, units, a sequence, an additional angle, replacement hardware or a particular thread condition. Copy these requirements with their source into the job notes. A generic table cannot supply the complete procedure for an unidentified assembly.
Select a torque wrench whose specified operating range covers the required setting, and check how its instructions handle extensions or adapters. Use the service procedure for final tightening and the tool’s instructions for operation, care and storage. Our torque-wrench guide explains the selection questions.
A powered impact wrench is useful for some removal and assembly work, but its power setting does not establish the final specified fastener torque. Include the appropriate verification tool in the kit and budget.
Include the work environment
Lighting, eye protection, suitable gloves for the task, clean storage and a way to manage fluids can matter as much as another socket. Check whether the job requires lifting or access beneath the vehicle before buying parts or beginning disassembly.
The UK Health and Safety Executive’s working-under-vehicles guidance emphasizes suitable lifting and support equipment, correct support points, wheel restraint and a firm, level surface. Use the vehicle and equipment instructions together. Never work beneath a vehicle supported only by a jack.
List required support equipment as a separate capability. If the space, equipment or training cannot support the planned procedure, arrange suitable service rather than improvising access. A roadside wheel-change kit has a different purpose from a workshop setup for work underneath a vehicle.
Keep a job-based kit audit
Download the plain-text automotive kit audit
The reusable worksheet separates owned, missing and borrowed equipment and leaves room for the exact source of the procedure. Fill it in before shopping. It contains planning prompts rather than vehicle-specific repair instructions.
- Choose one actual maintenance task and locate the matching service instructions.
- Record required fastener sizes, profiles, access and tightening requirements.
- Check your tools by fit and condition, including the checking and support equipment.
- Compare buying individual tools, borrowing suitable equipment or having the task performed professionally.
- After the job, record useful tools, missing items and the final checks performed.
A well-organized modest kit makes missing pieces visible and replacements straightforward. Leave room for the specialized tools your own vehicle and maintenance choices eventually require.
Choose your next guide
- Torque Wrenches — Plan specified final torque and check the wrench setup.
- Cordless Impact Wrenches — Check drive size, sockets and control before powered fastening.
- Air Hammers — Plan the compressor, air supply and chisel as one setup.
Browse hand tools and kits or explore all 47 tool guides.