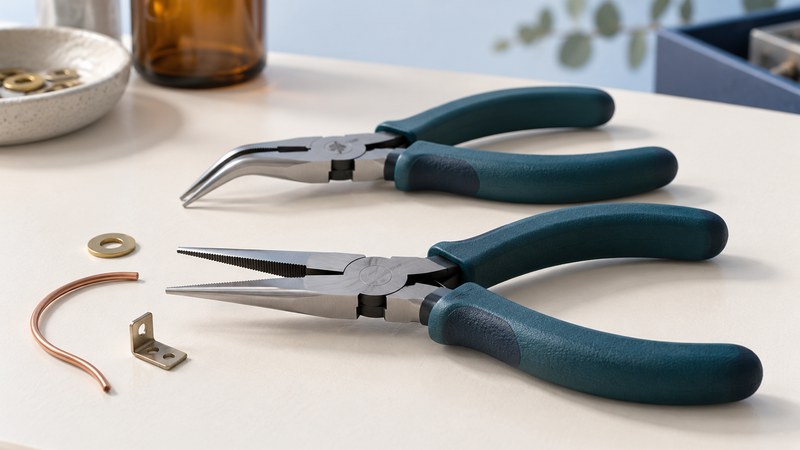
Choose the contact before the length
Needle-nose pliers bring narrow jaws into spaces where a larger gripping tool would obstruct the work. They are useful for positioning small parts and for suitable light bending tasks. Begin with the object you need to contact, the direction it must move and the space around it.
Overall tool length gives only a partial picture. Jaw thickness, taper, bend and surface texture determine whether the tool can reach the part and hold it in the intended orientation. Look at the actual contact area with the jaws open and closed.
| Need | Feature to consider | Check on the work |
|---|---|---|
| Reach into a narrow opening | Slender straight jaws | Room to open the jaws and withdraw the part |
| Approach around an obstruction | Bent-nose form | A clear view and controlled movement |
| Hold a delicate flat piece | Suitable smooth contact surfaces | A practice grip does not mark or distort it |
| Hold a part prone to slipping | Appropriate serrated contact | Adequate grip without unacceptable damage |
| Form a consistent rounded bend | Purpose-made round-nose tool | The jaw profile suits the intended radius |
Knipex’s guide to jaw shapes and surfaces explains these distinctions among flat, flat-round and round forms, and among smooth and serrated surfaces. Smooth jaws still require controlled pressure; the workpiece’s material and finish matter.
Make a small-part grip check
- Support the assembly and illuminate the contact point. Identify anything that could drop, spring free or move when released.
- Approach with the jaws open and align their contact surfaces with the intended part. Keep fingers clear of pinch points.
- Close with enough controlled hand pressure to establish contact. Check whether the part stays aligned without slipping or deforming.
- Make the intended small movement while maintaining a clear view. Stop if the jaws twist, slide or begin to damage the surface.
- Support the part in its final position, then release and inspect the result.
A successful grip should remain controllable through the movement you need, including release. If it works only with the handles at an awkward angle or with excessive squeezing, reconsider the jaw shape or holding method.
Match bending and cutting to the rating
Use a tool rated for the material and operation. A pair with an integrated cutter has limits for both material hardness and diameter; a familiar wire size alone does not establish that it can be cut. Check the manufacturer’s information before using the cutting edges.
For a light bending task, choose the jaw profile for the desired shape and practice on a representative offcut. Inspect the bend for unwanted marks or flattening before committing to the finished piece. Electrical terminations and safety-critical retainers require their own specified methods.
CCOHS guidance for pliers and wire cutters warns against bending stiff wire with light needle-nose tips or cutting hardened wire with an unsuitable tool. Use appropriate eye protection where particles or cut ends could fly. Keep pressure controlled and do not rock a cutter sideways through the material.
Recognize when the tool is too light
Choose a sturdier gripping tool for loads that exceed the narrow jaws’ intended work. Use the correct wrench for an ordinary nut or bolt. Hammering the pliers or adding a handle extension can damage the tool and reduce control.
Comfort grips provide handling comfort; electrical insulation requires a specifically rated tool and the appropriate working procedure. A tool’s appearance is insufficient evidence. For continuous holding, consider a suitable fixture; the locking-plier guide explains another holding mechanism and its limits.
Keep the contact surfaces usable
Before use, inspect the tips, gripping surfaces, pivot and any cutter. Clean debris from the jaws and maintain the pivot as the manufacturer directs. Worn teeth or damaged edges can require excessive force and should prompt repair or replacement according to the tool’s instructions.
Keep fine jaws protected from heavier loose tools in storage. If a grip changes unexpectedly, check for debris, wear or damage before repeating the task. A short note about the jaw shape that worked can make the next small assembly easier to set up.
Choose your next guide
- Locking Pliers — Choose locking-plier jaws and check how the work is held.
- Leatherman Tools — Compare multi-tool functions, format and model-specific accessories.
- Cordless Soldering Tools — Compare power, tips and temperature control for bench tasks.
Browse hand tools and kits or explore all 47 tool guides.