Updated October 9, 2026
Choose a microscope around the things your child wants to examine. A dry leaf, a woven sleeve and a prepared tissue slide call for different viewing arrangements. A useful first instrument lets the learner find something, focus it and describe what changed. Start by naming three intended specimens, then choose the viewing method.
Match the microscope to the specimen
| Route | Good first subjects | What to check |
|---|---|---|
| Stereo microscope | Dry leaves, fabric, paper texture and small solid objects. | Room under the objective, a stable stand, comfortable eyepieces and suitable light from above. |
| Compound transmitted-light microscope | Prepared teaching slides containing thin specimens. | A low-power objective, smooth coarse and fine focus, a slide holder and adjustable transmitted illumination. |
| Digital inspection microscope | Sharing a surface view on a screen; photographing an object for comparison. | Support at the intended distance, actual saved-image quality and support for your exact computer or display. |
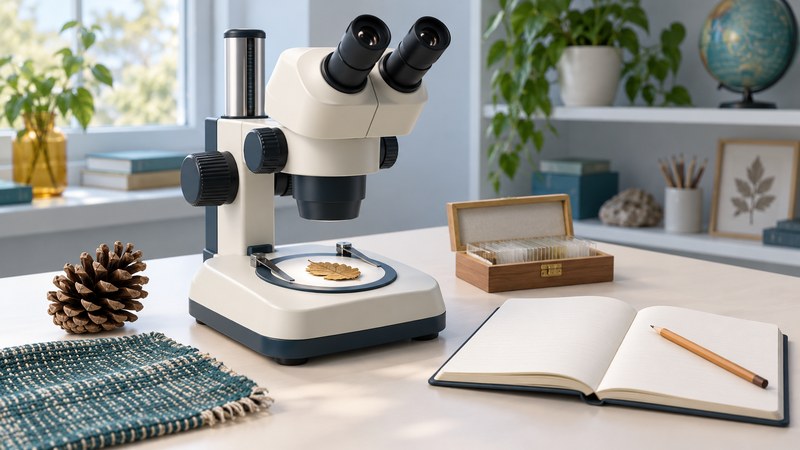
Stereo microscopes give each eye a different view of the specimen, supporting a sense of depth. A binocular compound microscope can have two eyepieces while showing the same underlying view to both eyes. Leica explains this distinction between compound and stereo microscopes. “Digital” describes image capture or display; inspect the instrument’s actual optics and illumination to understand its uses.
Try the controls before choosing
- Ask the learner to put an ordinary test object in view and turn the focus knob. Can they reach the controls without nudging the stand?
- Check whether the eyepieces adjust to a comfortable spacing. A shared screen can help an adult see the same field and coach the learner.
- Compare the image at the lowest useful setting. Look for an even field and recognizable detail, then try a higher setting on the same feature.
- Include a storage cover, suitable specimens and any required power supply or computer in the setup. Read the exact model’s manual before buying accessories.
- For a digital model, test the saved file on your intended device. A large picture on a screen and a high advertised magnification do not establish the detail in that file.
Magnification describes image size; resolution describes distinguishable detail. The objective’s numerical aperture is one important optical limit, as explained in Nikon’s numerical-aperture guide. A straightforward instrument that produces a clear low-power view is a better fit for a first observation than an impressive number that the learner cannot use.
Plan a first session with one question
Use a clean, dry piece of woven fabric under a stereo or suitable digital scope, or a commercially prepared teaching slide under a compound scope. Have an adult manage glass slides and small accessories. Follow the instrument and specimen supplier’s handling instructions; keep this first activity to ready-to-view material.
- Predict: ask, “Does this material look smooth all the way across?” Draw what it looks like to the eye.
- Find: start at the lowest available magnification. Place the object in the lit area and focus using the model’s instructions. A compound scope needs the slide’s specimen over the stage opening.
- Explore: choose one recognizable feature and move it to the center. Describe lines, colors, edges or gaps before changing magnification.
- Compare: increase one setting only after the first view is clear. Refine focus as directed. Observe how much of the object now fits in the field.
- Record: sketch the feature and write the microscope type, specimen, objective and eyepiece values if available. Label a digital display setting as such.
- Finish: remove the specimen and store the instrument as its manual directs. Leave lens cleaning and any unfamiliar adjustment to the supervising adult.
For a compound microscope, the Leica DM300 manual (PDF, focusing section) illustrates starting with the lowest objective and comfortable illumination. Other models have different stage limits and controls; use their own focusing sequence. The parts and controls guide helps identify what to look for.
Turn looking into an observation
Example question: “How do the threads cross?” A useful record might say, “Several pale threads run across the darker threads; gaps become easier to see when I move the lamp.” That is an observation. “This fabric is stronger” would need a separate test. Encourage the learner to keep observations, guesses and next questions in separate lines.
If no useful image appears, return to the lowest setting. Check that the object is actually under the objective and that the illumination suits an opaque object or a thin slide. A child who can recover the image has learned something more useful than simply turning to the highest setting.
Download the simple observation record (TXT) for repeated sessions. It includes prompts rather than a requirement to identify an unknown specimen.
Choose the next step from the child’s question
For “How does it make things look larger?”, follow the compound microscope light path. For “Can we show someone what we found?”, use the photography guide. More specialized specimens can wait until the learner has appropriate instruction and equipment.
Explore the Microscopes library
Browse all microscope guides and historical coverage. Sources are linked beside the explanations they support.