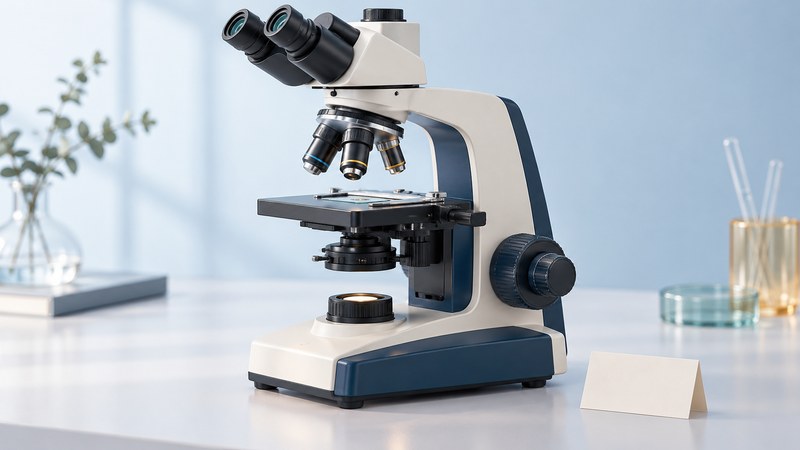
Updated October 9, 2026
On an upright compound microscope, first locate the objective, slide, stage and focus controls. Those parts determine where you are looking and whether the specimen is in focus. The diagram gives a common arrangement; a model’s manual remains the reference for adjustment direction, travel limits and cleaning.
Identify the main parts
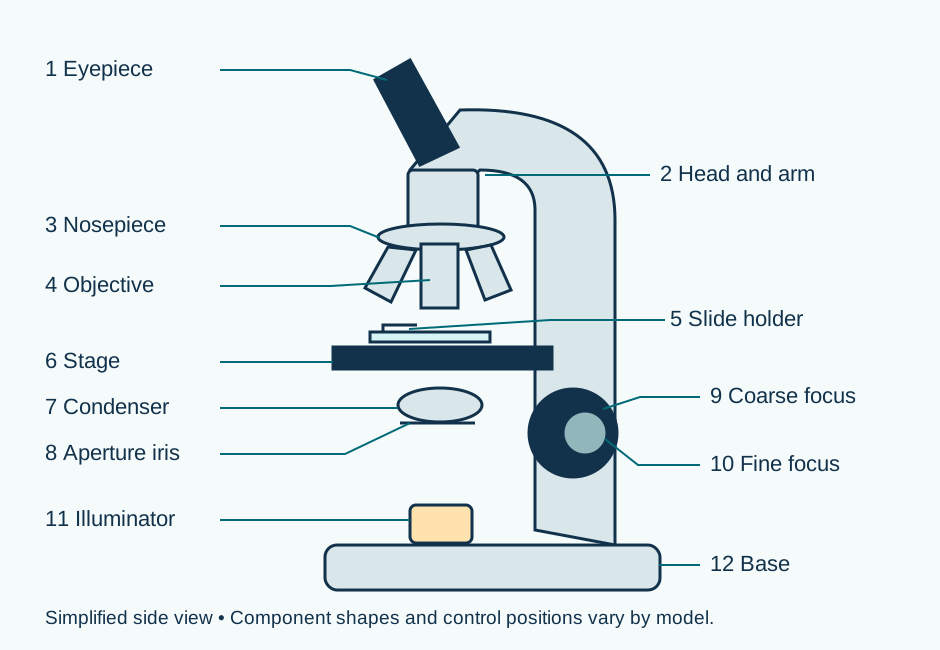
Open the full-size parts diagram. The Leica DM300 manual (PDF) provides a real teaching-microscope example with component and operating illustrations. Control locations differ across models.
Match the control to what it changes
| Diagram part | What it does | What to look for |
|---|---|---|
| 1 Eyepiece; 2 head and arm | The eyepiece presents the image; the head supports the viewing optics and the arm supports the assembly. | Adjustable binocular spacing or an eyepiece diopter may be available. |
| 3 Nosepiece; 4 objective | Selects the objective placed above the specimen. | An objective must be in its intended click-stop position. |
| 5 Slide holder; 6 stage | Supports and positions the slide. Mechanical-stage knobs, if fitted, move it left/right and forward/back. | Center the specimen over the opening for transmitted light. |
| 7 Condenser; 8 aperture iris | Controls illumination at the specimen. | Use the illumination settings for the objective and technique. |
| 9 Coarse focus; 10 fine focus | Changes the specimen-to-objective relationship in large or small increments. | On many upright scopes the stage moves; other designs move the optical assembly. |
| 11 Illuminator; 12 base | Provides light and a stable foundation. | Find the separate power and brightness controls on the actual model. |
Specimen focus and condenser focus serve different purposes. If the specimen is blurry, changing the condenser height may change contrast or illumination while leaving specimen focus unresolved. Leica’s illumination guide explains the condenser and diaphragms in a configurable brightfield system. The optical-sequence guide traces where the image forms.
Establish one clear field before changing objectives
- Locate the lowest-power dry objective and select it using the nosepiece. “Dry” means used without immersion liquid. Use a prepared slide suited to that objective.
- Place and secure the slide as directed by the manual. Locate the specimen area over the stage opening and set comfortable illumination.
- Follow the model’s starting-clearance and coarse-focus instructions. Observe the objective and slide from the side when checking their spacing; keep the objective from touching the glass.
- Refine the image with fine focus. If the feature is at the edge, center it with the stage controls before increasing power.
- Change to a compatible higher-power dry objective when more detail is useful. Check clearance and use fine adjustment as directed. Return to low power if you lose the feature.
Keep this introductory sequence within the dry objectives specified for the instrument. An objective marked for immersion requires its specified medium and a separate procedure. The DM300 manual treats oil immersion separately from initial focusing, illustrating why the model and objective instructions matter.
Recover the view one variable at a time
| Symptom | First check | Next step |
|---|---|---|
| Dark field | Power, light level and the selected objective’s position. | Check the specimen is over the opening and any light-path selector is set for the eyepiece or camera being used. |
| Bright field, no specimen detail | Specimen position and focus at the lowest objective. | Use a known prepared slide to distinguish setup trouble from an unsuitable sample. |
| Feature disappears at higher power | Whether it was centered in the wider low-power field. | Return to low power, recenter and try again with fine focus. |
| One eye sharp, the other blurry | Binocular spacing and any diopter adjustment. | Follow the viewing-head setup in the manual. |
| Spot stays in the same place as the slide moves | Possible contamination elsewhere in the optical path. | Check the eyepiece and other accessible surfaces using the manual’s inspection and cleaning procedure. |
| Image drifts or the mechanism resists | Stand stability and whether a control is at a travel limit. | Stop forcing the control; inspect the model’s instructions or ask for service. |
Practice identifying the controls
Before starting a lesson, point to the part that changes magnification, the part that moves the slide sideways and the control that makes a small focus correction. Answers: the nosepiece selects an objective; the mechanical-stage control moves the slide; fine focus makes the small focus correction. Brightness and aperture are illumination adjustments.
Download the controls identification and recovery checklist (TXT). It includes a short self-test and answer key. For a learner’s first complete activity, see microscopes for kids. For photographing the resulting view, see microscope photography.
Explore the Microscopes library
Browse all microscope guides and historical coverage. Sources are linked beside the explanations they support.