Updated October 9, 2026
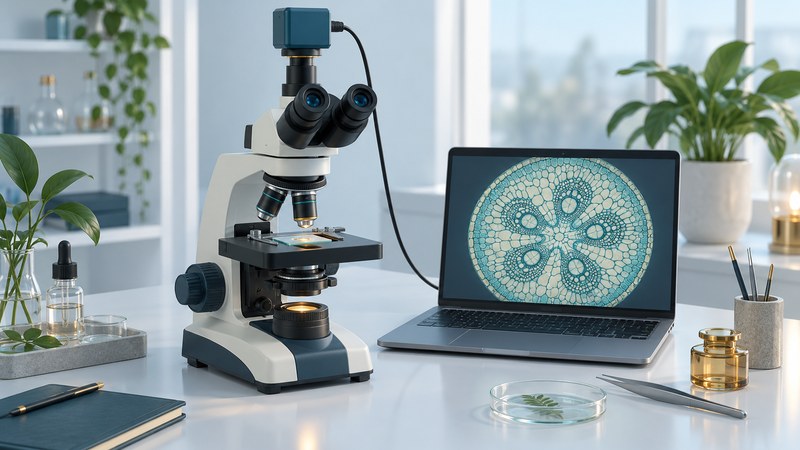
A useful photomicrograph starts with a clear optical image, a stable camera connection and a record of the settings. Begin with one prepared slide or dry object that you can return to. Improve the view at the microscope before trying to rescue it with processing. This guide covers ordinary brightfield and surface photographs; quantitative fluorescence or clinical imaging needs its own validated methods.
Build a repeatable capture sequence
- Choose one feature. Find and center it at low power, then select the objective that shows the needed detail. Write down the specimen and objective.
- Check the camera route. A phone held over an eyepiece needs careful alignment; a supported adapter makes that alignment more repeatable. A camera port needs the correct optical adapter. Use the adapter guide before buying parts.
- Set illumination. Aim for a useful, even field with the illumination method appropriate to the microscope and specimen. Adjust a configurable system according to its manual.
- Focus on the recorded view. Inspect the camera’s live image at a useful preview enlargement. The eyepiece and sensor may require a parfocal adjustment to agree.
- Set exposure and color. Start with the camera’s normal acquisition mode, then inspect whether bright specimen detail is clipped or shadows hide needed structure. Keep comparable images at documented settings. Where available, lock white balance and exposure after a suitable reference adjustment.
- Capture without a bump. Support the camera and cable; use the software trigger or a timer if touching the device moves the image. Make a second image to check repeatability.
- Save the original. Keep the acquisition file and a separate copy for cropping, annotation or presentation. Record every adjustment that affects interpretation.
Nikon’s color-balance explanation describes why automatic adjustments can change specimen colors. Its digital-imaging overview explains image acquisition and sampling. Leica’s illumination guide is useful when the microscope supports Köhler setup. A camera with more pixels can record a larger file while the optical image still limits specimen detail.
Diagnose the image before editing it
| What you see | What to test | What a useful test tells you |
|---|---|---|
| Sharp eyepiece view, soft saved image | Camera focus/parfocal setting, movement during exposure and saved-image mode. | A stable still specimen separates motion from focus or sampling issues. |
| Dark circle or corners | Phone alignment, camera-to-eyepiece spacing, adapter image coverage and sensor size. | A persistent edge boundary may be optical vignetting, rather than underexposure. |
| White feature with no texture | Exposure and saturation/clipping indication, if available. | A shorter exposure may preserve structure lost in bright pixels. |
| Blue, yellow or changing color cast | White balance, illumination and automatic camera adjustments. | A stable reference adjustment makes comparisons more interpretable. |
| Different planes are sharp in different frames | Specimen thickness and depth of field. | Choose and describe the intended plane, or label a focus-stacked result as a composite. |
Calibrate a scale bar for the capture settings
Use a stage micrometer with known divisions, imaged through the same objective, adapter and acquisition settings as the specimen. Measure a known interval in pixels and establish the specimen distance represented by one pixel. Recheck calibration after changes to objective, optical zoom, camera binning, output size or other settings that change spatial sampling. ImageJ’s annotation guide describes setting spatial scale and adding a bar.
In ImageJ, draw a straight line along the known interval and use Analyze → Set Scale to enter its distance and unit. Apply the verified calibration to the matching specimen image, then add a scale bar. An overlay preserves editability until export. Check the exported file visually; some formats or export operations lose calibration metadata.
A resize changes the pixels representing the specimen. For example, halving both image dimensions changes 0.25 µm/pixel to 0.5 µm/pixel. A bar already embedded and resized with the whole image stays proportionate, while a newly added bar needs the updated scale. Preserve the original, inspect the final export and avoid applying a calibration to images acquired with different settings.
Keep the picture and its meaning together
Give each session a folder and use a stable specimen identifier. Download the capture and calibration record (TXT) to save the objective, adapter, acquisition settings, calibration image, original filename and processing history together. Record the settings you actually know; a guessed scale bar creates false precision.
An informative caption identifies the specimen, the imaging method, the scale and any consequential processing. Caption template: “Prepared [specimen] slide, transmitted brightfield, [objective]; calibrated scale bar [value and unit]; [crop/color adjustment/focus-stack details].” Distinguish a measured identification from a tentative visual resemblance.
For a scientific record, retain raw data and use a documented processing workflow. Generative fill or invented detail would change what the image records. If producing artistic work, label manipulations that alter the specimen’s appearance or combine observations. Nikon Small World offers examples of photomicrography; consult the current rules separately before submitting work.
Explore the Microscopes library
Browse all microscope guides and historical coverage. Sources are linked beside the explanations they support.