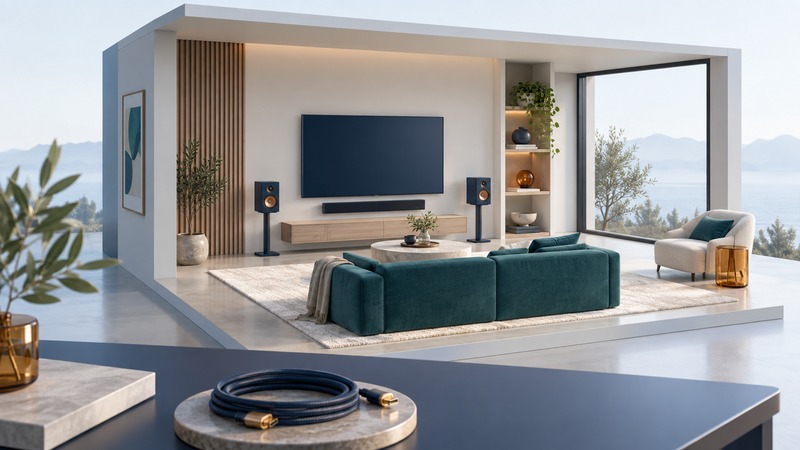
Plan a home theater from the seat outward. Decide where people will watch, where speakers can actually go, and how each source will reach the display and audio system. A connection record helps resolve compatibility questions before cables disappear behind furniture.
Jump to the room and setup guide · Download the connection record
Explore the home-theater guides
Choose among eighteen practical guides, then return to the room plan below.
Connect and play
Match HDMI ports and cables
Check the whole signal path for the picture and sound features you need.
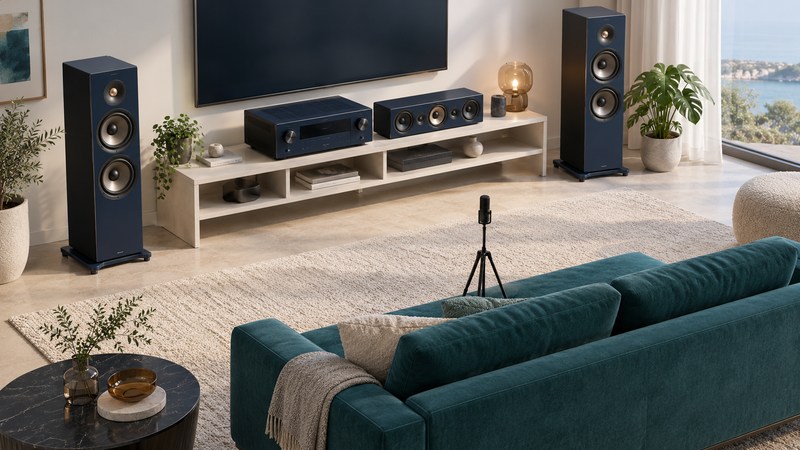
Set up an AV receiver
Map inputs, configure speakers, calibrate, and verify listening modes.

Build a reliable media library
Plan storage, understand conversion, and test playback and recovery.
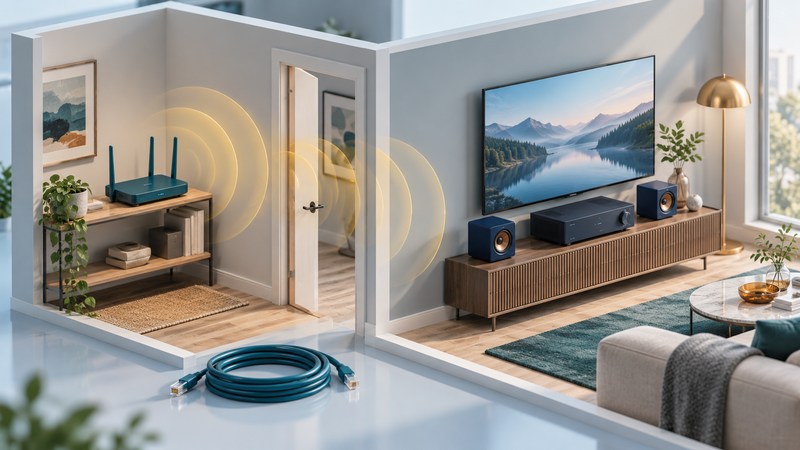
Troubleshoot wireless playback
Check the player and compare wired and wireless results.
Plan satellite TV across your rooms
Choose provider equipment by room count, DVR needs, actual 4K programming, and service requirements.
Speakers and music systems
Compare audio amplifiers
Read power specifications and match an amplifier to your speakers.

Compare speakers across seats
Understand coaxial design and make a repeatable multi-seat listening comparison.

Plan outdoor speaker coverage
Choose listening areas, verify weather exposure, and plan a maintainable installation.
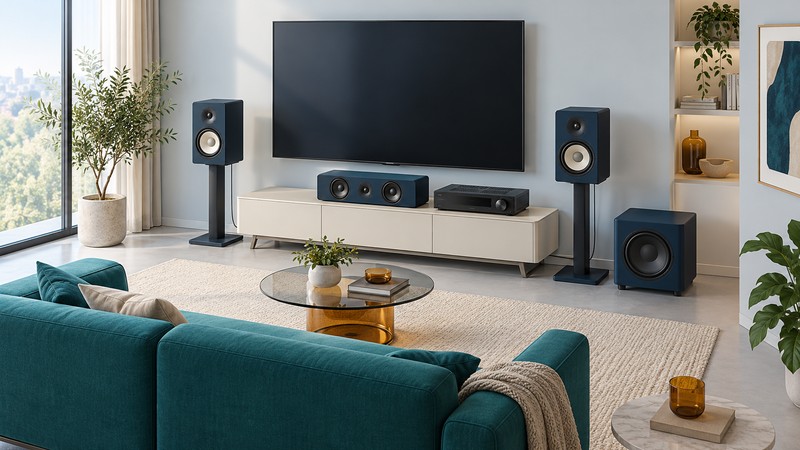
Compare current Polk speakers
Explore Monitor XT, Signature Elite, and Reserve, then plan a complete system that fits your room.
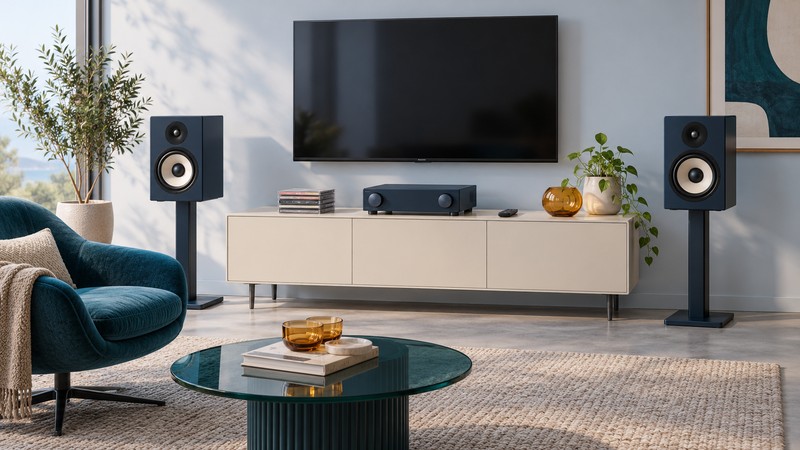
Use a stereo system for TV and music
Compare a streaming amplifier with a compact stereo system and check the TV connection.
Soundbars and surround systems
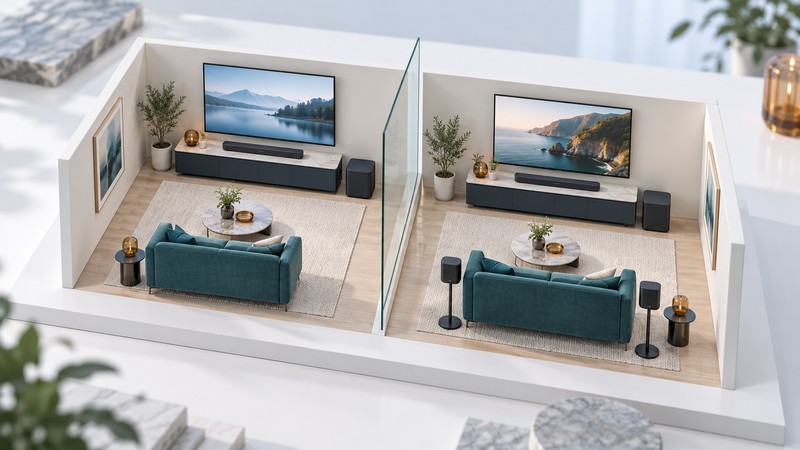
Choose a Sony layout and expansion path
Compare BRAVIA Theatre packages and expansion options, with exact-model compatibility checks.
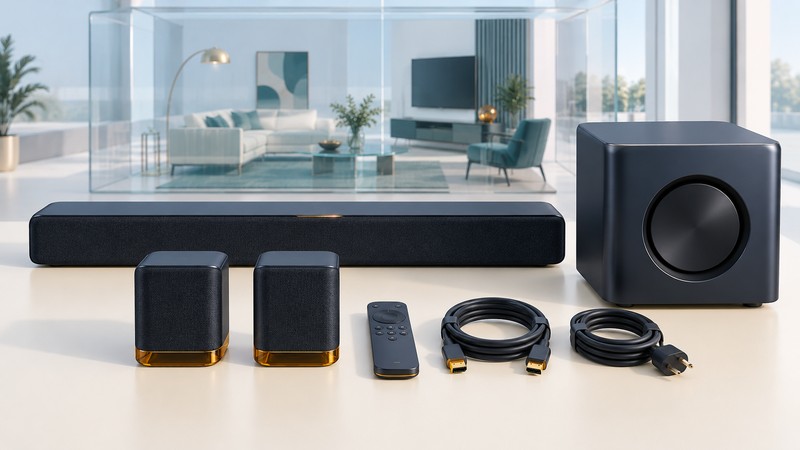
Compare Samsung packages and TV features
Compare a complete surround package with an all-in-one bar and check TV-specific features.

Build a modular Enchant system
Build an Enchant system in stages and distinguish surround pairing from multiroom music.
Choose a simple Panasonic TV-audio setup
Choose a single-bar or bar-and-subwoofer layout, then test connections and everyday controls.
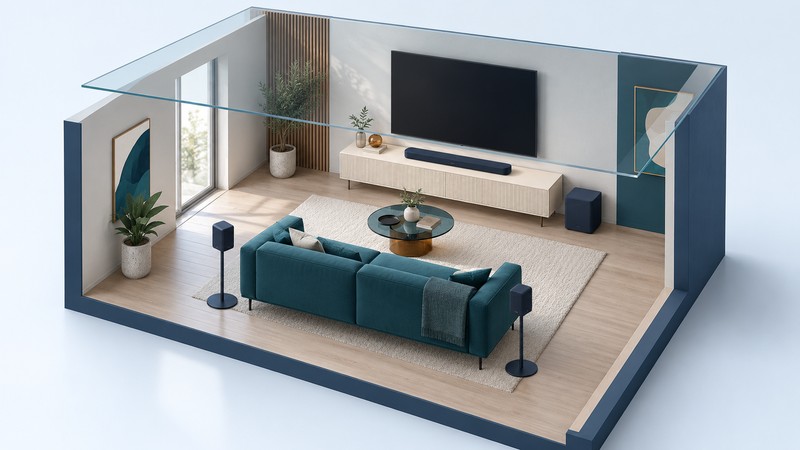
Compare current Sharp soundbars
Compare compact and expandable systems from Sharp’s European catalog, including connections and surround options.
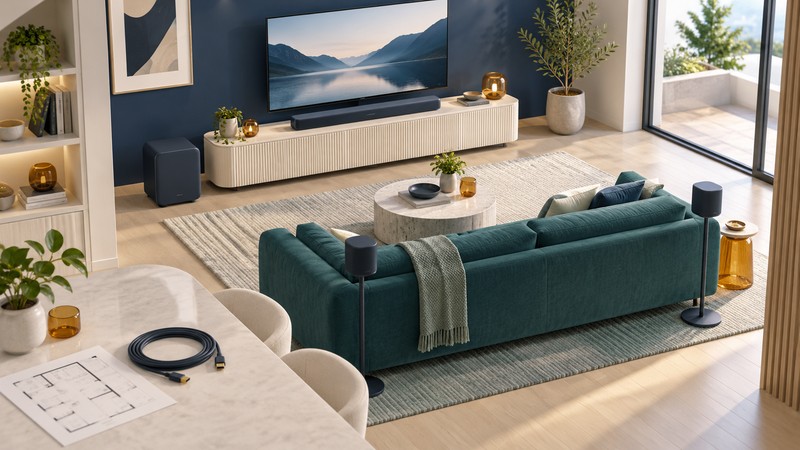
Choose a Bose soundbar and expansion path
Compare current Bose TV-audio options and match the right bass module, surrounds, and TV connection.
Use older equipment
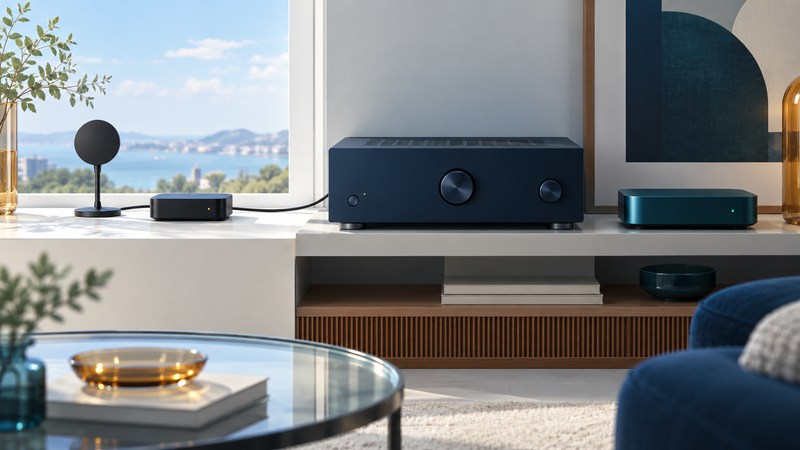
Check an XM-Ready receiver
Identify the tuner, check service by Radio ID, and compare a separate streaming path.
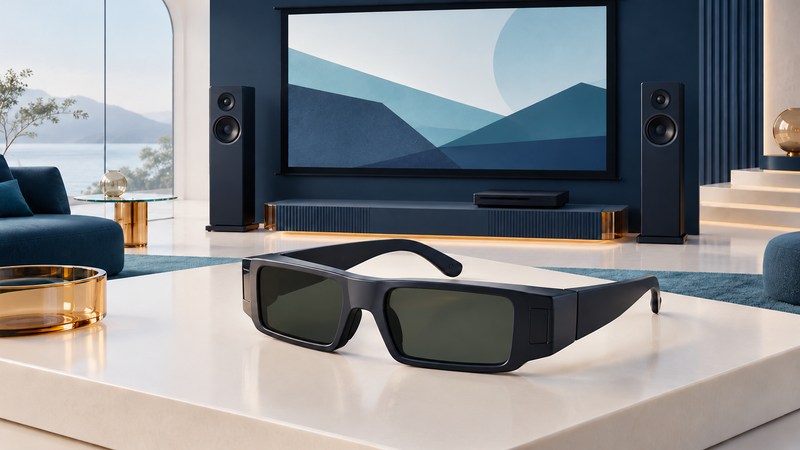
Match a 3D playback system
Check the source, display, glasses, and synchronization before replacing equipment.
Choose the seat and viewing conditions
Mark the main viewing seat, other seats, doors, windows, and walking routes. Try the intended screen position from every seat. Check reflections in daytime and with evening lamps on, and consider curtains or lamp placement before assuming a brighter display will solve the problem.
Use a full-size paper outline or temporary markers to judge the screen’s scale and height. Check neck comfort, captions, and sightlines during a realistic viewing period. Keep access to controls and ventilation openings, and use the display manufacturer’s mounting requirements. A wall bracket’s load rating alone does not establish that the wall and fixings are suitable.
Choose one coherent sound layout
A soundbar system can reduce the number of separate components; a receiver with passive speakers allows more control over speaker selection and placement. Compare the real speaker positions each arrangement needs, including any surrounds, subwoofer, or height channels. “Wireless” surrounds may still need nearby power.
Dolby’s speaker setup guides show layouts for different channel arrangements. Select the diagram that matches the system you can install, then check the speaker and receiver manuals. A surround format name does not guarantee that a room has the positions or equipment needed to reproduce every channel.
Keep dialogue centered on the viewing area. Avoid hiding a soundbar or speaker behind a cabinet edge that obstructs its output. Leave the clearances specified by the manufacturer. Use the equipment’s calibration procedure after final placement, then listen from the seats people actually use. Make small level adjustments with familiar dialogue at ordinary listening volume.
Draw the source-to-screen route
| Arrangement | Signal route | What to verify |
|---|---|---|
| Sources connected to the TV | Player or console → TV; TV audio → soundbar or receiver through ARC/eARC. | TV input capabilities, audio passthrough, return-channel support, and audio-system decoding. |
| Sources connected to the receiver | Player or console → receiver; receiver video output → TV. | Receiver passthrough for the required video format and features, plus compatible ports and cables. |
| TV’s built-in streaming app | TV app → TV’s audio output → audio system. | App content format, TV output setting, and audio-system support along the whole route. |
HDMI’s eARC explanation describes returning audio from a TV to a soundbar or receiver, with support for higher-bandwidth audio formats than ARC. Confirm the feature on both devices and the specific ports used. Read their cable guidance, format support, and required settings; a general HDMI version label cannot answer every compatibility question.
Write port labels exactly as printed, including the port number and ARC/eARC marking. Record the cable route and length before purchasing. Use the home-theater connection record to keep each source, input, required feature, and test result together.
Test one path at a time
Repeat the test for a TV app and any other source. Check lip synchronization, dialogue clarity, volume control, switching inputs, and restarting the system. Save the working settings before experimenting. A service’s subscription tier, title, application, and device can affect which formats are available.