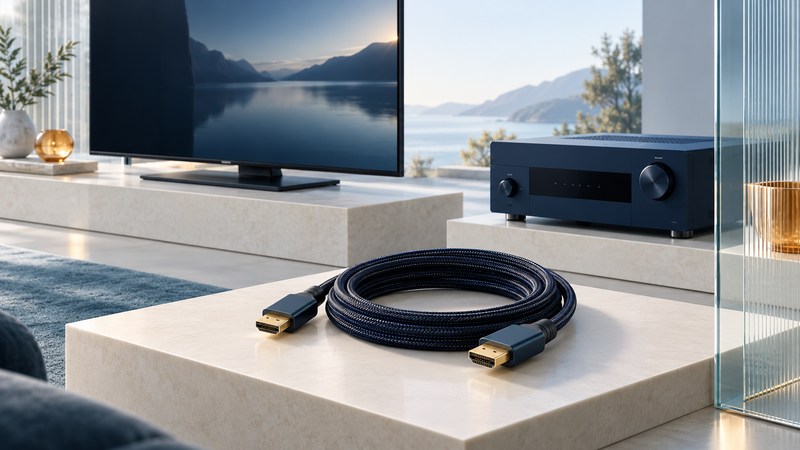
A reliable HDMI connection starts with a specific goal: the picture format you want on the screen and the sound format you want at the speakers. Write down that goal, then check every device and cable between the source and the destination. The shape of the socket identifies the connection; the manual explains what that particular socket supports.
Draw two paths: picture and sound
Choose a source such as a console, disc player, or streaming device. Draw where its picture goes and where its audio goes. Add any receiver, switch, adapter, or soundbar in between. A TV’s built-in app starts a different audio path from a player connected to a receiver.
| Arrangement | Picture path | Audio check |
|---|---|---|
| Source through receiver | Source → receiver input → TV input. | The receiver must pass the required video features and accept the source’s audio format. |
| Source through TV | Source → TV input; TV return-audio port → audio system. | Verify TV passthrough, ARC/eARC on both ends, and the audio system’s supported formats. |
Record exact model numbers, input numbers, and output labels. Check the manual’s supported-signal table for the combination you need: resolution, refresh rate, HDR mode, and any gaming feature such as variable refresh rate. Features can differ between ports on the same product. A receiver’s video-passthrough capability also matters when it sits in the picture path.
Use the existing home-theater connection and test record to keep this inventory beside the equipment. Fill in the required features before shopping or routing a cable through furniture.
Use ARC or eARC for sound coming from the TV
ARC and eARC carry audio from a TV back to a compatible receiver or soundbar. They are useful for the TV’s apps and for sources connected directly to the TV. Connect the specifically marked return-audio ports and follow both devices’ setup instructions.
HDMI Licensing Administrator’s eARC guide explains the higher-bandwidth audio formats that eARC can carry. Transport support, TV passthrough, and the receiving device’s decoding support are separate checks. Confirm the actual format for the app, title, source device, and connection you will use.
CEC handles control functions such as linked power or volume. ARC/eARC handles the return audio path. Manufacturers may couple some setup controls, so read the model’s instructions rather than treating one successful remote-control action as an audio-format test. Check the receiver or soundbar’s input-information display during playback.
Choose the cable for the documented requirement
Look for the official cable name and any applicable certification label. HDMI’s cable overview identifies Premium High Speed cables for up to 18 Gbps, Ultra High Speed for up to 48 Gbps, and Ultra96 for up to 96 Gbps. These are cable capabilities; the connected devices still determine the available features.
Choose the class recommended for the intended signal and equipment. Follow the certification-label verification instructions on the official HDMI site. For eARC, consult its specific cable guidance as well as both device manuals. Retain a working cable when it meets the documented requirement and passes the intended use test.
Measure the real route with enough slack for strain-free connections and access. Check direction markings and any power requirements on active or optical cables. Test the full cable and all intermediate devices before concealing them. For an in-wall installation, use the cable and installation method permitted for that location; the HDMI bandwidth name alone describes no building-installation approval.
Establish a working baseline, then add features
- Check the selected path. Confirm the TV input, receiver input, and TV sound-output selection. Compare the labels to your record.
- Start with a documented common format. Use ordinary playback supported by every device. If needed, lower the source’s video mode or select a supported basic audio output using its manual.
- Add the desired feature. Enable the required enhanced input mode, HDR, higher refresh rate, or audio mode one change at a time. Confirm the TV and receiver’s reported signal.
- Isolate an intermediate device. If practical and supported, connect the source directly to the display. A successful direct test narrows attention to the removed device, its settings, or the extra cable.
- Repeat normal use. Test restart, input switching, TV-app audio, lip sync, and remote volume. Save the working settings.
If a basic mode works and a demanding one fails, inspect format support and the connection path before replacing equipment. If only one app fails, compare another source on the same route. A blank screen can reflect a handshake or content-protection problem as well as a cable or unsupported mode; use the device’s specific troubleshooting instructions.
Worked example: a console and an older receiver
For speaker setup and listening-mode checks after the connection works, continue with AV receiver setup. For the room and seating plan, return to the home-theater planning guide.