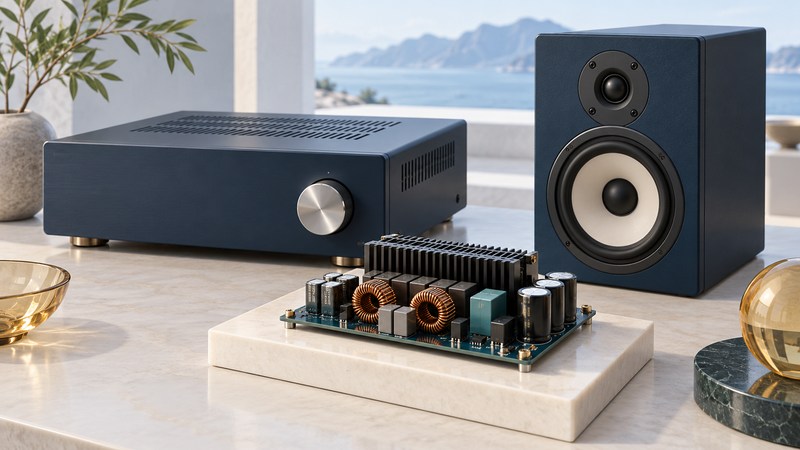
Choose an amplifier by its compatibility with the speakers, the connections you need, and its documented performance under meaningful conditions. The word “digital” and a large wattage figure each leave part of that decision unanswered. A short comparison record makes the missing information easier to spot.
Understand what Class D describes
Class D describes a switching output stage. Its output devices switch rapidly, and the audio is recovered from that waveform. Analog Devices’ explanation of Class D describes the efficiency advantage and the engineering work needed to control distortion, noise, and interference.
The input can be analog or digital. A USB or optical socket describes an input interface; Class D describes power amplification. Look separately for the input formats, conversion stages, volume controls, and speaker outputs a finished product provides.
Efficiency can reduce heat dissipation for a given output, but the finished unit still needs its specified power supply, cooling, and ventilation. The amplifier class alone establishes neither sound quality nor a universal placement clearance.
Read the conditions attached to a power number
| Condition | Why it matters | What to record |
|---|---|---|
| Speaker load | Available output and current demand depend on the load. | Specified impedance in ohms and permitted operating loads. |
| Distortion threshold | A larger allowed distortion figure can produce a larger quoted power. | THD or THD+N limit attached to the rating. |
| Frequency or frequency range | A single test frequency and a full audio-band rating describe different tests. | For example, 1 kHz versus a stated 20 Hz–20 kHz range. |
| Channels driven | Channels may share a power supply. | How many channels operated during the measurement. |
| Supply and duration | Supply voltage, cooling, and test duration affect the result. | Included supply, continuous or burst conditions, and thermal limits. |
THD means total harmonic distortion; THD+N also includes noise. Compare the same quantity under the same conditions. Keep a separate column for unreported details so a short advertisement does not become an assumed specification.
A concrete component example shows the effect: Texas Instruments lists the TPA3255 as an analog-input Class-D device and quotes stereo output of 315 W per channel into 4 ohms at 10 percent THD, versus 260 W at 1 percent THD. Its datasheet (PDF) supplies the operating conditions. These chip figures are not a performance guarantee for every retail amplifier built around that part.
A worked comparison: keep the unknowns visible
Use a one-line record for each candidate: power / load / distortion / frequency range / channels / supply / source document. Include the finished product’s manual or independent measured result where available, with its test conditions. Treat an absent condition as an open question.
Match the amplifier to the actual speakers
Confirm whether the speakers are passive and need an amplifier, or powered and accept a suitable line-level or digital input. Follow the speaker and amplifier manufacturers’ permitted connection and load instructions. Nominal speaker impedance is a simplified rating; an actual loudspeaker presents a changing electrical load across frequency.
Check the manufacturer’s recommended amplifier range and any minimum-impedance information alongside the amplifier’s supported loads. Speaker sensitivity, listening distance, room size, desired level, and bass demand also affect the practical requirement. Compare sensitivity figures only when their reference conditions match.
For a receiver and subwoofer system, speaker configuration and bass management determine which channels reproduce low frequencies. Decide the intended arrangement before treating a larger amplifier as the answer to every bass or dialogue problem.
Use the specified wiring arrangement and ventilation. Do not join speaker terminals, bridge channels, or share negative connections unless the exact amplifier manual permits that configuration. Protection trips, unexpected heat, or audible distress are reasons to reduce output and investigate the documented load and installation requirements.
Compare the complete system at a useful level
- Use the same speakers, placement, source, and passage for a comparison.
- Match the listening level as closely as practical; louder playback can bias the judgment.
- Listen for dialogue intelligibility, unwanted noise, and clean playback at the level you actually use.
- Check the input controls, standby behavior, ventilation needs, and available connections as well as the sound.
- Record any repeatable issue and the exact conditions before changing another component.
A familiar passage is useful for comparison, while a laboratory specification answers a different question. Combine the documented limits with your room and use case. If the main problem is getting sound into the system, start with HDMI connections or wireless media receivers. The Home Theater hub brings the room, connections, and playback checks together.