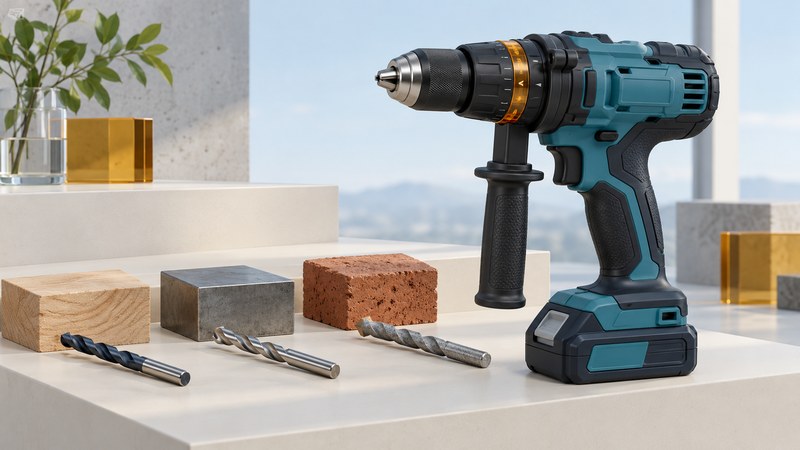
Describe the hole before choosing the mode
A hammer drill combines rotary drilling with a selectable percussion action for suitable masonry work. Many cordless models also provide a clutch-controlled screwdriving mode. Start with the material, hole diameter and depth, then check the drill and bit instructions. The hammer symbol is a task setting, not a general-purpose power boost.
Identify what lies behind the drilling point, including possible wiring or pipes. For a fixing, obtain the fixing manufacturer’s substrate, hole and cleaning requirements first. A neat-looking hole alone does not demonstrate an approved or load-bearing installation.
| Task | Starting mode decision | Confirm before drilling |
|---|---|---|
| Wood or metal hole | Rotary drilling with a suitable cutting bit | Material-specific bit, speed and capacity |
| Suitable masonry hole | Percussion only when tool, bit and substrate permit it | Masonry type, hole size, dust controls and fixing requirements |
| Driving a screw | Screwdriving mode and an appropriate clutch trial | Bit fit, screw seating and material response |
| Tile or a fragile surface layer | Use the bit and surface supplier’s specified method | Do not assume the masonry setting suits the surface |
| Demanding concrete or repeated holes | Evaluate an appropriate rotary-hammer system | Rated capacity, accessory interface and extraction setup |
Separate mode, gear and trigger control
The Milwaukee 2903-20/2904-20 manual (PDF) provides a useful model comparison: the 2904-20 has hammer, drilling and screwdriving selections, while the 2903-20 is a drill/driver. Identify your own model instead of assuming that tools sharing a battery platform have the same modes.
For the 2904-20, the collar selects the action, the speed selector chooses a gear and the trigger varies speed within it. The manual calls for a complete stop before changing gears or direction and a scrap-material trial for clutch settings. Treat numbered clutch positions as a setup aid, not a substitute for a specified final torque.
Read the capacity table for the actual bit type and material. A maximum chuck opening describes what the jaws can accept; it does not by itself establish the permitted hole diameter for every accessory. Keep those two checks separate on your setup notes.
Check retention, support and grip
CCOHS powered-drill guidance recommends compatible bits, secure chuck engagement and restrained workpieces. Isolate the power before fitting or changing accessories, check that the bit runs true, and remove a chuck key where one is used. Clamp small work instead of holding it in one hand while drilling with the other.
Fit and use the auxiliary handle as the model manual requires. Milwaukee requires its side handle and secure handling for this tool; its instructions also call for eye protection and hearing protection during impact drilling. Keep clothing and hair clear of rotating parts and plan a balanced position with the exit side of the hole clear.
A conventional three-jaw chuck and an SDS rotary-hammer holder use different interfaces. Choose the correct shank and retention system. A change of holder or an improvised adapter should never be treated as permission to use an accessory beyond the drill’s approved application.
Arrange dust control before the first hole
Concrete, brick and other silica-containing materials call for a dust-control plan. NIOSH silica work-practice guidance explains the importance of engineering controls, equipment maintenance and worker protection. For workplace tasks, obtain the employer’s task-specific dust-control and training instructions before starting.
Arrange the compatible shroud and extraction equipment before drilling, with the collection and hole-cleaning method required by the task. A household handheld vacuum is not an assumed substitute. The 2904-20 manual specifically says not to use water to settle dust with carbide bits; choose the approved dust-control system for that tool and job.
If you cannot identify the material or establish a suitable setup, pause the job and obtain competent advice. This is particularly important for unknown existing finishes, concealed services and specified structural connections.
Use a trial to confirm the setup
Start the trial as the bit and tool instructions direct. Stop to assess alignment, size, depth and surface damage before repeating it. If progress stalls, investigate the bit, material and selected mode instead of leaning harder on the tool. A binding or jammed bit requires stopping and isolating power before following the manufacturer’s release procedure.
Record the accepted setup with the job. Repeat the check when the bit, material or hole requirement changes, and return to the fixing instructions before installing any fastener.
Choose your next guide
- Cordless Drills — Match drilling capacity, gears and clutch settings to the job.
- Rotary Hammers — Compare accessory interfaces, drilling modes and dust control.
- Drill Bits — Check the material, hole shape and shank before choosing a bit.
Browse drilling and holemaking or explore all 47 tool guides.