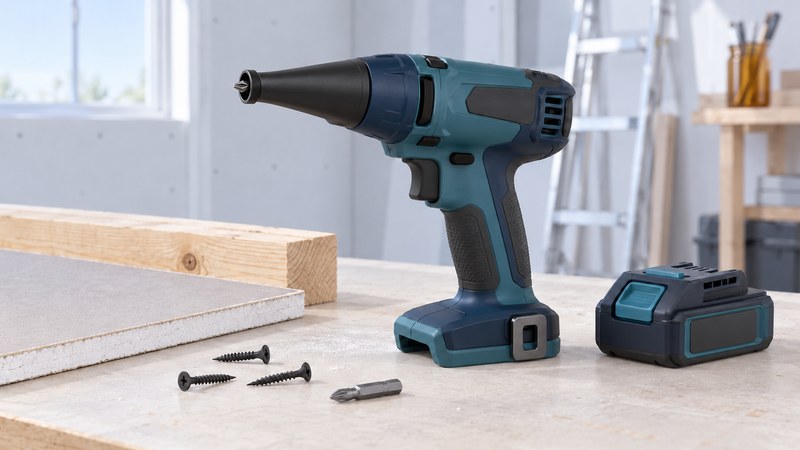
Start with the model and fastening task
A screw gun becomes useful when many fasteners need a consistent seating depth. Begin with the material system and screw specification, then identify the tool, nosepiece, bit and any collated attachment. Keep the full model and type number with the matching manual; DeWalt’s manual and parts lookup guidance explains where to find those documents.
Drywall, decking and metal framing can require different screws and tool configurations. Check the intended application of the exact machine. A depth-sensitive drywall gun controls its stopping point through contact with the surface; a task specifying a tightening torque needs the specified torque method.
The DCF620 instruction manual (PDF) is a concrete drywall example. Its spring-separated clutch allows the motor to run while the bit remains still until forward pressure engages the drive. When the depth locator reaches the surface, the clutch disengages. This behavior helps explain setup without assuming every DeWalt model has identical controls.
Match the parts as a system
| Part of the setup | Record or verify | A useful question |
|---|---|---|
| Material assembly | Panel and supporting material | What fastening instructions apply to this exact assembly? |
| Screw | Length, head, thread, point and coating | Is this the specified screw for the substrate and exposure? |
| Bit and holder | Profile, length and condition | Does the bit fully fit and reach the screw in this configuration? |
| Nose or magazine | Approved tool/attachment combination | Can the contact surface sit correctly at this location? |
| Result | Required seating and surface condition | What will a satisfactory trial fastener look like? |
Support and position the material before fastening, and establish what is behind the drive point. Keep hands clear of the bit and any feed mechanism. Follow the tool’s requirements for protective equipment and disconnect its power source before changing attachments, bits or settings.
Use a representative depth trial
Practice on the same material layers and support used by the job. For ordinary gypsum-panel fastening, the USG installation guide (PDF) calls for the screw head just below the surface while leaving the paper intact. Use the instructions for the actual panel assembly to establish spacing, edge distances and any special fastening requirements.
- With the tool isolated, fit the approved bit and nose configuration and make an initial depth setting using its instructions.
- Prepare a supported sample and check screw alignment and access. Reconnect power only when ready to follow the operating sequence.
- Drive a trial screw with the tool aligned to the fastening point. Let the depth locator perform its intended function.
- Inspect the head position and surrounding material. For drywall, check that the paper is intact rather than judging only how deep the head appears.
- Isolate the tool before adjusting, change the setting in a controlled increment and check another trial. Recheck after changing material, bit or attachment.
Treat the magazine as another setup
A collated attachment adds strip feeding and screw-length adjustment to the base tool. The DCF6202 magazine manual (PDF) specifies the DCF620 as its intended screw gun and distinguishes screw-length setup from fine depth adjustment. Confirm the current instructions for the exact attachment/tool pair before fitting it.
Use compatible, undamaged strips and the designated driver bit. Keep the strip free of debris and check the feed path. Follow the manual’s power-off and trigger-lock instructions for strip insertion, and disconnect power for attachment adjustments or service. Keep hands out of the advancing mechanism.
Check access near corners on the real layout before committing to a production run. If the shoe cannot contact the surface correctly, choose an approved configuration that can; pushing harder does not resolve the geometry.
Investigate inconsistent seating
When results vary, first separate a setup problem from a material problem. Compare the screw and substrate with the trial, inspect bit wear and nose contact, and check whether the board is fully supported. If a feed strip fails to advance, stop and use the attachment’s fault-clearing instructions.
Dust can affect the nose mechanism. The DCF620 manual gives a separate procedure for cleaning its removable nosecone and prohibits oil or solvents there. Follow that procedure for the matching part; keep liquid out of the tool body. Have damaged controls or persistent faults serviced before continuing.
Once the fastening is sound, move to drywall edge fitting and joint finishing. A consistent fastening setup makes the later surface check easier.
Choose your next guide
- Cordless Screwdrivers — Choose reach and control for small screws and household assembly.
- Drywall Rasps and Sanders — Distinguish board-edge shaping from joint-compound finishing.
- Cordless Drills — Match drilling capacity, gears and clutch settings to the job.
Browse powered fastening and air tools or explore all 47 tool guides.