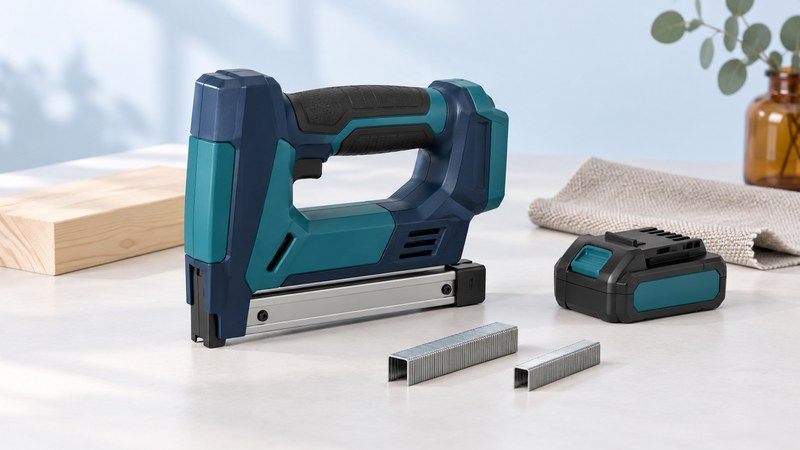
Read more than the leg length
Start a stapling job by identifying what is being attached, what lies underneath and what will hold the finished assembly. Then match the exact tool model to its approved staple family. A box labeled with the desired leg length can still contain the wrong crown or wire size.
| Specification | What it describes | Check before choosing |
|---|---|---|
| Crown | The bridge across the two legs | Width and shape match the approved staple family |
| Leg length | How far the legs extend below the crown | Length suits the material stack and permitted penetration |
| Wire size or gauge | The section of metal forming the staple | The tool accepts the specified wire and strip form |
| Material and finish | Steel type or protective coating | Fastener is suitable for the stated environment |
| Series or part number | The manufacturer’s fastener identification | Keep the package for repeat purchases and fault checks |
A broad-crown tacker, a narrow-crown joinery stapler and a cable fastening tool serve different tasks. Choose by the approved application and fastener specification. Cable work requires equipment and fasteners explicitly designed for that installation.
Plan the penetration and surface result
The top layer and underlying material both affect the choice. A fabric layer, a thin backing sheet and a wooden strip behave differently under the crown. Identify the available substrate thickness and anything behind it before deciding on a leg length.
Arrow’s T50 manual (PDF) treats material thickness and wood hardness as important leg-length considerations. Its numerical suggestions and operating technique apply to that manual tacker; use your cordless tool and material-system instructions for the actual setting.
For a small nonstructural practice assembly, write down the intended result before driving: a held top layer, appropriate crown seating, no unacceptable tearing, and no exposed points through the back. Structural sheathing, roofing or another specified assembly needs its own approved fastening schedule and fastener requirements.
Use the actual cordless tool’s instructions
The Makita XTS01 manual (PDF) provides one concrete example. It specifies its accepted staple width and lengths and requires battery removal before loading, adjustment and maintenance. It explicitly excludes fastening electrical cables. The XTS01Z product page is a route to that model’s documents, not a compatibility guide for every Makita stapler.
Inspect the tool and perform the manual’s prescribed safety-control checks before use. Keep the nose directed away from people, fingers off the trigger during handling, and hands and feet clear of the ejection area. Use the specified eye protection and keep others clear of the work and possible exit path.
Load only the approved staple strip by the tool’s prescribed method. Remove damaged, bent or corroded staples from the job and keep different sizes separate. An orderly labeled supply makes both setup and later troubleshooting easier.
Check a small sample before repeating
- Keep the tool’s contact surface positioned as its manual directs and use a stable, supported sample.
- After a trial, stop and make the tool safe before handling or inspecting close to the nose.
- Check whether the crown is seated as intended, the top layer is held without unacceptable damage, and the points remain contained.
- If the result fails, identify whether staple choice, substrate, support or a permitted depth setting needs correction. Isolate power before changing the setup.
- Repeat on fresh sample material and keep the accepted staple-box information with the job.
Treat a trial as evidence for that material combination. A change in fabric layers, timber or staple series calls for another check. A household trial does not establish the strength of a regulated or load-bearing connection.
Stop when the tool or result changes
A proud crown calls for investigation before more staples are driven. Check the approved fastener, the support and the model’s depth-control guidance. Excessive driving can tear a soft layer or damage the substrate; using a longer leg is not a general cure.
For a jam, disconnect the power source and follow the exact clearing procedure. Stored mechanical force can remain in the mechanism, so battery removal does not make improvised probing appropriate. Have persistent faults serviced, then finish with the manufacturer’s unloading, cleaning and storage routine.
Choose your next guide
- Cordless Framing Nailers — Compare fasteners, power systems and firing controls.
- Cordless Gas Nailers — Check fuel, batteries and maintenance for a combustion-powered nailer.
- Cordless Screwdrivers — Choose reach and control for small screws and household assembly.
Browse powered fastening and air tools or explore all 47 tool guides.