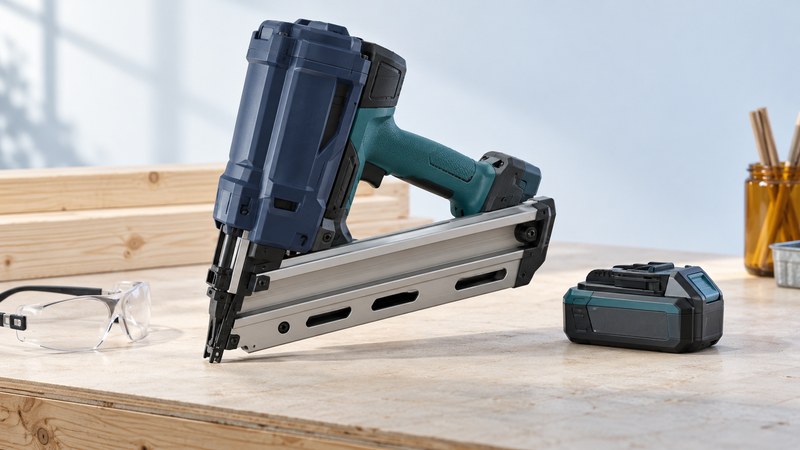
Identify the complete fastening system
Choose a framing nailer around the specified connection, the accepted fasteners and the work environment. Record the exact model and revision before buying nails, batteries or fuel. A magazine angle or a familiar brand name is only part of the match.
Fuel-assisted cordless nailers carry a combustion fuel supply and a battery. The Paslode Cordless XP operating manual (PDF) explains this arrangement. Battery-only designs use a different drive system; DeWalt’s UK DCN692 product documentation is one gas-free example. Those examples establish power-system differences, not interchangeable parts or universal performance.
For fuel equipment, include the specified fuel, ventilation and storage conditions in the decision. The XP manual warns that exhaust contains carbon monoxide and requires a well-ventilated environment; hot exhaust and flammable surroundings are also concerns. Read the actual model’s operating limits. Paslode’s current manual library separates newer models from earlier designs.
Check the nail against both tool and job
| Record | Check against | Reason |
|---|---|---|
| Model and power supplies | Tool label and matching manual | Parts and operating modes differ across generations |
| Collation style and angle | Approved fastener list | The magazine must feed the intended strip |
| Nail length, diameter and head | Tool limits and connection specification | A nail that fits the magazine may still be wrong for the job |
| Shank and coating | Specified material and exposure | The connection may require a particular fastener |
| Location and driving access | The intended assembly and work support | The tool needs controlled contact and clearance for recoil |
For a structural connection, obtain the required fastener and placement specification from the project’s responsible designer or approved system instructions. Driving a nail successfully into scrap checks a limited part of the setup; it does not establish the connection’s load capacity. Use a dedicated, approved approach for metal connectors.
Choose and understand the firing controls
The NIOSH/OSHA Nail Gun Safety guide (PDF, 2011) recommends full sequential triggers and hands-on training. Full sequential operation requires the contact tip and trigger to be operated in order and both released before another firing cycle. Contact actuation can permit firing when the nose contacts work while the trigger is already held.
Names such as “single fire” or “sequential” need confirmation in the tool’s instructions; different mechanisms can use similar labels. Ask the supplier or manufacturer to identify the actual control sequence. Do not bypass a contact tip or trigger safeguard. Keep fingers off the trigger while carrying or repositioning the tool.
Training should use the actual nailer and cover loading, aiming, support, recoil, misfires and isolation. A control description on a web page is a starting point for choosing equipment, not a substitute for that practical instruction.
Prepare a supervised trial
- Have a trained operator review the manual, approved fasteners, control checks and task before loading. Use the specified eye and hearing protection.
- Set up representative sound stock at a stable working height, with clamps or other support that keeps hands and bystanders clear of the possible nail path. Check for knots, embedded metal and hazards behind the work.
- Use the manufacturer’s prescribed loading and operating sequence. Make a controlled trial at an approved location with room for recoil.
- Inspect the nail’s seating and the wood for splitting or unwanted penetration. Stop if the result or firing behavior is unexpected.
- Make permitted adjustments only with the power sources isolated as the manual requires, then repeat the trial before continuing.
Handle faults through the model’s procedure
Stop using a nailer that double-fires, leaks, jams repeatedly or has damaged controls. Keep its nose pointed away from people. For the Paslode XP, the manual requires removal of both fuel cartridge and battery before jam clearing or fastener removal. Other drive systems have their own isolation and stored-energy instructions.
Follow the specific clearing procedure or use qualified service. A magazine window, low-nail lockout or removed battery alone is not proof that every fastener and source of stored energy has been cleared. Finish the session with the prescribed unloading, storage and maintenance routine.
Choose your next guide
- Cordless Gas Nailers — Check fuel, batteries and maintenance for a combustion-powered nailer.
- Cordless Staplers — Match staple crown, leg length and tool compatibility.
- Miter Saws — Check crosscut capacity, support and the first test cut.
Browse powered fastening and air tools or explore all 47 tool guides.