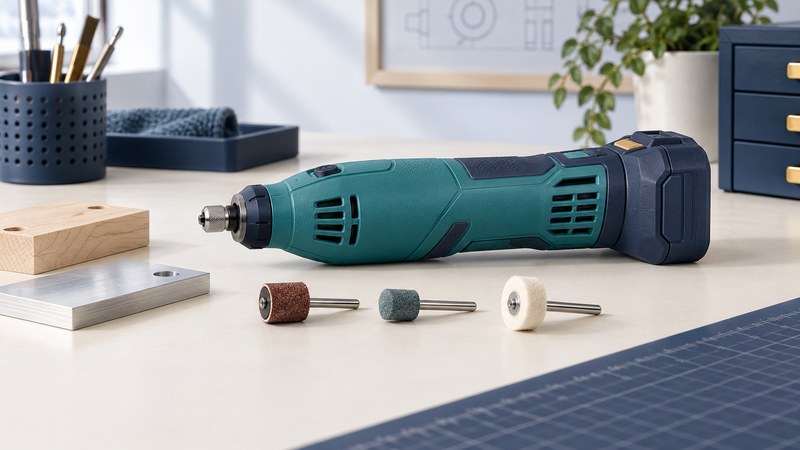
Choose the job first
A cordless rotary tool is useful when a small contact area and a compact body give you access that a larger tool cannot. Begin with a specific task: easing an edge, shaping a small recess, cleaning a detail or polishing a component. The machine, accessory and workholding form one setup.
| Task | Accessory to investigate | Decision to make |
|---|---|---|
| Shape a small wood detail | Approved sanding drum or cutter | Can the work be secured while the tool follows the shape? |
| Dress a small metal edge | Material-compatible grinding accessory | Will the accessory reach without contacting nearby surfaces? |
| Polish a detail | Compatible felt or polishing accessory and compound | Can the finish tolerate the process? |
| Make a small cut | Approved cutting wheel and mandrel | Is there a clear path and room for the specified guard or attachment? |
A large area, deep cut or repeated heavy removal may suit a dedicated sander, saw or grinder better. Keep the rotary tool for work where its size gives you useful control.
Check the whole accessory combination
Read the tool manual and the accessory packaging together. Confirm shank diameter, collet or chuck, mandrel, permitted material, speed rating and any required attachment. A familiar-looking shank is only one part of compatibility. Keep the accessory identification with it so its rating remains available after opening the package.
The Dremel 8240 instruction manual (PDF) includes assembly instructions, accessory warnings and material-specific speed charts for that model. It requires suitable accessory speed ratings; selecting a lower dial position does not make an accessory with an inadequate required rating acceptable.
- Fit the specified collet or chuck for the accessory shank.
- Use the approved wheel-and-mandrel combination.
- Inspect for cracks, damage and wear before use.
- Remove the battery or otherwise isolate the tool as its manual directs before changing accessories.
Arrange a controlled trial
Secure the part so both the intended contact point and the surrounding area are visible. Arrange lighting before starting. Plan the direction of debris and protect nearby surfaces. Choose the protective equipment and dust controls required for the accessory and material.
Use the manufacturer’s speed guidance, then test on a representative offcut or inconspicuous area. Light, controlled contact helps you judge removal before committing to the finished part. Check the result frequently; small accessories can change an edge or recess surprisingly quickly.
Observe accessory-specific limits: a cutting wheel may prohibit side grinding, and different brushes, stones and polishing accessories can require different speeds. Keep hands out of the accessory’s path and let it stop before putting the tool down.
Compare access, balance and battery needs
Handle the complete tool with its battery installed. Check whether the body blocks your view, whether you can reach the controls without shifting toward the accessory, and whether the grip remains comfortable in the intended orientation. A larger battery can change balance in a small workspace.
Runtime depends on the accessory, load and battery condition. Plan around the length of your work sessions and access to charging. Verify the exact battery and charger compatibility, replacement availability and permitted charging conditions in the product documentation.
An accessory bundle is valuable when its contents match your work. Count the useful operations it supports, and budget for the consumables you will actually replace.
Keep a small setup record
Record the tool model, accessory identifier, material and the manufacturer’s setting you used. Store fragile wheels and accessories so they cannot be damaged by loose tools. Keep vents clear as the manual directs and inspect the holding components during accessory changes.
If a setup produces vibration, slipping, excessive heat or poor control, stop and identify the cause. A fresh accessory, different workholding or a different tool may be the appropriate next step.
Choose your next guide
- Router Bits — Choose profiles and shanks for the intended routing operation.
- Needle-Nose Pliers — Choose reach, jaw shape and control for small parts.
- Cordless Soldering Tools — Compare power, tips and temperature control for bench tasks.
Browse woodworking and shaping or explore all 47 tool guides.