Choose the machine format
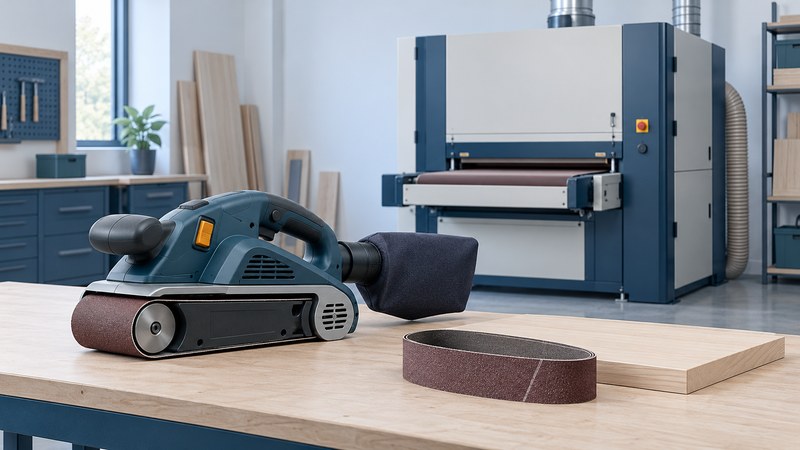
Start with the size of the work and the amount of material to remove. A handheld belt sander moves across a secured surface; a stationary machine lets you present a smaller piece to a fixed abrasive. A wide-belt sander feeds stock through an enclosed sanding head on a conveyor. Each arrangement needs its own workholding, dust control and operating procedure.
| Format | Useful work | Check before choosing |
|---|---|---|
| Handheld | Leveling or stripping a broad, accessible surface | Two-hand control, weight, belt availability and dust connection |
| Bench or floor stationary | Shaping edges and smaller components | Supported working area, guards and permitted stock sizes |
| Wide-belt production machine | Repeated panel or board surfacing | Head configuration, stock limits, extraction, electrical supply and operator training |
For a single awkward surface, consider whether a different sanding method offers better control. For a production shop, include receiving, infeed, outfeed and dust collection in the equipment footprint. The machine cabinet alone does not describe the space the process needs.
Plan the abrasive sequence
Identify the substrate, coating and desired finish before buying belts. Use the belt dimensions and abrasive types approved for the machine and material. A coarse belt removes material quickly but leaves scratches that later stages must remove. Choose the first grit on a representative offcut, then progress only after the previous scratch pattern has disappeared.
The finishing-product instructions help determine where sanding should stop. Separate wood sanding from work that can produce sparks; assess the collector and material compatibility before changing applications. Unknown old coatings need identification and suitable dust controls before abrasion.
Control a handheld or stationary sander
Secure the work, inspect the belt and follow the machine instructions for tracking and startup. On a handheld machine, use both handles and keep the base controlled across the surface. Excess pressure makes it harder to maintain a flat result. Isolate power before belt changes, adjustments or clearing dust. CCOHS handheld-sander guidance covers inspection, workholding and safe handling.
On a stationary sander, review the approved working surfaces and supports before presenting a piece. Small parts need a method that keeps hands clear of the moving belt. Guards, table position and clearances belong to the specific machine setup; consult CCOHS stationary-sander guidance alongside its manual.
- Look for embedded fasteners and damaged stock before sanding.
- Plan eye, hearing and dust protection for the material and exposure.
- Wait for moving parts to stop before setting the tool down or reaching into the work area.
Set up a wide-belt workflow
A wide-belt purchase begins with the smallest and largest stock the shop will actually process. Verify minimum length and thickness as carefully as maximum width: short or thin pieces can fall outside a machine’s safe feed range. Check whether the sanding head uses a contact drum, a platen or a combination, and which operations the manufacturer assigns to each.
The Grizzly G0415/G0416 manual (PDF) illustrates why model-specific setup matters. It gives stock limits, dust requirements and procedures for its feed and sanding systems. Its settings apply to those machines and manufacturing versions; use the matching manual for another installation.
- Inspect and sort stock. Remove unsuitable pieces and establish a clear path through the machine.
- Confirm extraction, guarding and the specified setup checks before operation. Arrange support for long stock without obstructing the feed.
- Set abrasive, removal depth and feed according to the material and machine instructions. Keep adjustment and service procedures within the operator’s training.
- Run representative permitted stock, measure the result and inspect the surface before processing the batch. Record the successful setup.
Treat belt loading, burning, chatter or an uneven result as reasons to stop and investigate. More pressure or a deeper cut can compound a setup problem. Keep hands away from feed openings and nip points, and use the prescribed isolation procedure before access or maintenance.
Compare the complete setup
Price the machine with the belts, extraction connection, replacement wear parts and space it needs. Check how tracking adjustments, belt replacement and cleaning are performed. In a shared shop, keep the manual and a short setup record at the machine so the next operator can identify the approved configuration.
A useful buying question is: “Can I safely prepare, support, sand and inspect my actual workpiece with this setup?” A demonstration using representative stock answers more than a no-load motor specification.
Choose your next guide
- Wood Rasps — Explore hand shaping for curves, edges and fitted parts.
- DeWalt Thickness Planers — Prepare stock and check thickness and surface quality.
- Drywall Rasps and Sanders — Distinguish board-edge shaping from joint-compound finishing.
Browse woodworking and shaping or explore all 47 tool guides.