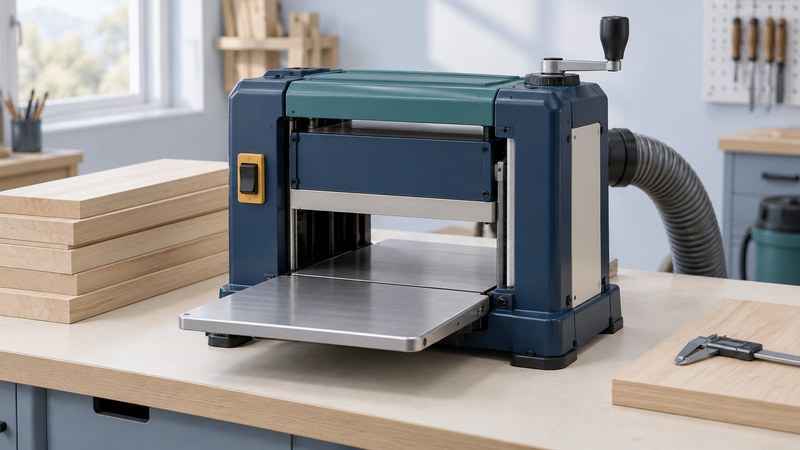
Decide what the board needs
A thickness planer removes material from the upper face as the board travels across its bed. The reference face underneath affects the result. Begin by deciding whether the job is to reach a uniform thickness, improve a surface or correct the board’s shape. Those goals may require different preparation.
The DeWalt DW735 manual (PDF) explains that a board with a flat reference face gives the best starting point. Feed rollers can temporarily press a bowed board flat, allowing the bow to return afterward. Severely distorted or otherwise unsuitable stock needs a different preparation decision.
Record the exact model and type before following a setting or ordering knives. The DW735 product and document page is one route to its instructions. Another DeWalt planer may have different controls, stock limits or servicing requirements.
Prepare a stock and measurement record
| Item | Record before starting | Check afterward |
|---|---|---|
| Identity | Board label and intended part | Keep results attached to the right piece |
| Reference face | Which prepared face establishes the setup | Confirm the intended reference remains usable |
| Thickness | Measurements at several marked locations | Compare the same locations after a pass |
| Final requirement | Target thickness and finishing allowance | Stop before removing needed material |
| Surface | Existing grain changes and defects | Distinguish old defects from new marks |
Use a measuring tool with suitable resolution and consistent contact pressure. A scale on the machine helps establish a setting; a measurement of the work tells you what resulted. Checking several locations also helps prevent one convenient reading from hiding variation across the board.
Sort pieces by starting condition and intended use. Keep a clearly labeled practice piece with the batch. The record is especially valuable when several boards look similar but need different finished dimensions.
Provide support and chip capacity
Plan enough clear space for the full board at both ends. Use the machine’s mounting and support instructions, then check the entire feed path. Arrange access to the controls without placing your body where emerging stock could pin it against an obstruction.
For the DW735, the manual describes fan-assisted chip ejection working with a dust-collection system and cautions that most shop vacuums lack capacity for its chip volume. Check the specified connection and collection requirements before use; a hose that happens to fit is only one part of the system.
Keep hands clear of openings and moving parts. Use the required protective equipment and isolate power before inspection, clearing blockages or maintenance. Knife work belongs to the exact model’s service procedure and the operator’s competence.
Use a measured trial, then reassess
Read the permitted stock dimensions, material-removal limits and operating sequence in the matching manual. Removal per pass depends on the specified conditions, including stock width. For the DW735, feed-speed selection also has a particular procedure; consult it before changing the control.
- Write down the intended final condition and identify a suitable representative practice piece.
- Complete the manufacturer’s preparation and startup checks, with stock clear of the machine as required.
- Make a trial pass using the approved procedure and support arrangement.
- Once the piece is clear, compare thickness at the marked locations and inspect the face.
- Decide whether the next step is another permitted pass, a setup correction or stopping for a different preparation method.
Interpret the surface before changing a setting
A deeper area near an end is commonly called snipe. The DW735 instructions connect it to loss of level support as a board enters or leaves. Torn grain is a different symptom; grain direction, knife condition and the permitted cutting setup deserve attention. Repeating a deeper pass without identifying the symptom risks losing useful stock.
Describe where a defect occurs: one end, both ends, a continuous line or a changing patch. Photograph or mark the affected area and compare it with the manual’s troubleshooting section. This is more useful than recording only that the finish is poor.
When the intended thickness and surface are reached, move to the appropriate finishing process. Our belt-sander guide helps distinguish sanding equipment and abrasive choices for that later stage.
Choose your next guide
- Delta Table Saws — Identify the saw and plan its cutting setup.
- Belt Sanders — Compare sanding equipment for shaping and surface preparation.
- Wood Rasps — Explore hand shaping for curves, edges and fitted parts.
Browse woodworking and shaping or explore all 47 tool guides.