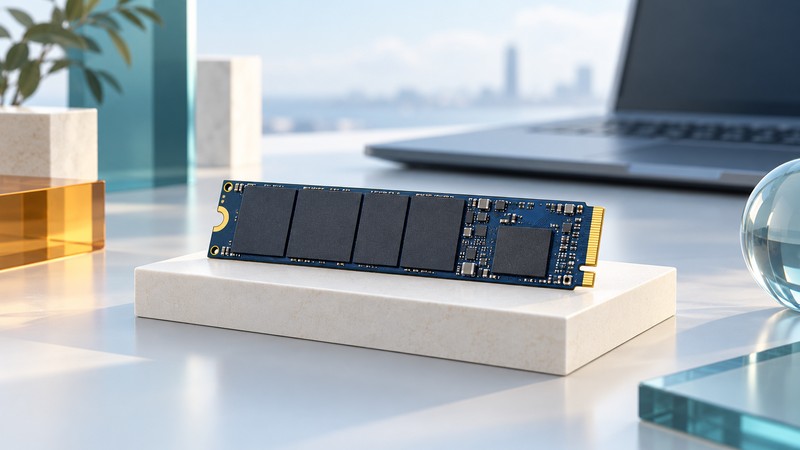
The Toshiba XG5-P is an older OEM client SSD found in computers and the used-parts market. Start an upgrade decision with the exact drive model and the computer's service documentation. A compatible replacement must satisfy the slot, firmware, mounting, and operating-system requirements together.
Identify the drive before comparing replacements
Record the full model number, reported capacity, firmware revision, computer model, and operating system. Use the computer's storage information or supported diagnostic utility first; open the case only under its service instructions. Keep serial numbers in your own records rather than posting them publicly.
Kioxia's archived XG5-P product brief marks the series End of Sales. Its standard models are KXG50PNV1T02 and KXG50PNV2T04; separate KXG5APNV models provide the optional self-encrypting variant. Match the complete identifier before using a specification or firmware package.
On a narrow screen, focus the table region and scroll horizontally to read every column.
| Property | 1 TB class | 2 TB class |
|---|---|---|
| Standard model | KXG50PNV1T02 | KXG50PNV2T04 |
| Listed capacity | 1,024 GB | 2,048 GB |
| Module and interface | Single-sided M.2 2280; PCIe Gen3 x4; NVMe 1.2.1 | Same |
| Sequential read, up to | 3,000 MB/s | 3,000 MB/s |
| Sequential write, up to | 2,100 MB/s | 2,200 MB/s |
These are historical product specifications, not a promise about the condition or performance of an individual used drive. Keep the exact capacity and model attached to every comparison.
Check the computer, slot, and enclosure
M.2 describes a physical format; the host must also support the drive's electrical interface and protocol. Dell's M.2 upgrade guidance illustrates why SATA and PCIe/NVMe support, module size, and system requirements must be checked separately. Use the corresponding documentation for your own computer.
- Slot and boot support: confirm PCIe/NVMe support for the intended slot and whether the system can boot from it.
- Mechanical fit: check module length, mounting position, single- or double-sided clearance, and any required bracket or thermal pad.
- External connection: if using a USB enclosure for transfer, confirm that it accepts NVMe modules of the right size. An M.2 SATA-only enclosure serves a different interface.
- Support channel: obtain firmware and procedures for the exact OEM computer or drive. A similar family name is insufficient evidence that an update applies.
A newer drive's headline interface speed becomes useful only within the computer's supported connection and workload. Document compatibility first, then compare capacity, sustained performance, support, and cost.
Read performance and power figures in context
Sequential throughput describes long transfers. Random I/O results describe many smaller operations under a declared test pattern. Latency describes the time an operation takes. Opening an application, copying a large video, and updating thousands of small files stress different parts of a system.
The November 30, 2017 XG5-P announcement gives cache-enabled test conditions for its peak throughput figures and ties its less-than-60-mW power claim to MobileMark2014 testing. That figure should be read alongside its workload conditions. The later product brief lists typical active power of 4.8 W for the smaller model and 4.9 W for the larger one, plus a separate 3 mW L1.2 low-power state.
For a useful comparison, record transfer size, read/write mix, available space, temperature, and whether the test is a short burst or a sustained copy. Also inspect the other endpoint: a slow source disk, USB connection, or network share can dominate the result. Use disposable test data and keep sufficient working space.
Decide what problem replacement would solve
Capacity pressure
Measure current use and expected growth. Include applications, temporary files, and working copies. Choose enough usable capacity for the workload and its working space; the nominal label alone is a poor budget.
Performance pressure
Time the actual task and identify the slow stage. Replacing a drive offers little benefit when the limiting step is elsewhere. Repeat a comparison with the same files and settings.
Health concerns
Preserve readable data promptly if errors or unexplained disconnects appear. Use supported diagnostics and inspect reported warnings. A clean health report describes observed status; it cannot guarantee future reliability.
Support needs
Consider firmware availability, warranty, provenance, and recovery options. Keeping a functioning drive can be reasonable when it meets the task and has a verified backup.
The product brief's population-level reliability estimate is not a countdown for an individual SSD. Treat personal files and replaceable hardware as separate protection decisions.
A practical upgrade checklist
- Make a recovery record. Note the computer, original drive, intended replacement, and applicable service procedure. Identify who manages the device if it belongs to an organization.
- Verify a backup. Keep a separate copy of important files and open representative files from it. Plan how applications, licenses, and settings will be restored.
- Confirm access to encryption recovery material. For Windows devices, follow Microsoft's BitLocker recovery-key guidance. Hardware changes can trigger recovery. Store keys separately from the drive being replaced.
- Choose the transfer method. Decide between a supported migration process and a fresh installation with file restoration. Check the destination capacity and the migration tool's encryption and partition requirements.
- Follow the exact hardware procedure. Use the OEM's power, battery, handling, mounting, and thermal instructions. Stop when the expected connector or bracket differs.
- Verify before retiring the original. Check booting, capacity, representative files, applications, encryption status, and a new backup. Retain a secure rollback copy until the replacement is established.
If the new drive is missing from firmware setup, revisit slot and mounting compatibility. If firmware sees it but the system will not boot, follow the migration or installation documentation; boot configuration and physical detection are separate checks.