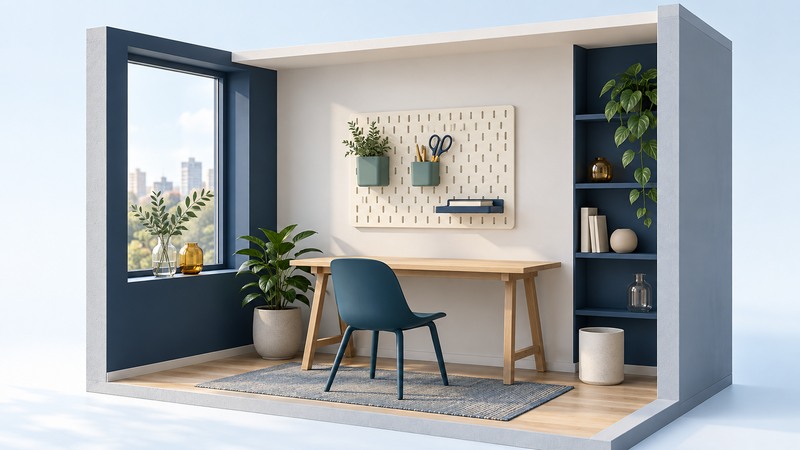
A multifunctional wall panel moves selected objects off a work surface and keeps them visible. Its value comes from matching the panel, accessories, wall support, and daily routine. Start with a small group of objects you use together, then establish the complete system’s mounting requirements before buying.
Begin with the objects, not the panel size
Lay out the things you want to store and group them by task: stationery, sewing supplies, entryway items, or lightweight workshop accessories. Record each object’s size, weight, how often you use it, and whether it needs a closed container. Include the weight of containers and shelves in the planned load.
Identify objects that need another home: bulky equipment, valuable fragile pieces, liquids near electronics, or items children must not reach. Removing a few unsuitable objects often makes the remaining layout simpler. A panel’s appearance in a room photograph does not establish its capacity for your objects.
Measure the available wall between trim, outlets, switches, doors, and furniture. Include the depth of a loaded accessory and the movement required to lift an item off its hook. Reach matters when you are seated at a desk as well as standing.
Compare the complete accessory system
On a small screen, scroll the table sideways. Keyboard users can focus it and use the arrow keys.
| System | Useful comparison | Check before purchase |
|---|---|---|
| Pegboard or slotted panel | Hooks, cups, clips, and shallow shelves can keep small items visible. | Hole/slot geometry, compatible accessory series, retaining features, and published limits. |
| Rail-based storage | A rail supports a coordinated selection of baskets, shelves, or containers. | Rail and bracket compatibility, support spacing, shelf depth, and installation instructions. |
| Desk-mounted or freestanding panel | Can suit a movable work area or a location where wall fixing is unsuitable. | Approved connectors or feet, compatible desk dimensions, stability, and product limits. |
As one current example, IKEA’s US SKÅDIS pegboard listing identifies its matching accessory series and included mounting rail, while wall screws are sold separately. Its safety guidance calls for secure anchoring with fittings suited to the home and professional advice when uncertain. Those details show why a panel purchase and an installation plan belong together; apply the instructions for your exact product.
Confirm replacements and additional accessories are available for the chosen series. Similar-looking hooks from another system may have a different fit or retention method. Keep the panel’s article number with the accessory list.
Mock up one working zone
- Draw the panel outline at full size on paper, or mark it temporarily with a surface-appropriate removable material. Locate obstacles and the desk or furniture below it.
- Draw accessory footprints at their loaded depth. Leave room above hooks for removal, around containers for hands, and below shelves for objects hanging underneath.
- Place frequently used objects within easy reach. Walk through one complete task: take the item, use it, and return it.
- Review the proposed contents against each applicable panel, accessory, connector, and installation limit. Obtain clarification from the manufacturer where a limit is missing.
A well-used small section is a better starting point than filling every slot. Photograph the first arrangement and note what repeatedly stays on the desk; that object may need a different holder or a more convenient position.
Resolve the wall and mounting method
Before drilling, identify the wall construction and establish where the prescribed supports can be installed. Follow the exact product instructions and have a competent installer address uncertain wall construction, concealed services, unsuitable surfaces, or a heavy proposed load. For rented space, settle permission and repair responsibilities in advance.
Do not replace prescribed mechanical fixing with adhesive strips or an improvised bracket. Obtain written guidance for the complete assembly, including wall, fasteners, rail, panel, and accessories. A hook’s individual rating cannot simply be multiplied by the number of hooks to establish the system’s capacity.
If wall fixing is unsuitable, compare a purpose-designed desktop system. IKEA’s freestanding SKÅDIS product is an example supplied with feet; its use and accessory compatibility should be checked as its own configuration. A wall panel does not become freestanding merely by leaning it against a wall.
Make the arrangement easy to maintain
At handover, retain the product numbers, mounting instructions, installer’s records, and the agreed contents and limits. Use the manufacturer’s inspection and cleaning guidance. If a fixing loosens, the panel moves, or an accessory becomes damaged, stop loading the affected part and arrange correction.
Review the layout after a normal week of use. Move compatible accessories within the documented system, keep the original installation requirements in force, and reassess the load when the contents change. Wipe and dry surfaces according to their product instructions; a tidy visible panel should also remain easy to clean.
For clothes and larger storage volumes, a wardrobe plan based on the actual inventory may answer the need more effectively. Use wall panels where access and visibility are the main benefits.