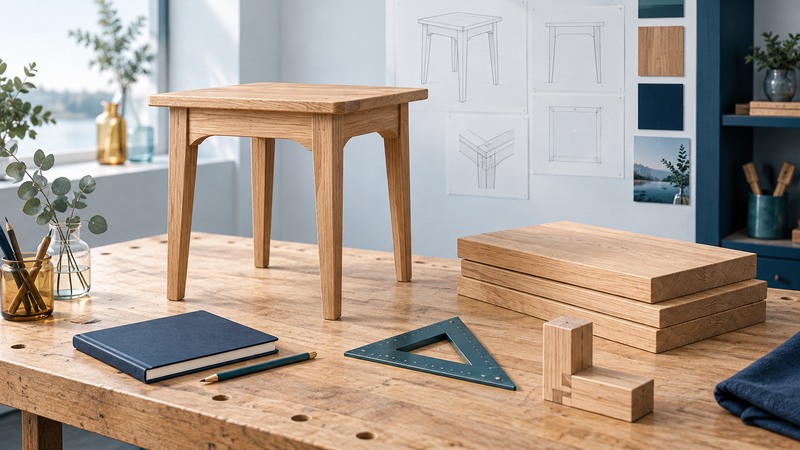
Furniture making starts by deciding what a piece must do, where it must fit, and how it will be built with the skills and equipment available. A useful first plan connects the drawing to the material, joints, hardware, and finish. This guide helps a beginning maker prepare that plan; use a proven project design and the relevant tool manuals for the actual build.
Write a brief you can check
Describe the user, task, location, and things the furniture will hold. Measure the room, adjacent furniture, and delivery route. Sketch the object at a useful scale and label overall dimensions, clear openings, doors or drawers, and the surfaces people touch. Record the measurement unit on every drawing.
Separate requirements from preferences. “Fits beside the sofa and holds this lamp” is testable. “Looks light” needs a sketch or mock-up to make it concrete. Photograph the intended objects with a ruler for context and check their height, footprint, and cable access.
Select a published plan appropriate to your skill level, especially for seating, tall storage, or furniture that supports a person. Changes to leg spacing, joints, dimensions, or hardware can change how a design behaves. Obtain competent help before altering structural details.
Plan for the material you will actually buy
Solid wood, plywood, and other panels solve different problems. Solid wood has grain direction and changes dimensions with moisture; panel products have their own edge, fastening, and finish requirements. Identify the species or panel grade, actual thickness, condition, and intended indoor or outdoor use before finalizing the cutting list.
The USDA Wood Handbook provides the engineering background: moisture relations in Chapter 4, fastenings in Chapter 8, adhesives in Chapter 10, drying and dimensional change in Chapter 13, and finishing in Chapter 16. Use those references to understand why a detail matters, then follow the chosen plan and product instructions for its execution.
Buy and measure representative stock before treating a nominal dimension as a finished size. Account for defects, grain appearance, milling allowances, and the cutting method. Keep a small labeled offcut from each material for joint and finish trials. For solid-wood tops, use the plan’s attachment detail that accommodates movement across the grain.
Make the drawing into a build sequence
On a small screen, scroll the table sideways. Keyboard users can focus it and use the arrow keys.
| Stage | Record before starting | Check before moving on |
|---|---|---|
| Parts | Part name, quantity, finished dimensions, stock allowance, grain direction. | Every part on the drawing has a matching entry. |
| Joints | Chosen plan detail, mating parts, reference faces, required tooling. | A test joint fits as intended without forcing. |
| Hardware | Exact hinge, slide, handle, or connector and its installation drawing. | Clearances and fixing locations suit the actual hardware. |
| Assembly | Subassemblies, clamp access, adhesive working time, order of operations. | A dry fit confirms access and alignment. |
| Finish | Preparation, application conditions, recoat and cure instructions. | A sample on matching material has the desired appearance and feel. |
Label mating parts and reference faces so repeated pieces stay paired. During a dry assembly, check whether clamps can reach, hardware can be installed, and the final piece can pass through the workshop door. For a rectangular assembly intended to be square, compare diagonals and verify against the plan; equal diagonals are one check, not a substitute for checking all relevant dimensions.
Use the prescribed guards, dust control, workholding, and personal protection for each tool and material. The project plan does not replace training on a machine. Read adhesive and finish labels, including ventilation, curing, and waste-handling instructions, before opening the product.
Work through a small planning example
Make a cardboard footprint and try it beside the sofa with the intended lamp. Check access to the outlet and whether someone can reach the switch without bumping the table. If the footprint works, record the plan reference, actual stock sizes, top attachment, and finish trial before preparing the final parts list.
The furniture project planning sheet (plain text) keeps these decisions together. Its cut-list fields are blank deliberately: fill them from your chosen design after checking the material, rather than building from the illustration.
See structure and decoration as separate layers
A historic piece can make this distinction visible. Getty’s catalogue entry for an Oeben writing and toilette table examines its moving components and decorative veneers. It explains that the top and drawer are moved by hand; this particular table differs from Oeben’s spring-operated mechanical table. Matching a mechanism to the exact object prevents an appealing story from obscuring its construction.
Marquetry creates imagery with fitted decorative veneers. In a contemporary project, the same planning lesson applies even to a plain veneered panel: decide how the supporting structure, surface layer, edges, and hardware work together. Decorative complexity adds preparation and alignment tasks beyond the basic frame.
Finish a test piece, then inspect the finished furniture
Prepare an offcut through the same sanding and finishing sequence as the furniture. Examine it under the light where the piece will live. Write down the product, preparation, coats, and drying conditions; a remembered color name is insufficient to reproduce the result later.
After the specified cure time and final assembly, compare the piece with the original brief. Check dimensions, ordinary operation of doors and drawers, accessible rough edges, stable contact with the floor, and any fastening or restraint requirements in the plan. A defect that affects safe use needs correction before the piece is put into service.
Keep the final drawing, deviations from the plan, hardware codes, and finish record. These small records make replacement parts, repairs, and the next build easier.