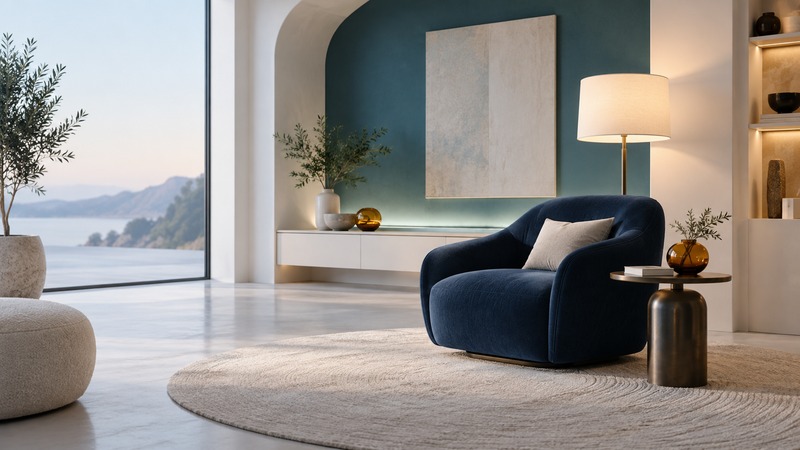
Build mood lighting around a room you can still use comfortably. Begin with one reflected light source and one useful task light, then adjust placement and brightness from the seats where people spend time. Color is an optional layer after glare, visibility, and controls work well.
Give each light a job
Natural Resources Canada’s home-lighting guide describes ambient, task, accent, and decorative lighting. Use those roles to decide what is missing. A lamp for reading needs to illuminate the page; a background light can soften the contrast around the seating area; an accent can emphasize a wall or object.
List the room’s main activities and their times of day. Note the paths people use, any difficult-to-see steps, screen reflections, and bright bulbs visible from the sofa. Try the existing lamps in different positions before choosing additional equipment. A better position may produce the desired effect with fewer lights.
Test reflection and glare
A light directed toward a wall or ceiling makes the illuminated surface part of the room’s appearance. The surface color and texture influence the result: a dark wall may absorb much of the light, while a glossy surface can create a distracting reflection. Evaluate the effect from normal eye level.
Keep intense sources out of direct view when their design permits it. Place a shaded reading lamp so the page is lit without a bright reflection or your hand casting a troublesome shadow. For TV viewing, test both the screen and the room with the program running. Preserve enough light for movement and controls.
Follow fixture clearances and mounting instructions. Route cords clear of walking paths and pinch points, and use lighting rated for its location. For permanent wiring or unfamiliar mounting, have a qualified installer verify the arrangement.
Match dimming to the actual products
| Arrangement | How brightness changes | What to verify |
|---|---|---|
| Dimmable conventional LED and wired dimmer | A compatible control regulates the lamp through the circuit. | Exact lamp/dimmer compatibility, load limits, and stable low-end operation. |
| Smart bulb or integrated smart fixture | The product’s electronics respond to its supported controls. | Required power arrangement, app or bridge, physical controls, and behavior after power loss. |
| Non-dimmable lamp with on/off control | The whole lamp is switched. | Use a supported on/off arrangement; select another product if adjustable brightness is needed. |
Philips Hue’s dimming explanation describes dimming built into its smart bulbs and controlled through supported accessories or software. That differs from putting a conventional dimmable LED on a wall dimmer. Follow the exact product’s instructions for the power supply and controls; “smart” and “dimmable” labels alone do not establish compatibility.
Test the lowest useful setting, startup, switching, and normal household access. Someone entering the room should be able to find an understandable control. Record which functions still work if the phone, network, or cloud service is unavailable, using the manufacturer’s documentation and an actual test.
Run a simple evening experiment
Choose the fixture after the trial
Turn observations into specifications: location, dimensions, light distribution, useful brightness range, white-light appearance, color capability if wanted, controls, cord route, and installation requirements. Look at materials and faces under the light, since a scene that looks attractive on a wall can make other objects less pleasing.
For flicker, buzzing, unexpected shutdown, or erratic low-level dimming, check the documented lamp/control pairing and troubleshooting steps. Stop using equipment that shows overheating, damage, or electrical faults. Keep the final model numbers and compatible-control information with the room plan so replacement lamps can reproduce the result.