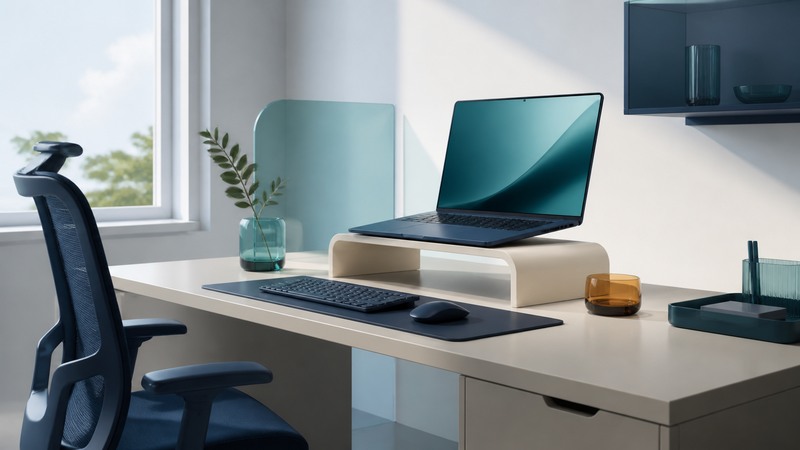
A useful laptop desk provides a stable surface, enough room for the task, and space around the computer's ventilation openings. For extended typing, a separate keyboard and pointing device let you adjust the screen and your hands independently. Choose the setup around the person and the equipment you actually use.
Start by sitting where you normally work with the laptop, charger, and usual accessories. Identify the main difficulty: low screen, high keyboard, cramped mouse space, reflections, instability, or blocked vents. Adjust one part at a time and repeat an ordinary task to see whether it helps.
Separate screen position from typing position
A laptop joins the display and keyboard at a hinge. Raising the entire computer raises both. A riser can improve screen position while leaving the built-in keyboard too high for comfortable typing. An external keyboard and mouse provide independent placement; an external monitor is another way to separate the two.
OSHA's workstation purchasing guidance recommends arranging laptop workstations so the display can be positioned appropriately and the keyboard is around elbow height. Cables need enough length to permit adjustment. Start with relaxed shoulders and easy access to the controls, then place the display for the task.
The OSHA monitor guide places the top of the screen at or below eye level and emphasizes coordination with the chair, keyboard, and desk. Adjust text size and distance together so you can read without leaning forward. People using particular corrective lenses may need a different screen position; fit the arrangement to clear, comfortable viewing.
Match the support to the place you work
On a narrow screen, scroll the table sideways. Keyboard: focus the table and use the arrow keys.
| Setting | Useful arrangement | Check with your equipment |
|---|---|---|
| Regular desk | Stable riser or external display with separate keyboard and mouse | Screen position, forearm access, legroom, and cable reach |
| Small temporary table | Compact input devices and an adjustable support | Sufficient depth, secure feet, and space for the pointing device |
| Occasional lap use | Rigid platform sized for the computer and supported evenly | Stability, pressure points, vent clearance, and room to change posture |
| Sit-stand workstation | A support that remains stable throughout adjustment | Both typing and viewing positions at each working height |
Measure the laptop footprint, the stand's supporting area, and the surface space left for your hands. Check the product's stated load and device-size limits. A front retaining lip should hold the machine without pressing into wrists during normal use. Hinges, locks, and feet should stay secure when you type or touch the screen.
For a lap platform, try it with the laptop's actual weight. You should be able to reposition without clamping your legs around the computer. If balance requires constant effort, move to a more stable surface. Occasional lap use and a regular typing workstation have different demands.
Keep ventilation clear
Locate the intake and exhaust openings using the laptop's manual. Confirm that feet, pads, straps, or retaining edges on the support leave those paths open. A hard surface can still obstruct a vent if the support geometry is wrong.
Apple's operating-temperature guidance calls for a stable, ventilated work surface and advises against use on bedding or pillows. Those instructions apply to Mac laptops; use the corresponding manufacturer's guidance for another device. Airflow, workload, ambient conditions, and the computer's thermal controls all influence operating behavior.
A cooling accessory needs a defined result to be useful. Compare the same task, power mode, room conditions, and measurement method before and after adding it. Record sustained performance, fan behavior, and any manufacturer temperature or throttling indications. Avoid treating an advertised percentage reduction as a prediction for your computer or as a health outcome.
Walk through a complete setup
Example — a small desk used for writing and calls: First clear enough space for the keyboard and mouse next to one another. Set the chair so your feet are supported and the desk edge leaves comfortable access to the controls. Position the laptop on a stable support, then adjust the display angle and text size. Put the camera where calls remain practical without forcing you to twist toward it.
Route the charger so a normal chair movement or standing up will not pull the computer. Keep the power adapter in the location and orientation allowed by its instructions. Place frequently used items within easy reach and move occasional items away from the typing area.
Type a paragraph, use the mouse, read a full page, and join a test call. Check which action brings back the original difficulty. If reaching the mouse raises your shoulder, move it closer or use a narrower keyboard. If the screen requires leaning forward, adjust text size and viewing distance before raising the support further.
OSHA's workstation evaluation checklist includes sufficient legroom, suitable equipment adjustment, and opportunities to vary tasks or pause. Recheck the arrangement during a real session; a comfortable first minute may not reveal a cramped workspace.
Make the arrangement easy to use again
Keep a short setup note for shared or temporary workspaces: support height/position, input-device placement, display setting, and any cable arrangement that matters. A phone photo can serve as your personal reference. When traveling, pack the items that address your actual constraints rather than a collection of overlapping accessories.
A desk support should make the task easier without introducing instability, blocked cooling, or awkward reaching. If discomfort continues despite adjustments, seek an individual workstation assessment or appropriate clinical advice rather than relying on an accessory's health claims.