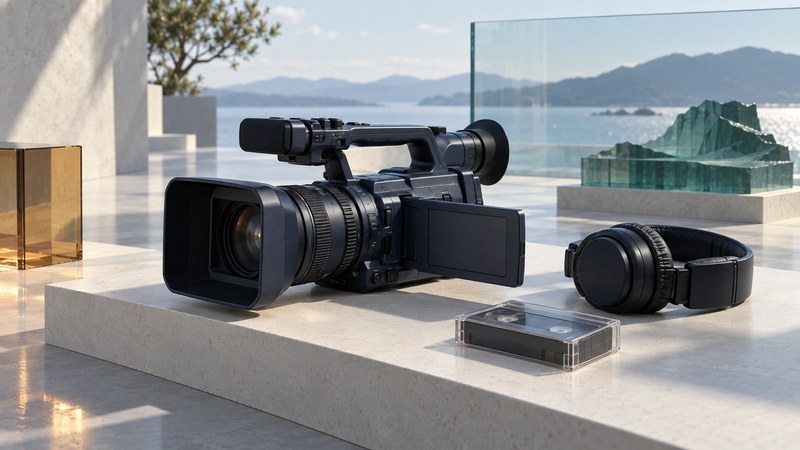
A dependable HDR-FX1 workflow starts with a known recording format, controlled picture and sound, and a capture test. Make those choices explicit before a shoot or a large tape-transfer project.
Establish a known starting point
Find the complete model name on the camera and keep its matching manual with your project. The Sony HDR-FX1 operating instructions (PDF) used here describe the NTSC/1080-60i model. An HDR-FX1E has its own regional instructions; verify that model’s recording and playback requirements separately. Sony’s HDR-FX1 manual index provides a route back to the documentation.
On an inherited camera, photograph important settings before changing them. Note the recording format, picture profile, gain, shutter, white balance and audio mode. Use a known test tape for new recording and preserve existing tapes against accidental recording. A reset may erase useful configuration, so make a deliberate change with a recorded reason.
REC FORMAT chooses HDV or DV for new recordings. The manual describes CINEFRAME 24 and 30 as picture-profile effects; those labels should not be treated as proof of native progressive capture. Start a technical baseline with CINEFRAME off, then compare a separate test if a film-like motion treatment serves the project. Keep the recording mode with the captured file.
Build a repeatable picture test
Use a fixed camera position, a detailed subject and lighting representative of the shoot. Include a neutral reference, a face or another important midtone, and bright detail you want to retain. This makes it easier to see which adjustment changed the recording.
- Choose a shutter setting suited to the intended motion and lighting. Keep it fixed while assessing the remaining exposure controls.
- Set white balance for the scene and record the choice. Compare a neutral reference in playback before recording a long sequence.
- Review iris, gain and ND filter together. Change one control at a time and watch both the important highlights and the darker parts of the picture.
- Set focus on the intended subject. Check the framed shot as well as a closer view of fine detail, then repeat after a change of subject distance.
- Record a stationary shot and a slow pan. Review the actual recording on the intended screen before adopting the settings.
The manual’s controls chapters explain the camera’s iris, gain, shutter, ND, white-balance memories, expanded focus and peaking. Use those aids to make an observable decision. Peaking or a zebra pattern highlights a condition; your playback review establishes whether the subject and exposure meet the shot’s purpose. Keep a short approved test alongside the settings log for later comparison.
Listen to the recording
Use headphones with the microphone and camera configuration intended for the shoot. Record normal speech, the loudest expected passage and a few seconds of room sound. Review the resulting file for intelligibility, distortion, noise and sync. A moving meter alone leaves those questions open.
For manual microphone level, Sony documents the AUTO/MAN switch and AUDIO LEVEL dial. Leave room for unexpected peaks and repeat the test after changing microphone position or the recording environment. Confirm the actual input and adapter requirements before attaching external audio equipment. Record the microphone, mode and any adapter in your notes.
Set the intended tape output
Sony’s computer-transfer instructions specify the following combinations. Set these menus before connecting i.LINK, following the manual’s cable-handling and connection sequence.
| Source and intended result | VCR HDV/DV | i.LINK CONV |
|---|---|---|
| HDV tape retained as HDV | HDV | OFF |
| HDV tape deliberately converted to DV | HDV | ON |
| DV tape retained as DV | DV | Record the setting; this is already a DV source. |
Check the resulting file’s codec and dimensions before capturing hours of footage. An HDV picture can be sent as standard-definition DV through a conversion setting. Label a deliberate converted copy so it cannot be mistaken for the retained HDV capture.
For a tape containing mixed HDV and DV recordings, identify the sections and capture them deliberately. The manual warns of interruptions when AUTO encounters a format change. Log those boundaries, compare them with the source and check for missing material. The HDV format guide covers interface compatibility and interpreting the captured stream.
Accept the workflow only after playback
- Confirm the beginning, end and expected duration of the captured test. Check any start/stop or format-change boundary.
- Listen to speech near both ends. Review both audio channels and any reported capture errors.
- Check geometry, moving edges and the effects of the selected picture profile at normal speed.
- Keep the capture file, settings and fault notes together. Make independent copies before transcoding for editing.
Use the video transfer log to keep the tape ID, camera settings, capture system and verification result together. Persistent transport trouble or repeated dropouts on multiple known-good tapes calls for equipment diagnosis before more originals are played. For physical collection care, continue with MiniDV preservation; for the broader workflow, use the Digital Video guides.