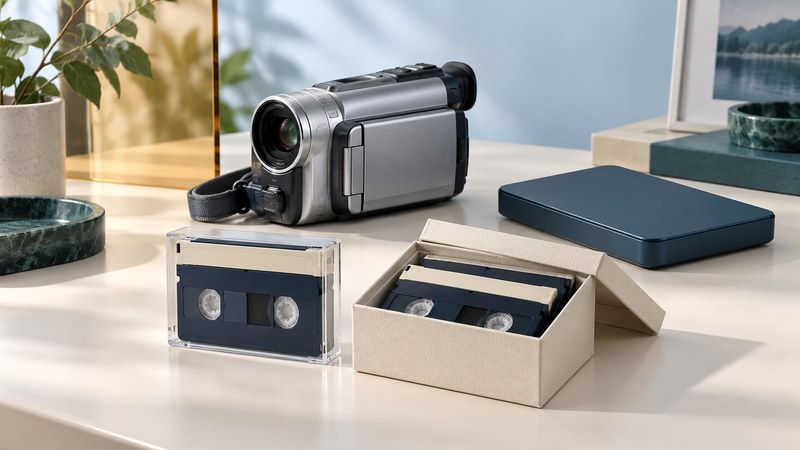
A useful MiniDV preservation project produces three things: an identified tape, a checked digital transfer, and enough notes to connect that file to the original recording. Start with a small pilot before committing an entire collection to a workflow.
Identify the tapes before buying a cable
Give each cassette a simple identifier such as TAPE-001 and photograph its existing label. Record the camera model if known, the approximate recording date, the label wording, and any damage or playback history. Treat the tape’s printed running time as capacity rather than proof of recorded duration.
MiniDV names a cassette size. A compatible cassette can hold recordings made in different systems, including DV and HDV. The recording camera, playback display and file inspection are better evidence of the recorded format than the cassette brand. The HDV format guide covers high-definition tapes and format-specific capture checks.
| Field | Why to record it |
|---|---|
| Tape ID and label photo | Connects the physical item, transfer files and family notes. |
| Camera or recorder model | Helps establish playback format, connections and manual instructions. |
| Format and recording mode, if known | Flags DV/HDV, television-system and long-play compatibility questions. |
| Condition and previous problems | Helps prioritize a specialist assessment instead of repeated playback. |
| Transfer files and checked duration | Records what was actually captured, including gaps or multiple sessions. |
Download the plain-text video transfer log and make a separate copy for each tape or disc. It includes fields for the equipment, file properties, content checks and backup locations.
Handle and store the collection carefully
Keep tapes in protective cases, upright on their long edges, in a clean, stable room away from heat, moisture and strong magnetic fields. Handle the shell and leave the tape surface untouched. Allow items brought from cooler storage to acclimate before playback. These principles follow the Library of Congress audiovisual care guidance.
Set aside cassettes with visible mold, a broken shell, exposed or creased tape, or a history of being chewed by a transport. Stop if a player begins damaging a tape. A qualified audiovisual preservation service can assess the carrier and suitable equipment. Tape cleaning and transport repair require more than a household cleaning routine.
Prioritize irreplaceable recordings and items whose playback equipment is hard to access. A successful digital transfer is a reason to improve storage and documentation of the original, rather than discard it.
Confirm a complete capture route
For DV recordings, look for a supported route that transfers the camera’s DV stream. The Library of Congress description of DV-DIF explains the digital interface format and its use with file wrappers. The filename extension alone does not establish whether a captured file still contains DV video.
Sony’s i.LINK transfer guidance calls for a compatible IEEE 1394 connection and software that imports DV or HDV. It also notes that Sony no longer supports the bundled transfer software described for these older cameras. Confirm the full combination of camera, interface, operating system, driver and capture application before purchasing adapters.
- Find the camera manual and identify its tape-playback mode and digital output. A USB socket may serve still photos or a different transfer function; check the stated capability.
- Check the computer interface and the capture software’s current documentation. A passive cable with different plugs cannot supply an undocumented protocol conversion.
- Test with a known-good, less critical recording first. Confirm that the application receives the intended video and every required audio channel.
- If using a service, request the native transfer where supported, an accessible viewing copy, the originals back, and notes about errors or missing sections.
When an analog output and capture device are used, record that route explicitly: it creates a new capture from the playback signal. It can be a practical fallback, but its result should be distinguished from a transfer of the existing DV data.
Run one pilot from capture through backup
- Select one sound cassette and assign its ID. Use the camera’s documented playback and power setup.
- Capture to a new folder on a drive with enough free space. Keep the application’s error or dropped-frame report when available.
- Inspect codec, dimensions, frame rate, audio and duration with the capture application or MediaInfo. Retain its report with the file.
- Compare the beginning and ending with the tape, then inspect scene changes, speech and fast movement. Watch the full recording when completeness matters.
- Record interruptions, missing sections and audio problems. Investigate errors before repeating a failing setup across the collection.
- Copy the retained transfer and its notes to another storage location. Compare file checksums and confirm playback from the backup.
Tape transfer usually occupies the playback duration, with additional time for setup and review. A capture that ends at a blank section may omit a later recording on the same cassette; check the actual tape contents and your software’s stop behavior.
Keep a master, a viewing copy and the notes
Keep the checked capture unchanged. Create smaller sharing files from a working copy, and label any cropping, deinterlacing, noise reduction or upscaling as a derivative. These operations can make viewing easier while changing the picture. AI enhancement should remain a separately labeled version.
A checksum can show whether a stored file has changed since a baseline was made. It cannot prove that the tape was captured completely or that the audio was correct. Combine file checks with content review. Keep independent copies in separate locations and periodically verify that you can still read them.
For format decisions after capture, continue with lossless video codecs, preservation masters and viewing copies.