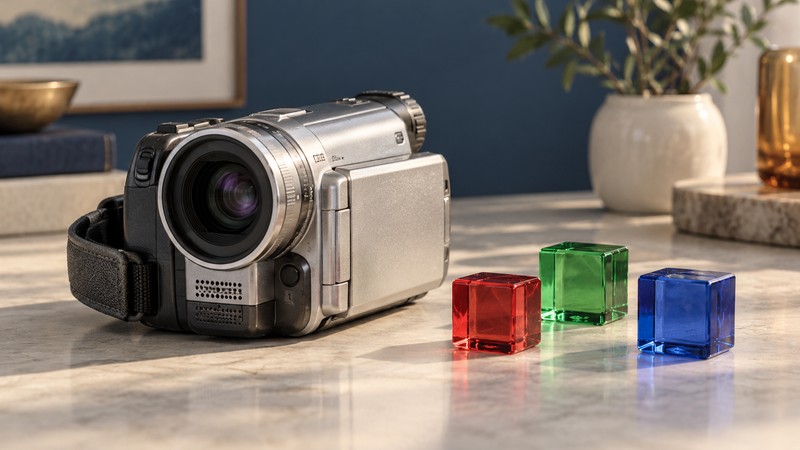
Three CCDs describe an imaging arrangement. They do not by themselves specify the recorded resolution, low-light result or sound format. The Sony DCR-HC1000 is a useful example of how camera design and the material you actually preserve need separate checks.
One lens, three color channels
In a three-sensor color camera, a prism assembly behind the lens separates incoming light into red, green and blue components for separate sensors. Camera manufacturer JAI’s explanation of prism imaging describes this principle for three-CCD and three-CMOS systems. The arrangement does not mean three independent camera lenses.
The signals still pass through processing and the recording system. Lens performance, focus, exposure, light, sensor behavior and compression all affect the final picture. Counting sensor pixels or adding the three sensor totals cannot tell you the dimensions of a captured video file.
For the HC1000, use the Sony DCR-HC1000 Camera Operations Guide, hosted by ManualsLib. This guide concerns the NTSC DCR-HC1000; an HC1000E needs its matching regional manual and playback system. Its MiniDV tape recording belongs to standard-definition DV. Three-chip imaging and megapixel still-photo claims do not turn that recording into HDV.
Evaluate the picture you will keep
- Place the camera on a stable support and frame a subject with fine detail, a neutral object and important highlights.
- Record the same scene under the light you expect to use. Include a slow movement as well as a still subject.
- Review focus, exposure and white balance on playback. Change one setting at a time so the comparison has a clear cause.
- Capture a sample and inspect it at a useful display size. Check aspect interpretation and moving edges before judging sharpness.
- Keep the settings and sample with your notes. Assess the complete recording, rather than choosing equipment from its sensor count.
For an inherited recording, retain the first capture before trying deinterlacing, noise reduction or scaling. Compare a working copy against that reference. A smooth-looking preview can conceal lost motion detail or processing that changes the character of the original. Use the masters and viewing-copies guide when choosing subsequent files.
Distinguish stereo, four-channel recording and a surround export
The Sony manual’s pages 27–28 describe optional ECM-CQP1 microphone recording with four channels in 12-bit mode. The camera does not output a 5.1-channel audio format. The historical surround-DVD workflow depended on additional Sony computer software. A 5.1 label in that workflow is therefore not a description of the camera’s direct output.
| Situation | Check on the source | Check after capture |
|---|---|---|
| Ordinary stereo | Recording mode and microphone setup | Both intended channels, level and synchronization. |
| 12-bit tape with additional sound | Original and additional audio pairs; playback mix | Whether the software retained every required pair. |
| Four-channel microphone recording | Front and rear pairs; 4CH Audio Check setting | Separate channel presence and assignment before mixing. |
Pages 76–77 distinguish the audio mode, AUDIO MIX and microphone-level settings. Record the playback mix rather than assuming the sound heard through one output represents all recorded channels. For a new test, speak from the intended microphone positions and identify each position aloud. Review the resulting files by channel before making a stereo or surround derivative.
For irreplaceable material, missing rear or dubbed sound is an unresolved transfer issue even when the picture looks correct. Keep the tape, capture logs and initial files while checking the software’s DV audio handling. Do not overwrite the first capture with a mixed export.
Keep tape and Memory Stick material separate
The manual distinguishes MiniDV tape from Memory Stick Duo photographs and MPEG movie recording. Its dubbing chapter also describes making card material from tape. A card version can therefore be a separate, reduced representation of a tape scene; finding it is not proof that the tape has been preserved.
Inventory both media when receiving a camera. Label a tape capture with its cassette identity and place copied card files in a separate source folder. Retain original filenames and note when two items appear to show the same event. Compare content before deciding that either copy is redundant.
Use the DV/i.LINK route with a tested compatible capture system for tape preservation. Check the original manual’s connections and the MiniDV transfer guide for planning. For card contents, use a compatible reader or the documented computer workflow and verify the files independently.
The video transfer log provides a place for those details. Browse the Digital Video library for related camera, processing and preservation guides.