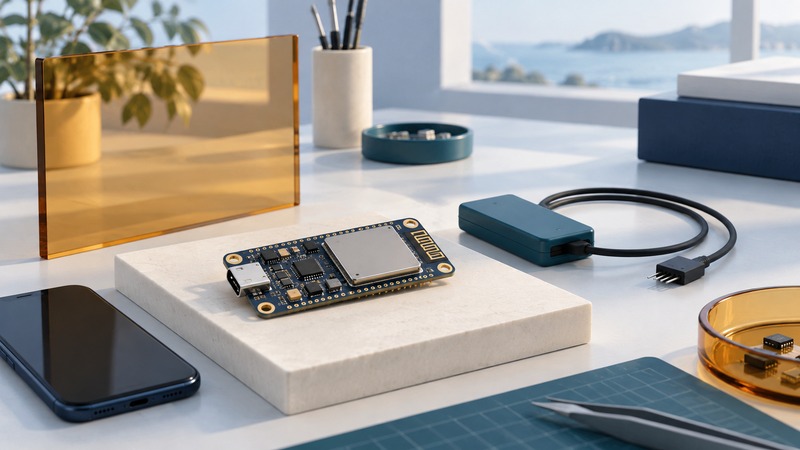
Choose a Bluetooth development kit around a small behavior you can observe. For a first Bluetooth Low Energy project, a phone controlling a board LED and receiving button events provides a manageable test of software installation, radio discovery, services, and data exchange. Keep the SDK version, board target, and observations together so you can reproduce the result.
Choose the board and software as a pair
Start with the intended connection. A BLE sensor exercise needs a different feature set from Classic Bluetooth audio or an existing serial-profile product. Confirm the radio modes and supported SDK examples for the exact board; a general Bluetooth label leaves those details unresolved.
For a first exercise, prefer a supported board with a documented debugger, USB connection, buttons, and LEDs. Record the board revision, computer OS, SDK, toolchain, and mobile app version. Use a USB data cable and the board’s documented programming port. A cable that supplies power without data can leave a board lit but absent from the development tools.
On a small screen, scroll the table sideways to read all columns.
| Part | Verify | Record |
|---|---|---|
| Development board | Supported by the chosen sample version | Board name, revision and build target |
| Programming path | Documented debugger and USB data connection | Tool detection and device identifier |
| SDK and toolchain | Matching supported installation | Exact versions and example path |
| Phone application | Can inspect the required BLE services | App/OS versions and permissions |
| Expected behavior | Known control and observable response | LED mapping, button event and reconnect result |
Follow one versioned example from a clean baseline
The concrete reference here is Nordic’s Peripheral LBS sample in nRF Connect SDK v3.2.1, using an nRF52840 DK. This is a pinned learning reference, not a claim that v3.2.1 is the newest SDK. Its sample configuration includes the target nrf52840dk/nrf52840 and sysbuild.
First follow the installation and build setup in Nordic’s SDK Fundamentals course for the selected SDK and matching toolchain. Install nRF Connect for VS Code and confirm that the development kit is detected before trying a radio test.
- In the sample browser, select SDK v3.2.1 and the Bluetooth LE LED Button Service example at
samples/bluetooth/peripheral_lbs. Create a working copy. - Add the nRF52840 DK build configuration with the matching target and the sample’s sysbuild setup. Keep the default sample settings for the baseline.
- Build, then flash the detected kit using the documented controls. Save the build output and first error if either step fails.
- Open the board’s documented serial log and confirm startup and advertising messages. Use the SDK example’s expected LED indications as a second check.
If you choose another board or SDK, use that version’s support list and instructions throughout. Different board families use different printed LED and button numbers.
Verify the service, then both directions of data
Nordic’s first BLE exercise explains the roles: the board advertises as a peripheral and exposes the LED Button Service; the phone acts as central and GATT client. Open nRF Connect for Mobile, grant its documented permissions, scan, and connect to your Nordic_LBS device. Confirm identity by observing your own board’s power and connection behavior rather than selecting a similarly named neighbor.
On the nRF52840 DK, the pinned sample uses Button 1 for notifications and LED 3 for remote control. Enable notifications on the Button characteristic, then press and release Button 1. Write the LED characteristic and observe LED 3.
The pinned LBS service implementation accepts a one-byte LED value: hexadecimal 01 for on and 00 for off. Choose the app’s hex-byte input when entering those values. Typing the text characters “01” sends different bytes if the app is in text mode. Read the app’s preview before submitting.
Record the request, expected result, and observed result separately. A connected status establishes a link; a successful write followed by the intended LED response establishes a more useful application-level check.
Use failures and reconnection to improve the test
Board undetected: check the data cable, programming port, power and documented debugger setup. Build fails: record the first relevant compiler/configuration error and compare SDK, toolchain and target. Advertising absent: inspect firmware startup logs before changing phone settings.
Connected but no button events: confirm the Button characteristic’s notification subscription and the correct physical button. LED write rejected: check the selected characteristic and one-byte encoding. The service code makes data length and accepted values explicit, giving you a concrete starting point.
- Record one complete connect, LED-on, LED-off, press and release sequence.
- Disconnect normally, reconnect, rediscover the service if required, and check the notification subscription.
- Restart the board and repeat the same sequence. Record which settings the app retains and which require action.
- Save the example version and configuration before making your first modification.
This exercise is a learning baseline. A production device additionally needs an appropriate security design, update/recovery process, power measurements and product qualification. Use the Bluetooth module guide when moving from a development kit toward embedded hardware.
Keep a record and continue
Download the BLE development acceptance checklist (plain text). Use the blank result fields to record your own equipment and observations.
- Choose a module for an embedded product
- Check serial retrofit compatibility
- Explore all Bluetooth guides
Researched and updated September 13, 2026. The pinned source and documented behavior were inspected; the firmware was not compiled or flashed to physical hardware for this article.