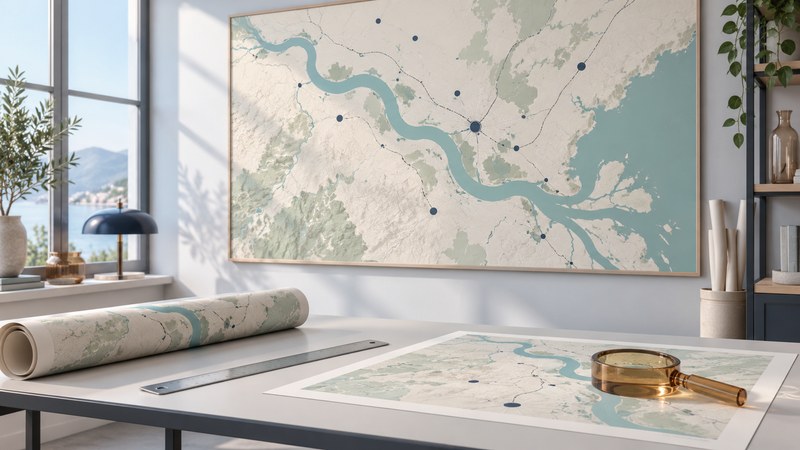
A useful wall map makes the right places readable at the distance where people will use it. Choose its purpose, geographic extent and physical size together, then check a full-size print sample before committing to the finished map.
Start with the room and the task
Write down who will use the map and what they should find. A classroom world map, a regional delivery discussion and a visitor orientation map require different detail. Measure the available wall space and the likely viewing distance. Reserve room for a title, legend, source and data date as well as the mapped area.
| Use | Prioritize | Check on a proof |
|---|---|---|
| World geography | Projection choice, major features and readable place names | Area distortion, insets and smallest essential labels |
| Regional planning | Relevant boundaries, roads and dated operational information | Legend, symbol conflicts and whether the data remain current |
| Local orientation | A clear extent, landmarks, routes and starting point | Whether a visitor can locate a destination from the viewing position |
A projection converts Earth's curved surface to a flat map, affecting properties such as area, shape, distance and direction. The USGS explanation of projection choices describes why a world map needs a choice among these properties. An equal-area projection supports comparing region sizes; a local map can use a projection suited to its area. Read the stated projection before judging the relative size of distant places.
Check the edition and dates of the actual content. A recent print can reproduce an older dataset. For a map with changing facilities or service areas, retain a source file and assign someone to review the displayed information. For reusable annotations, test the proposed surface and marking method on a sample from the supplier.
Calculate the mapped footprint
USGS explains scale as a ratio between map distance and ground distance in matching units. At 1:50,000, 1 cm on the map represents 50,000 cm, or 500 m, on the ground. A smaller denominator gives a larger-scale map with more space for a given feature.
Use this fictional regional example: the area to show is 60 km wide and 40 km high. At 1:100,000, its approximate mapped footprint is 60 cm × 40 cm. Add the margins and legend outside that footprint when choosing the sheet. This calculation assumes the intended projection represents distances adequately for the selected region; it is not a uniform world-map scale calculation.
Ground distance in centimeters ÷ scale denominator = printed centimeters. Thus 60 km is 6,000,000 cm, and 6,000,000 ÷ 100,000 = 60 cm. Conversely, if only 80 cm of map width is available for that same 60 km span, the approximate required denominator is 6,000,000 ÷ 80 = 75,000.
Uniform resizing changes the representative fraction. Enlarging a 1:100,000 layout to 125% produces approximately 1:80,000 because 100,000 ÷ 1.25 = 80,000. A scale bar enlarged with the map remains useful locally; a printed numeric scale must be updated. Enlarging a raster also leaves the source detail unchanged, so inspect pixelation at final size.
Prepare and inspect a full-size sample
A GIS print layout gives control over page size, map extent, scale, legend and export. The QGIS 3.40 Print Layout documentation provides one documented route. With another application, look for the same controls and verify its exported result.
- Set the final page and map dimensions. Record units and usable map width; separate the map frame from the entire paper size.
- Export a proof. Keep text and linework sharp where the format allows. Check that fonts, symbols, legends and source credits appear in the exported file.
- Print a representative crop at actual size. Include the smallest essential labels, a dense area, the legend and part of the scale bar. Avoid a “fit to page” setting when testing the intended physical size.
- Measure and read it. For a 1:100,000 proof, a 10 km scale-bar segment should measure 10 cm. Check with a ruler, then read the sample from the intended viewing distance under the room's lighting.
- Revise the design if needed. Enlarge essential labels, simplify competing detail, adjust colors or divide the subject into an overview and a detail inset. Test glare with the proposed surface or glazing.
Download the wall-map print proof checklist to retain the calculations and review notes. A successful proof lets the intended reader find the important places, interpret the symbols and understand the map's date without explanation from its maker.
Related reading
- Map colors: Check palette order, class boundaries, and readability at the intended size.
- Shared mapping: Keep the data, ownership, and refresh process behind a displayed map clear.
- Reading 3D maps: Compare a flat map with terrain views before interpreting relief.