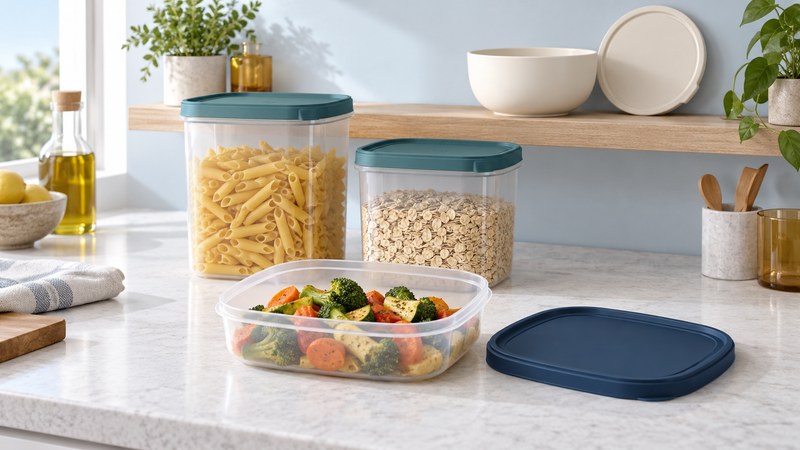
A useful Tupperware collection starts with knowing what each piece can do. Match the container to its lid, find the instructions for that product, and give it a job that fits: pantry storage, chilled leftovers, freezing or reheating. A few well-understood pieces are easier to use than a cupboard of uncertain matches.
Tupperware is a brand with several product families. Although people sometimes use the name for food containers generally, the guidance for one brand or product does not establish the limits of another. Start with the markings on the piece you own.
Start with the container in your hand
- Read the base and lid. Photograph the brand, product or mold number, capacity, date marking and any use symbols. Record both pieces separately; keep the photographs with the instructions you find.
- Find the exact product. Search the manufacturer's site using the name or identifier, then compare its shape, capacity and lid arrangement with yours. A similar color or silhouette is a clue, not a confirmed match.
- Check the complete instructions. Look for permitted appliances, temperature or power limits, fill level, vent position and cleaning method. A product page's use-and-care section is a starting point; follow its full manual where supplied.
- Resolve the uncertain pieces. If a lid needs force, sits unevenly or belongs to an unidentified base, set the pair aside while you check compatibility with the manufacturer. Avoid testing an unknown container by heating it.
Tupperware's product-identification and warranty instructions include help locating mold and manufacture markings. Save an instructions link alongside your photographs so another person in the household can use the same information.
Match the container to the job
Check storage, heating and cleaning permissions separately. The following examples come from US product listings checked in October 2026. They illustrate differences between specific products; use your own product's instructions for the final decision.
| Product example | What its instructions allow | What to check before use |
|---|---|---|
| One Touch Fresh 1.25 L | Pantry or refrigerator storage; dishwasher cleaning. | The listing excludes freezer and microwave use. Transfer food to an appropriate vessel for those tasks. |
| Freezer Mates Plus Starter Set | Freezer use down to −13°F (−25°C); dishwasher cleaning with the seals on the top rack. | The listing excludes microwaving. Check the fill guidance for your size and leave the base free of pressure from other dishwasher items. |
| CrystalWave Plus 4-cup / 1 L Rectangular | Microwave reheating with its specified venting and power limits; dishwasher cleaning. | The listing excludes freezing, oven and grill/broil use. Its microwave maximum is 650 W, with the valve open; consult the full instructions for filling, stirring and handling. |
For a reheating product with a wattage limit, read the microwave's manual to establish the appropriate power setting. A percentage setting depends on the appliance's rated output; use a different suitable vessel if you cannot establish a setting that respects the container's limit. See the microwave guide for appliance selection and reheating checks.
For packed lunches, establish whether the exact container is intended to carry liquids and how its lid or valve must be closed. A seal designed for pantry storage may have different transport requirements. Keep perishable food cold during travel, following USDA's packed-lunch guidance; a closed container alone provides no refrigeration.
Build a simple leftovers routine
USDA's leftovers guidance supplies the food-handling rules; the container instructions supply its use limits.
- Portion and chill promptly. Divide large quantities into shallow containers. Refrigerate within two hours, or one hour above 90°F (32°C); discard perishables left out beyond those limits. Hot food can go directly into the refrigerator in a suitable container.
- Keep the refrigerator at 40°F (about 4°C) or below. Cover the food and label its contents and cooking date.
- Plan the next meal. Use refrigerated leftovers within three to four days, or freeze within that period in an appropriate container.
- Reheat with a temperature check. Reach 165°F (74°C). For microwaving, use a suitable dish and cover, vent as directed, and check several places after the recommended standing time.
Choose portions you can see and reach easily. Put a small “use next” group near the front of a suitable shelf and review it before cooking again. The refrigerator guide explains usable storage and temperature checks.
Clean, dry and organize by matching parts
Follow the exact product's washing instructions, including rack placement and any removable valves or gaskets. Wash new pieces before first use. Allow the base, lid and accessible recesses to dry before putting them away; take apart components only as directed.
For the One Touch Fresh example above, Tupperware recommends rinsing after staining foods and storing empty containers unsealed. The Freezer Mates Starter Set also specifies unsealed empty storage and explains how to nest its sizes. Use these recommendations for the identified products; check other families separately.
Keep lids in a shallow bin sorted by shape and size, with the corresponding bases nearby. Check that each pair closes normally before storing food. When evaluating a new set, count complete usable containers: a “piece” count may include the lids. Measure the shelf or lunch bag and compare the outside dimensions, as well as the stated volume.
For stains or odors, start with the manufacturer's care directions. Avoid improvised boiling, reshaping or abrasive treatments. If ordinary permitted cleaning leaves a piece difficult to clean or a seal distorted, photograph the issue and seek product-specific advice before returning it to food use.
Decide what to keep, investigate or replace
Sort the collection into three groups: identified pieces in good condition with a useful job; pieces needing a lid or instructions; and visibly damaged pieces to set aside. This is a practical cupboard review, not a test of chemical composition. Keep photographs and identifiers for any service inquiry.
Vintage color, age and a familiar shape are insufficient to establish today's intended use for an individual piece. Tupperware's current US and Canada materials statement describes its products as made from BPA-free materials. That statement does not identify the material of an inherited container or supply microwave instructions for it. If identification remains unresolved, choose a clearly documented container for food use and keep a sentimental piece for display.
A missing lid can justify investigating a compatible part before buying an entire set. Ask about the precise base and lid identifiers and confirm current availability. For cracks, peeling, damaged valves or persistent deformation, set the item aside and ask whether the affected component can be replaced. Do not repair food-contact surfaces with household glue or try to force a warped lid into shape.
Prepare a useful warranty inquiry
Check the policy for your country and product. The US and Canada policy labeled April 2026, reviewed October 12, 2026, generally specifies ten years, with other periods for marked products. Its FAQ honors applicable older limited lifetime coverage and describes approved claims as voucher credits. It also says individual containers and seals are unavailable separately; vouchers buy complete items. Recheck the policy before relying on a particular remedy.
Prepare the estimated purchase date and location, product or mold number, manufacture information if available, and clear photographs of the whole item and damaged area. The policy says a missing manufacture date does not prevent submitting a claim. Follow the current claim instructions and retain the item until the inquiry is resolved.
Check the exclusions before applying: staining, minor scratches and damage from uses contrary to instructions are among them. Approval and the available remedy depend on the policy and circumstances.
Your container-check record
Use one copy of these fields per container-and-lid pair, on paper or in a note. Record “unknown” where evidence is missing, then resolve that point before the intended use.
| Field | What to record |
|---|---|
| Identity and matching lid | Brand, product name, base and lid identifiers, capacity, photographs. |
| Instructions | Manufacturer link or saved manual, region and date checked. |
| Permitted uses | Pantry, refrigerator, freezer and microwave permissions separately; applicable temperature, power, fill and vent limits. |
| Care and condition | Washing method, rack position, drying instructions and observed damage. |
| Next action | Assign a job, find instructions, confirm a lid, seek service or replace. |