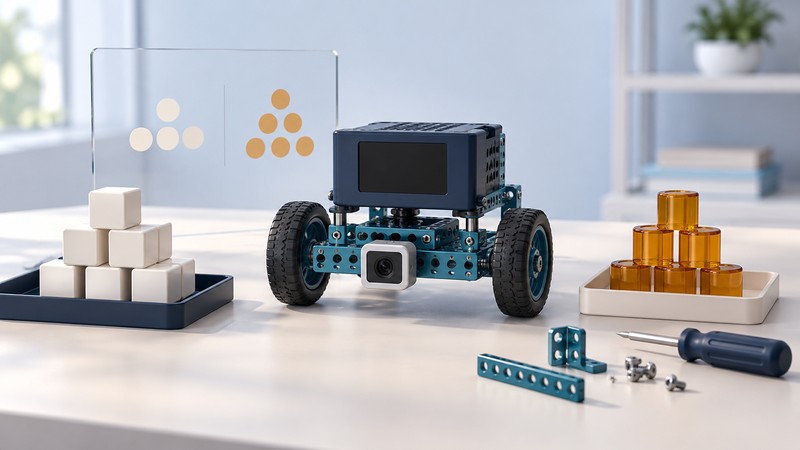
The MatataStudio Nous AI Set brings two kinds of making together: assembling a robot and building a model from examples. A rewarding first project makes both processes visible. Get a simple output working, explore a supplied recognition feature, then investigate whether a model recognizes something it has not seen during training.
This family guide draws on the manufacturer’s documentation, checked October 12, 2026. The suggested experiments below are planning exercises, not results from hands-on testing.
Is Nous a good fit for your household?
MatataStudio lists the Nous AI Set for ages 12 and up. Its listed contents include a hub, camera, two servos, mechanical parts, USB-C cable, guide, map and activity cards, including AprilTags. Check the exact bundle and its current instructions before ordering.
The Nous product overview emphasizes a modular metal structure and a progression from graphical programming to Python. That makes the central decision fairly practical: does the learner want to build, program, observe and revise? Someone who wants a finished character to entertain them immediately may prefer a different kind of toy.
Good reasons to consider it
You want to explore the relationship between physical construction, sensor input and programmed responses. You are happy to return to a project over several sessions and keep a small record of changes.
Questions to settle first
Which computer or tablet will you use? Can you install or open the required software? Who will help with assembly and account settings? Is there a clear workspace where small parts and a partially built project can stay together?
Treat the age label as the manufacturer’s guidance, not a promise of independent setup. Plan adult help according to the learner’s experience and the kit’s instructions. A successful first evening can be a working screen message; it does not have to include a driving robot.
Prepare Nous, the correct editor and one small goal
Choose MatataCode (Nous) on the official software page. That page also lists software for other MatataStudio products, so the product name matters. The Nous version supports Blockly and Python and links to the Nous online coding platform. Confirm current device support and connection instructions before purchasing or installing.
- Inventory and assemble. Lay out the supplied parts and follow the official diagrams for your selected build. Use those diagrams for connector orientation, charging and fasteners; the illustration at the top of this guide is conceptual.
- Establish a working connection. Follow the current Nous setup instructions, check that the editor detects the device, and record the editor and firmware versions. Keep the supplied data cable available.
- Choose one visible output. Begin with a screen or sound example. Leave motor actions out of the first program so a connection problem and a mechanical problem are easier to distinguish.
- Save a known working project. Give it a descriptive name before making changes. Keep notes on the build and ports used so you can recreate it later.
The manufacturer’s setup FAQ calls for a computer or tablet for programming and model creation. Some training, deployment and IoT activities require Nous and the programming device on the same 2.4 GHz Wi-Fi network. Check that requirement early, especially on a school or guest network.
Plan three manageable first sessions
The following sequence is an editorial suggestion. Adjust the pace to the learner and use the current official lesson diagrams for exact blocks. MatataStudio’s Self-Guided course, Course 6: Nous AI Set, provides screen, AprilTag and TinyML examples. Its image-model workflow covers creating a model, collecting data, training, deployment and programming a response.
- Session 1: Make the program visible.Open a basic screen example and change one output. Run it again and explain which event caused the change. Finish when you can reproduce the result from your saved project.
- Session 2: Give a supplied tag a response.Use the official AprilTag example and supplied cards. Present a tag, remove it, and try another. Observe the output before altering the response. A supplied tag-recognition exercise is distinct from training your own image classifier.
- Session 3: Train a small image model.Follow the TinyML image lesson using simple nonpersonal subjects. Keep the first goal narrow: distinguish two groups of objects and display the model’s result. Save movement for a later project.
At each stage, ask the learner to describe three things: what information entered the robot, what the program checked, and what changed. If the explanation is unclear, simplify the project until those parts can be traced.
Test what the model learned
A correct answer on a familiar training view is only a starting point. The useful question is whether the model still gives a sensible result when you change something that should not define the category. Keep the robot stationary and make the result visible while investigating.
Use the log below as a plan. Run each condition several times, record the predicted label and count correct answers out of attempts. These are proposed trials; no outcomes are implied. Keep a separate group of fresh trials after retraining, so you do not repeatedly tune to the same small test.
| Trial | Change one thing | Record | Question to ask |
|---|---|---|---|
| Fresh example | Show a reserved object or view from a known group. | Expected label, predicted label, correct / attempts. | Does it work beyond the training views? |
| Background swap | Keep the object but change the surface behind it. | Surface used and prediction. | Was the background acting as a shortcut? |
| Different view | Turn the object while keeping the setting similar. | View and prediction. | Which views need more examples? |
| No target | Remove the object from the scene. | What label or other output appears? | Does the program need a way to avoid acting? |
If every cube was photographed on white paper and every cylinder on a dark desk, the model may rely on the setting. Put both categories in varied settings during data collection, then evaluate with fresh examples. A higher score on one small log is evidence about that log, not a guarantee for every room, object or camera angle.
Do not assume a classifier has an “unknown” answer. Inspect what this model and editor actually provide when the scene does not match the intended task. If an appropriate background category or confidence control is available in the current workflow, explore it deliberately. Otherwise, design the program so an uncertain input cannot initiate an unwanted movement.
Separate a model on the robot from cloud AI
According to the Nous FAQ, a trained and deployed TinyML model can process image, speech or distance inputs without a continuing computer or internet connection. The same FAQ says MatataChat, MatataDraw and IoT activities require Wi-Fi. This distinction applies to running a deployed model; it does not mean every setup or training step is offline.
The Nous course describes authorization-code activation for MatataChat and MatataDraw before first use. Treat these as optional follow-on activities. Check current activation, account, age, usage-limit and fee terms rather than assuming that a kit purchase includes unlimited future cloud service.
Before collecting personal images or voices, review the notices for the exact application and service you plan to use. Ask where training samples go, whether they are retained, and how they can be deleted. Local model execution alone does not answer those questions. Plain objects are a useful starting point because the experiment does not need anyone’s face, name or private conversation.
Find the layer that needs attention
- The editor cannot find Nous
Confirm that you opened the Nous editor, then follow its current connection help. Check power, the data cable and the connection status before opening a model-training activity.
- Collection or deployment fails
Return to the connection requirements for that lesson, including the shared 2.4 GHz network when required. Note the exact error, software versions and step that failed before contacting support.
- The label is wrong
Keep the program’s response simple. Check the camera view, category labels and collected examples. Change one aspect of the dataset, retrain, and try fresh tests before rebuilding the robot.
- The label is right but the action is wrong
Inspect the condition and output in the program. A correct recognition result connected to the wrong response is a control-code problem. Test the output independently using the documented example.
- A cloud feature fails while a local project works
Check the feature’s network and activation requirements separately. Success with a downloaded program does not establish that an online service is connected or authorized.
Choose the next project from what you can explain
Move on when the learner can reproduce the setup, explain the input-to-output path and describe a failure from the test log. Then choose one extension: a new physical build, another input type or a carefully bounded motor response. Follow the hardware instructions and include a reliable stop procedure before adding movement.
For more structured projects, use the official teaching-materials library and select the Nous materials. Keep a project record with the build, program version, model categories, test conditions and next change. That record gives the next session a useful starting point.
Comparing options? Our mBot2 with AI Camera 2.0 guide focuses on the camera-equipped mBot2 setup and visual recognition. Use it alongside this modular Nous route to compare the projects and software you want to work with. Return to the Toys hub for AI and robotics guides and the separate 2017 toy collection.