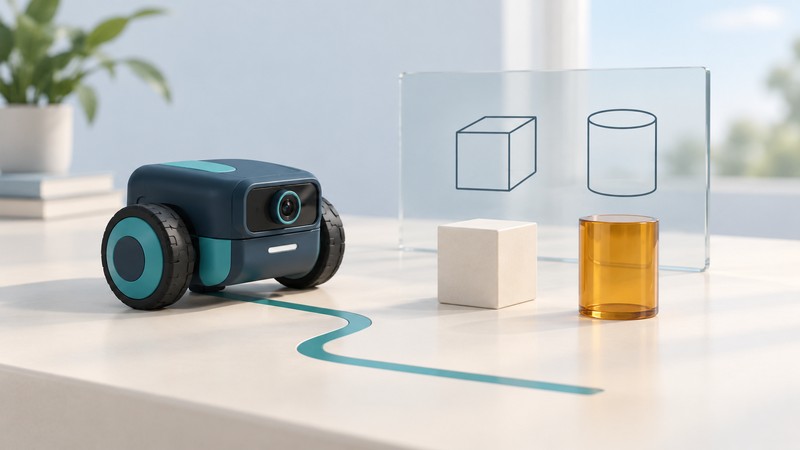
mBot2 with AI Camera 2.0 is a project platform for families who want to explore how a robot responds to what a camera sees. The camera supplies recognition results; a program turns those results into a light, message or movement. The most useful first goal is modest: make one result visible, check when it fails, then decide what the robot should do with it.
This guide is based on Makeblock’s documentation, checked October 12, 2026. It helps you plan and interpret a first project; it is not a hands-on product review.
Choose the complete setup
Check for both mBot2 and AI Camera 2.0. Makeblock lists the camera on its own and an mBot2 AI Learning Kit containing the robot pack and Camera 2.0. A base-robot listing or an older camera accessory is a different purchase. Compare the exact contents before comparing prices, especially when a seller combines several variants on one page.
The Camera 2.0 overview describes integration with mBot2 and CyberPi and control through graphical blocks or Python. Blocks are a reasonable starting point: being able to follow the input and output matters more here than learning a programming language first.
Robot and camera
Confirm the robot pack, Camera 2.0, mounting parts and connection cable. Follow the illustrated mBot2 assembly instructions for the adapter, bracket and mBuild cable orientation. Use the supplied instructions for power and charging.
A computer for the first session
Plan around Makeblock’s documented web or desktop mBlock workflow. Its download page lists the supported platforms, recommends Chrome for the web editor and provides mLink where a connection driver is needed. Confirm your operating system and connection method before buying; a mobile app listing alone does not establish support for this camera workflow.
Time to build and investigate
This suits a household interested in assembling, changing rules and repeating a test. Make the first session about getting one feature working. Save custom training and movement for later if setup consumes the available attention.
Age and adult involvement
Use the exact kit’s age labeling and instructions. Makeblock’s camera safety guidance excludes children under three and requires an accompanying adult for children under eight. Those limits do not establish readiness for independent programming; an adult should handle the household’s account and privacy decisions.
Prepare the software before adding a challenge
Use Makeblock’s Camera 2.0 and CyberPi setup guide as the version-specific authority. Its sequence is to connect the camera by mBuild cable, select CyberPi in mBlock, update the relevant firmware and add the AI Camera 2.0 extension. The desktop instructions also call for restarting mBlock after updating the device support or adding the extension. Check the linked page’s current firmware requirements instead of assuming an older installation is ready.
- Complete the physical assembly. Compare the connector and mount with the official diagrams before powering the system.
- Establish the computer connection. Confirm that mBlock recognizes CyberPi and that the camera extension is available. Record the software and firmware versions so a later problem is reproducible.
- Open one recognition mode. Allow initialization to finish. Confirm that the camera display responds before adding robot movement.
- Save a small working project. Keep a copy you can return to before adding another condition or feature.
Makeblock’s mBlock connection guidance describes direct browser connections through Bluetooth or a serial port in supported browsers. Use the route documented for your device; downloading every app with “Makeblock” in its name is unlikely to make diagnosis easier.
How recognition becomes an action
- ImageThe scene reaches the camera.
- ResultA selected mode supplies a label, position or other measurement.
- RuleYour program checks that result.
- ResponseA message, light or motor changes.
The distinction matters when debugging. A wrong recognition result is different from a correct result connected to the wrong action. Display the result first so you can tell which part needs attention.
Three different activities can appear under “AI camera” descriptions:
- Using a supplied recognition mode: explore capabilities already provided by the manufacturer.
- Saving a reference within a mode: for example, teach the color feature which color patch to find.
- Training a custom model: build a labeled image dataset, train it and deploy the resulting model.
These activities involve different amounts of setup and different mechanisms. A recognition feature can feed ordinary conditional code. A color selection is a useful vision exercise, while a custom classifier introduces a separate training workflow. Keep those distinctions visible when explaining the project to a child.
First experiment: recognize a color, then challenge it
Begin with the robot stationary and the camera facing a plain, nonpersonal object. Makeblock’s recognition guide documents a color mode that learns a selected patch and assigns it an ID.
- Tap Color on the camera. Aim its center cross at the target color patch.
- Press Learn or tap the color area to select it, then use the learning icon as shown in the manual. Check for the learned patch’s green frame and assigned ID.
- Move the object out of view and back. Watch whether the intended patch is selected again. Then present a clearly different color.
- When the display result is understandable, follow the guide’s color-block example to connect recognition to screen or LED feedback.
Suggested extension: keep the object the same and change one condition at a time: its position, the background or the lighting. Predict the result before each trial. A matching color elsewhere in the scene is a particularly useful challenge: it helps reveal the difference between finding a color and identifying a particular object.
Use a short notebook record: target; condition changed; expected result; observed result; next change. Record missed and unexpected detections as well as successes. A single good demonstration shows that a setup can work in that scene; varied trials tell you more about where it remains useful.
Move from examples to a custom model
For a more involved project, Makeblock’s mTraining instructions distinguish image classification, which labels an image, from object detection, which also locates a target. The documented process is:
- Sign in to mTraining and create a project with the appropriate task type.
- Create a matching dataset. Upload images from the computer or use the documented camera capture workflow.
- Annotate the examples: assign a category to a classification image, or draw and label a bounding box for detection.
- Associate the dataset with the project and run a training task using the official parameter guidance.
- Generate a deployment QR code. On the camera, choose Self-trained Model, then Deploy Model, and scan the code to download the model.
Keep the test conditions stable when comparing two training attempts. Count correct and incorrect results separately for each category, and describe the examples used. That is more informative than reporting one overall “accuracy” figure without explaining the test. Revising data is part of the project; more training time alone does not repair ambiguous labels.
Separate setup, training and everyday use
Custom training involves an online service and uploaded images. Makeblock’s network and privacy disclosure identifies 2.4 GHz Wi-Fi for downloading user-trained models and online English recognition. A downloaded model and a complete offline workflow are different claims: confirm the exact feature you intend to use, including what happens after a restart without a network connection.
Before uploading a dataset, use the service’s current account terms to check age rules, retention, deletion and any fees or limits. The setup documentation does not establish a lifetime service commitment. Keep a local copy of your own permitted source images and labels so you can understand or rebuild your work later.
Start with objects and a plain background that excludes faces, names, screens and household details. The camera also has a microphone; Makeblock directs users to the privacy and usage notices in its Settings and calls for parental consent for minors’ use of personal-information features. Review those notices before enabling such activities. Reset the device according to the manufacturer’s instructions before transferring it to another household.
Find the part that failed
Work from the image toward the output. On a narrow screen, scroll the table sideways; keyboard users can focus it and use the arrow keys.
| What you observe | What to inspect | Useful next step |
|---|---|---|
| A blurry camera image | Focus at the actual working distance. | Makeblock’s Camera 2.0 FAQ describes manually rotating the adjustable-focus lens. Check the image again before changing the program. |
| The wrong region is highlighted | The active mode, selected reference and scene. | Use one target against a plain background. Change one condition, then repeat the check. |
| The camera result is right; the response is wrong | The condition, selected ID and output block. | Temporarily display the value being tested. Compare it with the value your rule expects. |
| Camera blocks are missing | The selected device and installed extension. | Return to the CyberPi setup guide; confirm Camera 2.0 support and the required update/restart steps. |
| A custom model fails on new examples | Labels and differences between training and test scenes. | Look for background shortcuts or a missing viewpoint. Improve the examples and compare using fresh test images. |
If camera applications fail after a storage-card change, the same FAQ explains that the original internal card carries device-bound system data. Follow Makeblock’s recovery instructions or contact support; replacing cards is not a general-purpose first troubleshooting step.
Decide whether this is the right kind of play
Choose this direction when the interesting question is “What rule did we make, and why did the robot respond that way?” A successful session can be a clear explanation of a failed recognition attempt, followed by a better test. A family looking for immediate character interaction may prefer a different kind of toy.
Before committing, identify one first activity, confirm the complete kit and supported computer, and decide who will help with setup. Use the Toys guide to AI, robotics and creative play to compare that activity with other forms of play.