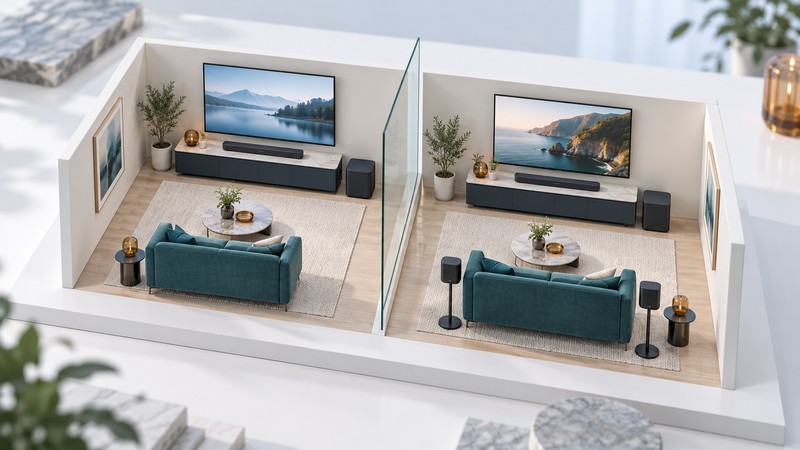
Start a Sony home-theater plan with two questions: can you place a subwoofer, and can you place speakers behind the seats? Those answers help separate a supplied bar-and-subwoofer package from a system you can expand. Then check your television and total installation cost before choosing a model.
Choose the system shape first
This guide uses Sony’s UK product listings, checked October 12, 2026. Models and support vary by region; verify your local catalog and warranty before ordering. These are documented configurations, not listening-test rankings.
| Model | Listed configuration | Room decision |
|---|---|---|
| BRAVIA Theatre Bar 5 (HT-B500) | 3.1-channel soundbar with a supplied wireless subwoofer. | Allow floor space for the bass cabinet; treat this as a defined package. |
| BRAVIA Theatre Bar 7 (HT-A7100) | Single bar with nine drivers, including upward- and side-facing drivers; compatible subwoofers and rears are optional. | Plan the complete expansion cost if separate bass and rear speakers are part of your goal. |
Both can be considered for everyday television and films, but their starting packages differ. A low advertised price for a bar alone cannot be compared directly with a package that already includes a subwoofer. Write down the equipment you intend to own at the end, even if you buy it in stages.
Check every optional speaker by model
Sony’s compatibility table lists Bar 7 with Sub 7, Sub 8, Sub 9, SA-SW3, or SA-SW5, and with Rear 8, Rear 9, SA-RS3S, or SA-RS5. It calls for current firmware and the latest BRAVIA Connect app. The table does not list Bar 5 as a host for these optional speakers; do not assume the Bar 7 expansion path applies to it.
Use the exact bar and accessory codes when checking a proposed combination, particularly when mixing generations or buying a retailer bundle. A Bluetooth or Wi-Fi label alone does not establish surround compatibility. If you want a more elaborate arrangement, such as two subwoofers, verify that configuration separately rather than extending a single-accessory listing by inference.
Separate the TV connection from exclusive features
Write down your TV’s full model code and labeled audio-return socket. Then check the bar’s connection instructions and the formats your TV can pass from its apps and attached players. The HDMI guide helps trace the source-to-TV-to-audio path.
Sony’s BRAVIA feature compatibility guide distinguishes TV-dependent functions. Features such as Voice Zoom 3 and integrated TV-menu controls require the supported combination; owning two Sony products is not sufficient evidence. Make a short list of the features you actually expect to use and check each against both model numbers.
For a games console, confirm its required picture format and refresh rate along the chosen route. If a source goes through a soundbar first, the bar must pass the required video features. If it goes to the TV first, the TV must return the desired audio. Test that route with the actual console and content before considering the setup complete.
Plan outlets, furniture, and the final bill
Draw the bar, subwoofer, and any rear positions on a room sketch. Keep upward- and side-facing drivers clear, follow the manual’s clearances, and include stands or mounts in the space calculation. Check the screen’s bottom edge and remote sensor as well as the console width.
Wireless audio does not eliminate power requirements. Check each selected speaker’s power or charging arrangements and whether cables can reach without crossing a walking route. A sofa against a wall may make a conventional rear arrangement awkward; solve the placement before paying for optional cabinets.
Compare the bar, optional speakers, stands, cables, delivery, and installation as one total. Also record local return terms so you can assess the room with the equipment in its final positions.
Make a staged listening decision
Complete the documented setup and room calibration for the chosen model after final placement. Listen to familiar speech, a quiet scene, and music at ordinary volume from every regular seat. Note whether dialogue stays clear, bass is balanced, and controls behave predictably after switching inputs and restarting.
Save the working settings in the connection record. For another expandable approach, compare the Harman Kardon Enchant plan. Return to the Home Theater hub to coordinate the room, sources, and seating.