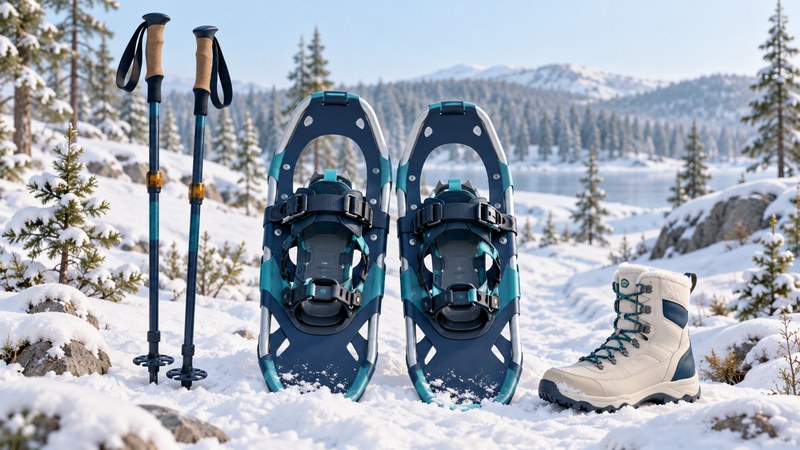
A first snowshoe outing works best when the route is easy to shorten and the equipment has already been fitted. Start with a locally recommended beginner route, check access and weather, and rent before committing to a purchase. Snowshoes spread your load across more snow; you may still sink, especially in soft powder.
Fit snowshoes to the load and terrain
Use the maker’s sizing guidance for your total load: body, winter clothing, boots and carried supplies. MSR’s snowshoe sizing and binding guidance also distinguishes deep untracked snow from consolidated trails and recommends trying bindings with the footwear you will use. Check that adjustments can be made with gloves.
| Question | What to check |
|---|---|
| How much load? | Include the daypack, water and winter clothing in the maker’s stated range. |
| What surface? | Ask about flotation for soft snow and traction for the expected route. Ice and steep ground may require different equipment and skills. |
| Which boots? | Use suitable warm, water-resistant boots that fit securely in the actual binding. |
| What help from poles? | Poles can aid balance; have rental staff explain adjustment and suitable snow baskets. |
Larger decks can provide more flotation, while smaller ones may be easier to maneuver on firm routes. Select for the conditions you will actually encounter. A more aggressive traction design does not turn a difficult winter route into a beginner outing.
Choose the route before the equipment
Ask the land manager or local visitor center for an open beginner route with known winter access. Establish distance, elevation change, exposure, road status, parking, toilets and a place to turn back. A familiar summer trail can look very different under snow.
The National Park Service winter-hiking guide emphasizes current conditions, a trip plan and preparation for short daylight hours. Carry navigation you know how to use, light, spare warmth, food, water and emergency supplies suited to the route. Tell a responsible person where you are going and when to expect contact.
Choose a route outside avalanche terrain for an introductory outing. The National Weather Service avalanche guide points travelers to local forecasts, training and rescue preparation. A gentle section can lie below a hazardous slope; ask about the full route and overhead terrain.
Make the first part a fitting check
Have rental staff demonstrate the bindings on your boots. Start on an appropriate flat practice area and take a short walk. Stop to correct rubbing, slipping straps or awkward adjustment before committing to the route. Keep the group together and set a turnaround time that allows a comfortable return.
The Mount Rainier beginner snowshoeing guide highlights waterproof or water-resistant footwear, layers, hand and eye protection, food and water. Its route and access rules are specific to that park; use your own destination’s current instructions. Adjust layers as effort changes so you stay warm without soaking them in sweat.
Walk beside groomed ski tracks where the trail manager permits snowshoe travel, and follow posted shared-use rules. If footing becomes insecure, the route is uncertain or someone is getting cold or tired, turn back while the return remains straightforward.
Use a short outing to learn what to change
Afterward, dry equipment according to the maker’s directions, inspect binding wear and record what was comfortable. Note route time, snow conditions and what you carried. Those observations make the next rental or purchase decision more useful than a universal calorie estimate or a promise that snowshoeing always feels like ordinary walking.
Sources checked October 11, 2026. Use current local information and the instructions for your actual equipment when planning an activity.