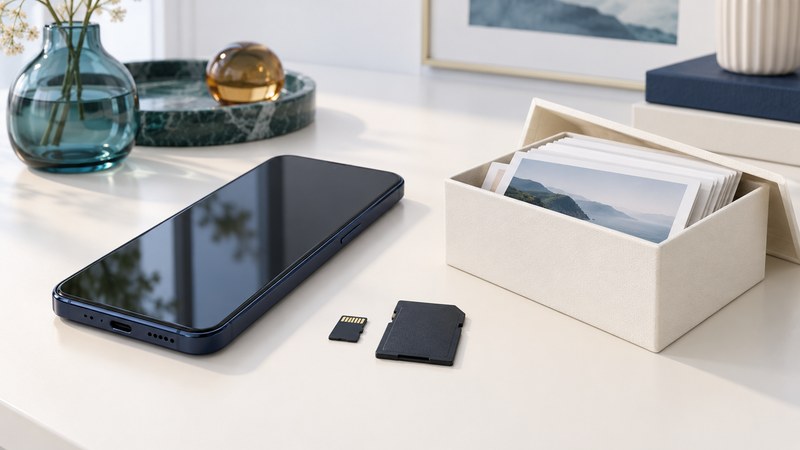
A microSD slot can give a compatible phone removable space for photographs, video, and other files. Begin with the exact phone model and its manual, then choose a card for the task. This guide focuses on adding and checking removable storage; the broader memory guide explains RAM and internal flash.
Confirm what the phone supports
Find the model identifier in the phone's settings and use the manufacturer's manual for that regional model. Check whether a card slot exists, whether it shares a tray position with a SIM, the supported card family and maximum capacity, and the insertion procedure. An external USB reader is a different connection with its own requirements.
Samsung’s microSD guidance illustrates why the model check matters: card support and maximum capacity vary, and Samsung Android devices do not support adoptable storage. Do not assume that a generic Android instruction describes every manufacturer's implementation.
Buy through a seller with a clear return process. Keep the packaging and model number. A phone recognizing a capacity is an initial check; important files still need a separate verified copy.
Choose performance for the actual task
Capacity describes how much data the card can address. Performance markings describe different workloads. The SD Association’s speed-class explanation distinguishes sustained sequential writing used for tasks such as video from other measures. Application Performance classes address random access as well as sequential performance; A2 capabilities require appropriate host support.
Scroll sideways for all columns. Keyboard users can focus the table and use the arrow keys.
| Question | Check | Practical implication |
|---|---|---|
| Will it fit and be recognized? | Card family, capacity, exact phone manual. | Use the documented combination. |
| Will it sustain the intended recording? | Phone recording requirements and card speed class. | Match the specific camera mode, not a headline read speed. |
| Can it hold apps? | Phone storage-mode support and app restrictions. | A card label alone cannot enable app installation. |
| Will it transfer quickly? | Phone, card reader, interface, and card. | The complete path sets the observed result. |
Choose capacity from the files you actually keep. For an invented planning example, 30 GB of current media plus 20 GB of expected additions totals 50 GB before any reserve. Compare that requirement with supported capacities and the usable free space the phone reports after setup. Keep room for the task's temporary and future files.
Choose the mode before formatting
Android’s SD-card instructions distinguish portable storage for transferable files from internal/adoptable storage on devices that offer it. Portable storage supports media and files; internal storage ties the card to that device's storage workflow. Manufacturer and app restrictions still apply.
Formatting erases the card. Copy existing files elsewhere and open that copy before proceeding. Use the phone's documented formatting procedure for a compatible card. If a card containing the only copy of important material suddenly asks to be formatted, stop and preserve it while investigating recovery options.
For a media card you expect to move between compatible devices, use the supported portable-storage path. Check the camera or other app's save location separately; inserting a card need not change where an app writes.
Copy, read back, and keep another copy
- Start with a small set of expendable sample files: several photos, a short video, and a document. Keep the originals in their existing location.
- Copy them to a clearly named folder on the card. Check file count, names, sizes, and any transfer errors.
- Open the copies from the card's folder. Zoom into photos, play the video through, and open the document. Check that the app is reading the intended location.
- Use the phone's documented eject/unmount or power-off procedure before removing the card. Never pull it out during a transfer.
- If portability is required, read the samples with a compatible second device or reader. Retain the originals until this succeeds.
A card inside the same phone shares its exposure to loss and damage. Keep important material in an independent location. Use the mobile memory explanation for capacity and performance concepts and the transfer guide when moving to another phone.