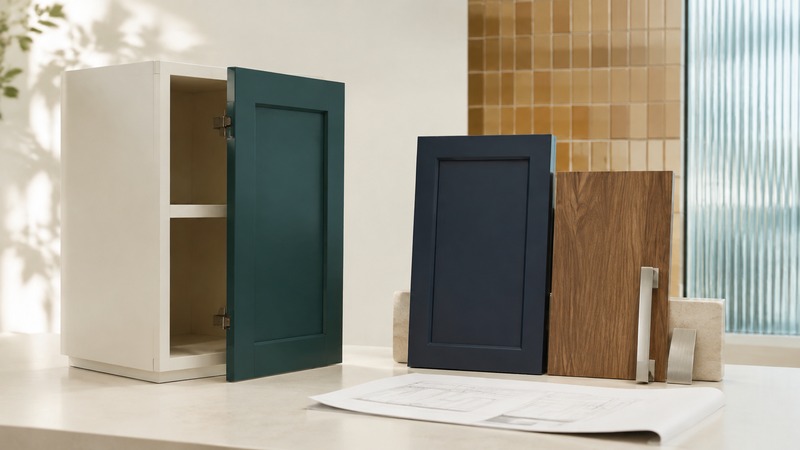
Start with the parts of your kitchen you want to keep: the layout, storage, cabinet boxes, and countertop arrangement. Then identify what needs to change. That short assessment turns a choice about door styles into a clear decision about refinishing, refacing, or replacement.
Choose the scope that fits the problem
Swipe horizontally to read the table, or focus it and use the arrow keys.
| Approach | What usually stays | What the project changes |
|---|---|---|
| Refinishing or repainting | Sound boxes, existing doors, and layout | Surface preparation and a compatible new finish |
| Refacing | Suitable cabinet boxes and much of the layout | Doors, drawer fronts, and specified exposed cabinet surfaces; hardware as quoted |
| Replacement | Whatever surrounding work the plan retains | Cabinet boxes, with an opportunity to change dimensions, layout, and storage |
Use these terms to start the conversation, then ask each bidder to define the included work. Refacing systems differ. Kitchen Magic’s refacing description retains existing boxes and updates doors and exterior surfaces; its discussion of drawer boxes makes clear why the drawer front and the storage box deserve separate quote lines.
A kitchen with a useful layout and sound cabinets may suit a surface-focused update. Changing appliance openings, solving awkward corner access, or relocating major storage can point toward replacement or a combined project. Sketch those changes before selecting finishes.
Assess the cabinets you plan to keep
Empty a representative cabinet and inspect the interior, shelf supports, hinges, and drawer operation. Pay particular attention to the sink base and areas beside appliances. Record swelling, loose joints, peeling surfaces, persistent odors, and earlier repairs. Have the contractor assess the box material, attachment, alignment, and ability to hold the proposed hardware.
Resolve leaks and moisture damage before covering a surface. Ask which boxes are suitable for reuse, which need repair, and which need replacement. Obtain a written description of the repair method and the condition it is intended to address.
Try the kitchen as you normally use it. Check whether drawers provide the access you need, whether the largest items fit, and whether doors interfere with appliances or adjacent handles. Agree on the finished dimensions and clearances with the contractor. This is the point to price interior storage upgrades and any selective cabinet replacement.
Approve a complete finish sample
Compare a sample door, drawer front, exposed end panel, and edge detail together. Look at them in daylight and under your kitchen lighting. For wood, discuss expected grain and color variation. For laminates and wrapped surfaces, ask how edges and corners are finished and which cleaning and heat-exposure instructions apply.
Specify which faces receive a new covering: face frames, exposed ends, toe kicks, fillers, crown or light-rail trim, and any visible underside. Include the cabinet interiors explicitly in the scope. Ask how the new doors will align with the existing boxes and how hinge openings and handle holes are prepared.
Request the finish supplier’s care instructions and a sample approval record. A small retained sample gives you a reference during installation and future repairs. If nearby appliances release heat or steam, have the installer review the appliance clearances and material requirements together.
Compare like-for-like quotations
- List quantities and styles for doors and drawer fronts; identify drawer-box and slide replacements separately.
- Describe surface preparation, repair allowances, exposed-panel coverage, trim, hinges, handles, and soft-close hardware.
- State how countertops, plumbing, appliances, floors, and adjacent finishes will be protected or altered.
- Agree on site access, work hours, dust management, kitchen availability, debris removal, and completion criteria.
- Record product and workmanship warranties, exclusions, service contacts, payment stages, and the process for approving changes.
FTC guidance on hiring for home improvements recommends written estimates and checking licensing and insurance as applicable. Ask the local building authority or contractor to establish permit requirements for the complete scope, especially when plumbing, electrical work, or layout changes are involved.
The cabinet quote-comparison worksheet provides space for quantities, exclusions, adjustments, approved samples, and unresolved questions. Keep assumptions visible until the bidder confirms them.
Plan preparation and handover
For work disturbing painted surfaces in a pre-1978 home, establish lead-safe preparation with an appropriately qualified firm. EPA’s consumer renovation guidance explains the lead-paint concern and certified-firm resources. Settle the preparation method before sanding or demolition begins.
At handover, operate every door and drawer, inspect agreed surfaces and edges, and review clearances and alignment with the installer. Photograph remaining items and agree on a completion date. Save the final materials list, approved changes, warranty documents, and cleaning instructions with the kitchen project record.