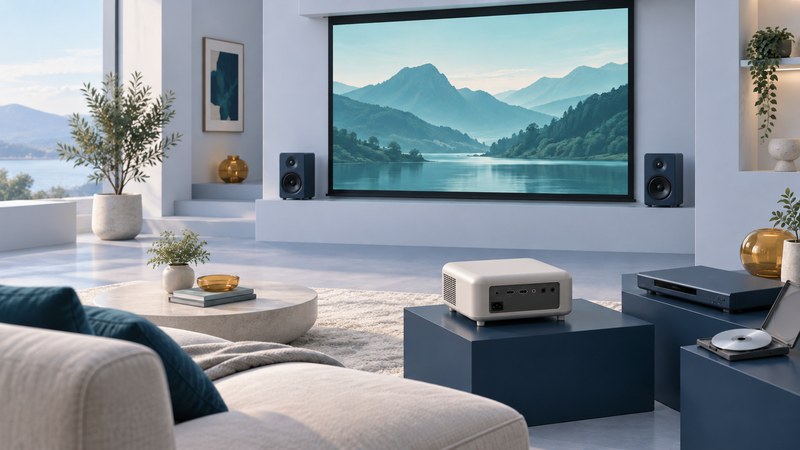
To watch a DVD on a projector, plan three things: a device that plays the disc, a video connection the projector accepts, and a route for sound. A separate DVD or compatible Blu-ray player connected by HDMI is a straightforward starting point when both devices support it.
An integrated DVD projector combines the first two jobs. A projector with streaming apps or a USB port still needs a supported way to read and play the DVD. Identify the exact inputs, outputs, and supported signals before buying an adapter.
Choose a connection that both devices support
| Equipment | Video route | What to establish |
|---|---|---|
| Player and projector with HDMI | Player HDMI OUT → projector HDMI IN | Choose a player output resolution listed in the projector manual; also check its speaker or audio outputs. |
| Older player with analog video | A matching composite or component input | Match connector labels and signal type. Composite and component video require a separate sound connection. |
| Player and projector with different signal types | A suitable powered converter, if documented for both devices | Confirm conversion direction, accepted signals, output resolution, and copy-protection compatibility before buying. |
| Computer with optical drive | Supported computer display output → projector | First get the DVD working on the computer; then select its external screen and audio output. |
| Projector with built-in DVD drive | Internal playback | Check disc region/formats, remote/menu access, and where sound is reproduced. |
A passive cable changes neither an analog signal into HDMI nor the opposite. Treat a converter as another device to verify and power. When both source and projector offer HDMI, a direct connection removes an extra compatibility question. Epson’s HDMI connection instructions illustrate the source-output-to-projector-input arrangement and the need to follow the equipment’s connection sequence.
Set up the picture before the audience arrives
- Position the equipment. Use the projector’s placement instructions for screen size, distance, ventilation, and a stable surface. Keep the lens path clear.
- Make connections with the equipment off. Connect the player’s output to the matching projector input; prepare the chosen sound route too.
- Select the source. Turn on the equipment following its manuals and select the projector input corresponding to the cable, such as HDMI 1.
- Insert a known-good compatible DVD. Navigate its menu and start the feature. Seeing the projector’s home screen alone does not test the DVD path.
- Focus and frame. Adjust physical placement and optical controls first. Use digital geometry correction only as needed, then recheck focus and subtitles.
- Check a complete scene. Look for stable picture, natural proportions, legible subtitles, audible dialogue, and sound that matches the action.
Decide where the sound will come from
HDMI can carry picture and sound, but the receiving equipment must support and reproduce the audio. Choose one complete route:
- Projector speaker: convenient for a small setup if the projector accepts the source audio.
- Powered speakers: use a documented audio output on the player or projector connected to a compatible input. Passive speakers need an amplifier.
- AV receiver: player HDMI output to a receiver input, receiver HDMI output to the projector, and speakers connected to the receiver.
- Soundbar through ARC: use this only when the projector and soundbar support ARC on the connected ports and the relevant settings are enabled.
Epson’s ARC setup example shows why port selection and control settings matter. ARC is an audio-return feature on designated ports; an ordinary HDMI input does not establish that connection.
For missing dialogue, check mute, selected audio track, output device, and supported digital-audio format. Epson’s sound troubleshooting guidance includes PCM as a compatibility setting on the models it covers. Use your device’s manual to find the equivalent option. Test stereo first when appropriate, then configure supported surround sound.
Keep the picture’s proportions and set realistic expectations
A DVD’s recorded picture, the player’s output signal, and the projector’s native image resolution are separate things. Upscaling fits the DVD image to a larger output; it does not supply the detail of a different high-definition release. Sony’s DVD-upconversion specifications provide one concrete example of that distinction.
Choose the player’s screen-shape setting to suit your display and keep the projector’s aspect setting appropriate to the signal. A 4:3 program may correctly show bars at the sides of a wide screen; a very wide movie may have bars above and below. Check faces and circles for stretching before using zoom to fill the screen.
Try the intended screen size in the actual room. Reduce light falling on the screen and compare a smaller image if the picture seems dim or soft. Use the projector’s documented image-size and placement ranges rather than assuming a larger image is always more satisfying.
Troubleshoot one part of the chain at a time
| Symptom | First useful check |
|---|---|
| Projector menu appears, DVD picture absent | Select the connected input. Test the player and cable on a compatible TV, then check the projector’s accepted signals. |
| Picture appears but sound is absent | Identify the intended speaker, confirm the complete audio path, then check mute and audio-format settings. |
| Picture is stretched or cropped | Review player TV-type, projector aspect, and zoom settings. Compare a familiar scene with faces or circles. |
| Picture repeatedly drops out | Test a shorter known-good cable and direct connection. Check signal support before adding converters or splitters. |
| Only one disc fails | Compare its region, recording format, and condition with a known-good disc; a working projector does not establish disc compatibility. |
For an older integrated DVD projector, use its own manual to identify supported media and serviceable parts. Treat historic launch claims and prices as history. Before a movie night, test the actual film, its subtitles, and a dialogue scene using the final arrangement.
Choose a DVD playback route · Compare portable players · Check recorded DVD compatibility