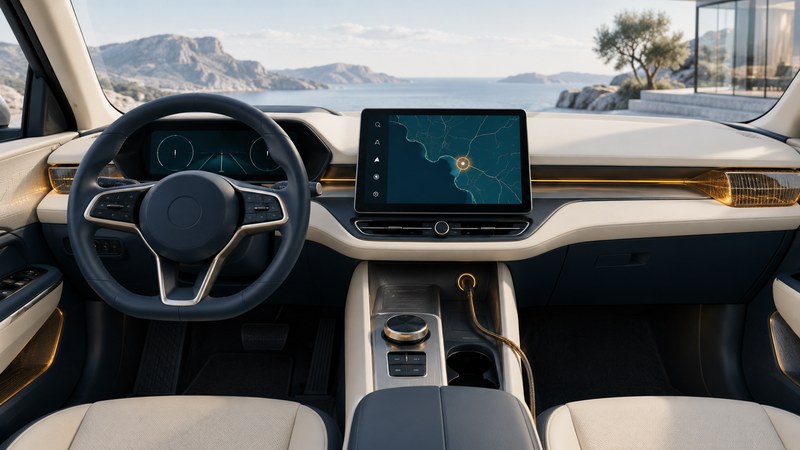
A successful dashboard navigation installation combines a readable display, appropriate power, reliable audio and documented compatibility with the vehicle. Plan those relationships before buying a screen or approving an installation. The useful deliverable is a system whose everyday functions you can demonstrate at handover.
This guide helps vehicle owners specify and review an installation. Use the vehicle, mounting-system and head-unit instructions for physical work. Connections involving airbags, vehicle networks, cameras or electrical circuits require the appropriate model-specific procedure and a competent installer.
Identify where navigation actually runs
| Arrangement | Where the route is calculated | Questions to settle |
|---|---|---|
| Portable navigator | The separate navigation device | Mount compatibility, power lead, map support and any traffic connection |
| Built-in navigation | The vehicle or aftermarket navigation system | Map provider, update method, antenna and retained vehicle functions |
| Phone projection | The supported phone/app arrangement | Exact phone/head-unit compatibility, wired or wireless connection and charging |
A screen can support more than one arrangement. Write down which one will be the default and what works when the phone is absent. Familiar-looking maps on the dashboard may belong to different apps, with separate saved places and update policies.
Assess placement from the driver's position
Before installation, review the proposed position while seated normally. Check the road view, instrument visibility, mirror use, access to essential controls and clearance for steering and other movements. Check glare and readability at the actual distance. Identify airbag deployment areas using the vehicle documentation and check applicable mounting rules for the places you drive.
Ask the installer to show how the mount and cables are secured and how normal controls remain accessible. A temporary arrangement used for a fitting check should not be treated as an approved permanent installation. Keep cables clear of pedals and moving mechanisms.
Model instructions matter. The Kenwood KNA-G620T installation manual documents antenna placement, compatible display checks, power considerations and airbag-related installation precautions for that particular system. Use it as evidence that these dependencies need checking, rather than as wiring instructions for another product.
Agree on the functions being retained
List the vehicle features expected to work after the installation: steering-wheel controls, factory amplifier, microphone, cameras, parking displays and vehicle-settings access where present. Ask for the exact interface-adapter model and its supported vehicle/year/trim combination. Record any function that will change or be lost before the work begins.
For a claimed dead-reckoning capability, request the supporting manual and required sensor or vehicle inputs. This term describes estimating movement using information beyond a current satellite fix; implementation varies. A moving icon through a tunnel can also reflect display behavior or map matching. A vendor's documented capability and commissioning procedure are stronger evidence than that observation alone.
Agree on normal startup and shutdown behavior, the supported charging connection and who maintains firmware and maps. Where the unit uses a phone, identify which USB port or wireless pairing route is required. A socket that charges a phone may have a different role from the documented data connection.
Use a practical handover checklist
- Record the vehicle, head-unit, adapter and software identities and retain the installation paperwork.
- At a safe stationary location, start the system using the normal vehicle procedure. Confirm its expected shutdown behavior with the installer.
- Open a known destination and verify map region, current position and route overview.
- Test documented guidance-audio options with the intended music source and phone connection.
- Have the installer demonstrate retained vehicle functions under the appropriate safe test conditions.
- Disconnect the phone and record which navigation functions remain available.
- Locate the manual, support contact and map-update instructions together.
Illustrative handover issue: a newly installed display shows phone navigation correctly, but the owner expected navigation without a phone. The remedy is to resolve that specification mismatch with the installer. Updating the screen firmware alone cannot establish an undocumented built-in navigation capability.
Use the parked usability trial to assess the finished controls. For a Kenwood system, continue with model-specific map and firmware checks. Save unresolved items with the person responsible and the evidence needed to close them.
Use the dashboard handover checklist to keep a practical record of the checks in this guide. It is an editable plain-text aid.