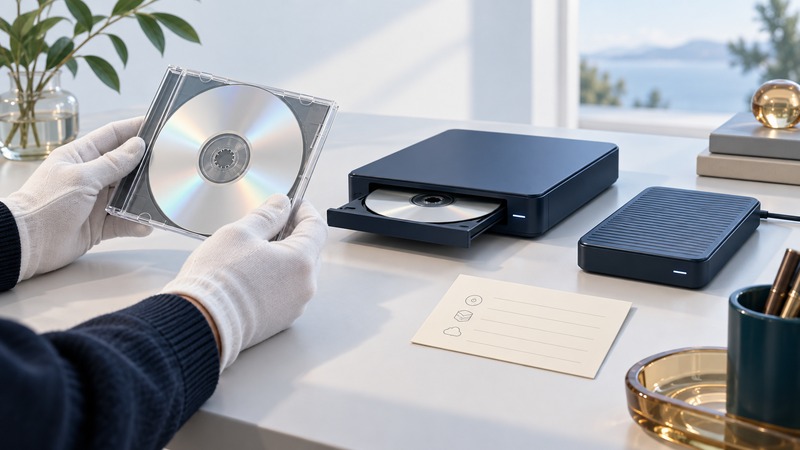
Choose a CD-R by the job it must do: play music in a particular player, deliver files to another computer or recover material from an older collection. A successful burn is the start of verification. Read the finished disc, check its contents and keep another usable copy of valuable files.
Have a compatible optical drive, the software and destination device you intend to use, enough free storage for a copy and a simple inventory. This is a workflow guide; it does not rank disc brands or claim laboratory testing of media.
Choose the format before the disc
On a narrow screen, scroll the table horizontally. Keyboard users can focus the table region and use the arrow keys.
| Job | Choose and check | Acceptance test |
|---|---|---|
| Music in a conventional CD player | Create an audio CD in software that supports that format; check player support for recordable media. | Play the beginning and end of the disc in the intended player and check track order. |
| MP3 or other files in a compatible player | Create a data disc only if that player supports the file format, folder structure and media. | Browse and play representative files on that exact player. |
| Documents or photos for a computer | Choose a filesystem and session/finalization option supported by the recipient. | Read the disc on the receiving computer and compare the files. |
| Recover an existing collection | Read first; copy into managed storage and preserve meaningful folder names. | Check copy errors, file counts, file integrity and whether the formats still open. |
CD-R is write-once media; CD-RW is rewritable and has its own drive/player compatibility requirements. An audio-CD project arranges audio tracks for that format. Copying WAV or MP3 files into a data-CD project creates files on a filesystem, even when the source material is music. Apple’s disc-burning guide describes burning computer files with an external writable drive. Check the drive’s actual writing capabilities as well as its ability to read a disc.
Make a small verified test burn
- Prepare a named source folder. Open the files and confirm that their names, order and contents are ready for delivery.
- Check the drive manual and recording software for supported media, speeds and disc formats. Use an offered combination; an advertised maximum speed alone does not choose the best recording setting.
- Create the correct audio or data project. Compare the software’s remaining-capacity display with the complete project, including any required overhead.
- Burn and let the software finish normally. Select its verification option for data discs when available, and record any error instead of dismissing it.
- Eject and reinsert the disc, then test it in the intended receiving device. A second compatible drive is useful for exposing a compatibility problem.
For data discs, compare copied-back files with the originals using a checksum tool you understand. Matching cryptographic hashes provide strong evidence that the compared file bytes agree. They do not measure the disc’s physical error margin or guarantee how long it will remain readable. For audio CDs, playback checks and an audio extraction/verification workflow answer different questions from hashing the original compressed music files.
Keep capacity units and formats straight
An “80 minute” audio label and a “700 MB” data label describe different uses of a CD. Compressed-audio file duration depends on its bitrate and the receiving player’s support. Plan around the selected project format rather than converting every music collection by the audio-CD minute figure.
Copy readable old discs while you can
The Library of Congress approach to external media prioritizes moving content into managed storage. For a personal collection, the practical equivalent is an organized copy, a second separate copy and a record of checks and remaining problems.
- Assign a disc identifier and record its label, apparent contents and any visible damage. Handle it by the edge and center hole.
- Use a suitable maintained drive. Copy the whole accessible folder structure to a new folder named for the disc; preserve the source disc.
- Save read-error messages and identify missing files. If reading fails, stop treating the copy as complete. Another compatible drive or specialist recovery may help, but success varies.
- Compare file counts and sizes, open representative documents/images and check copied files with hashes where a trustworthy comparison is possible. Retain original formats alongside converted working copies.
- Make a second checked copy in a separate appropriate location. Keep the inventory with both copies and periodically test that you can retrieve and open the material.
Reduce handling damage and keep a preservation record
Library of Congress handling guidance recommends holding optical discs by their edges and center holes and using cases that secure the center hub. Keep them in a clean, stable environment away from direct sun and extreme heat. The National Archives guidance for machine-readable media also addresses disc enclosures and labeling. Avoid experimental polishing or solvents on an irreplaceable original.
A case protects a carrier; an inventory makes the content findable. Record disc ID, copy date, drive and software, errors, verification method and copy locations. Set a review date based on the importance of the collection and whether the required software or hardware is becoming difficult to obtain. Long-lived access depends on that maintenance process as well as the original medium.
Keep a working record
Download the cdr media review worksheet (editable text). Save a copy, fill in the fields for your situation and record exceptions as well as successful checks. The worksheet includes its purpose, source links and any example assumptions.