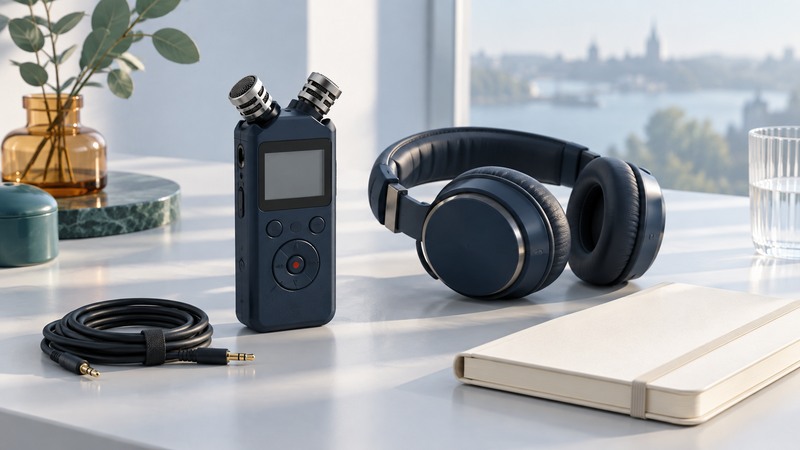
A useful voice recording preserves understandable speech in a file you can open, identify and keep. Choose the recorder around the room, speakers and delivery requirements, then test the complete path from microphone to exported file before the important conversation begins.
This guide suits interviews, lectures and spoken notes. Have headphones, the recorder or phone you intend to use, its current manual, sufficient power and storage, and a computer or other destination for the files. Agree with participants on recording and intended use, and check any rules that apply to the setting.
Choose the setup around the conversation
On a narrow screen, scroll the table horizontally. Keyboard users can focus the table region and use the arrow keys.
| Situation | What matters | Try before the session |
|---|---|---|
| One person dictating | Consistent microphone distance, handling noise and simple file access. | Record a quiet and a louder sentence, then listen through headphones. |
| Two-person interview | Both voices need clear coverage without excessive room sound. | Test both seats and normal changes in speaking direction. |
| Lecture or meeting | Distance, reverberation and access to a suitable microphone or feed. | Listen from the intended recording position; arrange closer coverage if speech is unclear. |
| External microphone or mixer | Connector wiring, input level, microphone power and channel assignment. | Verify compatibility in both manuals and record each channel separately. |
For a single voice, mono can simplify editing and reduce uncompressed storage. Two separate microphone channels can help balance two speakers later. A stereo microphone captures spatial information, but placing it far from both people can still produce indistinct speech. Choose channels for the job and verify what the recorder actually writes.
Improve the sound before changing settings
Shure’s microphone-placement explanation describes the competition between direct speech and room reflections. A microphone captures both. Moving it closer to the intended speaker often helps more than choosing a larger audio file.
- Listen to the room: ventilation, traffic, computer fans and hard reflective surfaces can mask words. Choose a quieter position where possible.
- Place the microphone securely and clear of clothing, paper movement and table knocks. Follow its intended pickup direction.
- Record a brief exchange at ordinary volume, including pauses and the loudest speech reasonably expected.
- Play the saved test through headphones. Check intelligibility, distortion, rustling and whether every required channel is present.
- Change one cause at a time—position, room, input setting or cable—and repeat the saved-file test.
For recorders with adjustable input gain, leave room below their indicated clipping level for louder passages. Use the manual’s meter and limiter guidance. A low-cut filter may reduce rumble, but it also changes the recording; compare its effect on the actual voice.
Separate file headroom from physical overload
Uncompressed WAV is a useful editing master when the receiving software supports its sample rate and encoding. Compressed formats can reduce transfer size, while introducing another compatibility and quality choice. Confirm requirements with the editor or transcription service before collecting hours of material.
The Zoom H1essential manual explains its 32-bit float WAV workflow and also lists a maximum sound-pressure input for its built-in microphones. These describe different parts of the chain. Floating-point file headroom can preserve values that an editor initially displays above its playback limit; it cannot restore sound already distorted at the microphone or another overloaded analog stage. Test the real setup even when the recorder advertises wide recording headroom.
Keep an untouched original before normalizing, filtering or converting. Audition the exported copy in the application that will actually use it. If transcription is involved, compare uncertain words, names and numbers with the audio; a confident-looking transcript can still mishear them.
Calculate a realistic storage allowance
Check the recorder’s supported card type, capacity and formatting instructions, and its power endurance under the selected settings. A storage estimate does not establish battery runtime. Test a representative session length well before relying on a new recorder.
Finish with a file you can find and trust
- Stop recording normally and wait for the device to finish writing. Follow its transfer and safe-removal instructions.
- Copy the original files to a named session folder. Keep date, subject, recorder settings and channel assignments with the audio.
- Open the copied files, compare expected duration and listen at the beginning, middle and end. Investigate gaps or missing channels before clearing the recorder.
- Keep another verified copy in a separate appropriate location. Restrict access according to the conversation’s sensitivity.
- Deliver the agreed format with a clear filename and retain the original until the retention decision is settled.
For example, a fictional interview folder might contain an untouched stereo WAV, a listening copy, a channel note and a short list of time markers. This makes the recording usable by another person without relying on the recorder owner’s memory.
Keep a working record
Download the digital voice recorders worksheet (editable text). Save a copy for each comparison or test. It includes the example assumptions, fields for source references and space for your results.