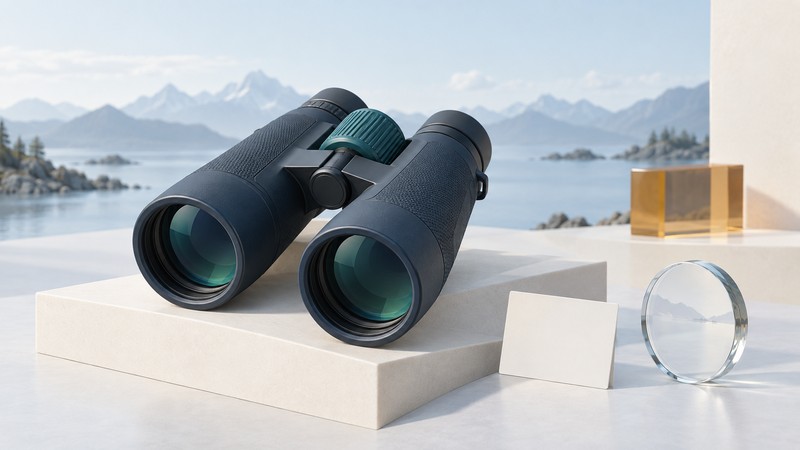
Choose binoculars by the detail you can comfortably see and follow. Magnification, field of view, steadiness, eye position, and carrying weight work together. Start with your outing, compare the specifications, then try the instrument with the glasses and support you expect to use.
This guide covers ordinary outdoor and night-sky viewing. Never look at the Sun through binoculars. Canon's binocular safety instructions (PDF, page ENG-2) warn that doing so can cause loss of vision. Aim your daytime comparison at a shaded, stationary subject well away from the Sun.
Start with the view you need
Write down the subject, typical distance, viewing duration, and conditions before comparing models. A pair that is comfortable for a short look from a porch may be tiring on a long walk. A broad view can help you locate a moving subject; close focus matters when the subject is nearby. These priorities give a shop or field trial a purpose.
| Your task | Prioritize | Try before deciding |
|---|---|---|
| Birds and wildlife | Finding the subject, comfortable focus control, close focus where needed | Locate a small subject from the naked-eye view, then follow it and refocus. |
| Travel and walking | Carrying weight, size, easy handling | Hold the binoculars for a typical viewing interval and handle the case and strap. |
| Waterside or boat use | Documented water resistance, grip, a steady usable view | Check the exact environmental limits and whether you can operate controls securely. |
| Casual stargazing | Comfort, support, field of view, performance in dim conditions | Assess a supported view during an evening trial where available. |
Use this as a set of comparison prompts, then consult the exact model's manual. Nikon's guide to choosing by specifications explains how size, magnification, field of view, and eye relief affect selection.
Read the numbers in context
In 10×42, 10× is magnification and 42 is the effective objective diameter in millimeters. More magnification enlarges the subject and makes hand movement more apparent. A larger objective admits light over a larger area, while usually adding bulk. See Nikon's explanation of objective diameter for the size and light-collection relationship.
- Actual or real field of view
- The angular width of the scene. Manufacturers may also state a width at a specified distance, such as meters at 1,000 meters. Compare like units and distances.
- Apparent field of view
- The apparent angular extent of the view through the eyepiece. Check the calculation method when comparing different catalogues.
- Eye relief
- The distance behind the eyepiece where your eye sees the full view. Glasses and eyecup design affect whether that position is comfortable for you.
- Close focus
- The nearest distance at which the instrument can focus. Check it if insects, flowers, or nearby birds are part of your viewing.
Nikon's field-of-view guide distinguishes actual and apparent angles. Its apparent-angle calculation note explains why the older magnification-times-real-angle method can give a different result from the ISO-based method.
A documented example: Canon 10×42 L IS WP
Canon's US specification page lists a 6.5° real field, a 59.2° apparent field calculated using ISO 14132-1:2002, a 4.2 mm exit pupil, 16 mm eye relief, and approximately 1,110 g weight. These numbers answer separate questions: scene width, apparent viewing angle, eye positioning, and carrying load. Try the fit even when the eye-relief figure looks suitable. This example demonstrates specification reading; it is not a comparative product test.
Evaluate stabilization with a repeatable comparison
Image stabilization aims to reduce the visible effect of movement while you hold the binoculars. Its operation, correction range, power source, and automatic shutoff depend on the model. Canon's 10×42 instructions (PDF, page ENG-11) describe a button-held mode and a five-minute mode. Consult the corresponding instructions for another instrument.
For a useful comparison, focus on a small detail on the same stationary target, in the same light, from the same position. Compare short periods with stabilization off and on. Record whether the detail is easier to read and whether tracking feels comfortable. Repeat after resting your arms. If possible, compare with a supported view as a separate trial.
Include the whole outing in the decision: controls with your usual gloves, battery requirements, carrying weight, and how the instrument behaves when stabilization is unavailable. A brief shop impression is a starting point; it does not establish performance on a moving boat or during a long night outdoors.
Set the fit before judging sharpness
Have the manual, your usual glasses, and a stationary target ready. Nikon's central-focus setup guide illustrates the basic adjustments; controls and diopter locations differ across models.
- Set the eyecups. Start with the position recommended for use with or without glasses. Adjust until you can see the field comfortably.
- Match the eyepiece spacing. Move the hinged barrels until the two views merge into one circular field.
- Balance the focus for your eyes. Follow the model's diopter procedure. On a common right-diopter design, the central control focuses the left view first; the right diopter then sharpens the same target for the right eye.
- Use both eyes. Refocus normally, check the full view, and try several near and far targets within the specified focusing range.
- Assess comfort. Hold the instrument for the length of a typical look. Note blackouts, awkward controls, arm fatigue, or difficulty locating the subject.
If the view has dark crescents, revisit eye position and eyecup settings. If one side stays blurred, revisit the diopter procedure. Persistent double vision or a sudden change after a drop calls for a service assessment; avoid trying to realign the optics yourself.
Read weather claims at the model level
Look for documented test conditions and handling instructions, including the battery compartment and seals. Treat “waterproof,” internal fog resistance, and cleaning procedures as separate things to check. Canon's 10×42 manual explicitly excludes underwater use despite its waterproof designation. Follow the manual for your model after rain or salt exposure; a procedure approved for one sealed instrument may damage another.
Keep the manual with your comparison notes. Record the approved cleaning method, dry-storage guidance, battery-storage instructions, and service contact. These practical details matter when the instrument will spend more time outdoors than on a shelf.
Take a comparison sheet with you
Download the one-page binocular comparison sheet (PDF). It has room for two candidates, specification sources, viewing conditions, and your own fit and steadiness notes. Print it at actual size on Letter or use fit-to-page for A4.
Fill in the task first. Copy specifications from the manufacturer, mark anything unverified, and separate those figures from your observations. Prefer the candidate that meets your essential needs comfortably. A larger number is useful only when it improves the view you need.
For a different kind of optics question, explore how telescope arrays combine light and resolve detail, or return to the Telescopes and Binoculars guides.