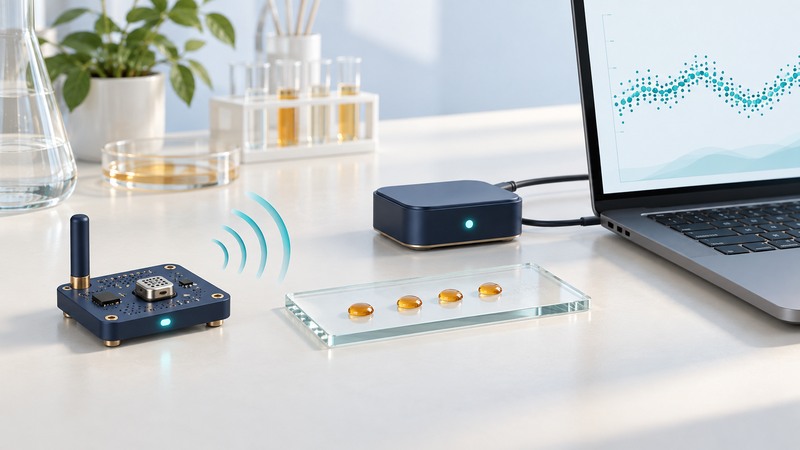
Build a wireless sensor prototype by proving each step from firmware to an interpretable stored record. A nearby receiver showing a changing number is a useful start; a record with source, units, version and timing makes that number usable for later diagnosis.
This bench exercise uses a Nordic nRF52840 DK, a data-capable USB cable, a computer with Zephyr's development tools and a Bluetooth LE client that can subscribe to GATT indications and display the Health Thermometer measurement. The example is pinned to Zephyr 4.2.0. It is a documented software walkthrough; Yenra has not built the firmware or tested this hardware.
Choose a small, explicit data path
The path is on-chip temperature peripheral → firmware → Bluetooth LE indication → receiver → saved record. Zephyr's 4.2.0 Health Thermometer sample documentation specifies Nordic chip-die temperature and simulated values on other boards. The service's name describes a Bluetooth example; this exercise measures neither body temperature nor calibrated room temperature.
Keep the record labeled die_temperature. A later ambient-temperature prototype needs a suitable external sensor, its driver, placement and a measurement-quality check. The monitoring-system guide covers that broader measurement and operational design.
Build the documented sample
- Set up the released Zephyr 4.2.0 workspace, dependencies and toolchain using the release's getting-started guide. Record the Zephyr revision, SDK version and host environment.
- Identify the nRF52840 DK board and its debug USB connection. Install a supported flashing runner using the 4.2.0 board instructions. The target here is
nrf52840dk/nrf52840. - From the root of that Zephyr repository, build into a dedicated output directory:
west build -p always -d build-ht -b nrf52840dk/nrf52840 samples/bluetooth/peripheral_ht
west flash -d build-ht
Flashing replaces the firmware on the selected development board. Confirm the connected board and preserve any firmware you need first. If the tools cannot find the board or runner, resolve that connection before investigating Bluetooth.
Confirm the source and the wireless result
Open the board's console using the board guide's connection settings. Keep its startup messages. In the 4.2.0 sample implementation, initialization reports whether a temperature device is available; an unavailable device selects simulated data. Check this evidence before labeling anything a sensor observation.
- Scan with your Bluetooth LE client and identify the intended development board, using its advertising details and a power-cycle check if nearby devices make identification ambiguous.
- Connect and discover the Health Thermometer service. Enable indications on its Temperature Measurement characteristic.
- Check that decoded values arrive with Celsius units and that the board console reports temperature and indication activity. Preserve any sensor-fetch or channel-read errors; an error makes a displayed value unsuitable as a verified observation.
- Record several received values with the receiver's observation times. Disconnect, reconnect and subscribe again; document the gap and how updates resume.
The sample's main loop attempts updates at one-second intervals and also simulates a battery value. Treat the battery display as example behavior. Actual received spacing depends on the connection and application, so record what the receiver observes.
Save a record that preserves meaning
Download the prototype record template. Enter one received observation per record block in its plain-text record area, or use the same fields in your own data tool. Save the client log if your chosen client supports export; otherwise transcribe the displayed value and observation time and mark the method as manual.
Scroll the table horizontally; keyboard users can focus it and use the arrow keys.
| Field | Fictional value | Meaning |
|---|---|---|
| source_id | bench-dk-01 | Your stable label for this physical board. |
| quantity / value / unit | die_temperature / 27.25 / degC | What the number represents and its unit. |
| observed_at | 2026-09-08T14:00:00Z | Receiver observation time in UTC, entered manually in this example. |
| origin / method | sensor / manual receiver transcription | Distinguishes physical measurement from simulation and describes capture. |
| firmware / quality | Zephyr 4.2.0 peripheral_ht / no error observed | Version and the limited evidence checked for this observation. |
The example time is a receiver timestamp, not a claim about when the sensor sampled. A production record may need device timestamps, synchronization status, sequence numbers and explicit invalid/stale states. Introduce those fields when the receiver or firmware actually supplies them.
Set the first acceptance boundary
Call this bench stage complete when you can rebuild the recorded version, identify the correct board, distinguish sensor from simulation, receive and save an interpretable value, and explain a disconnect/reconnect gap. If you see a regular sequence of plausible values but the console says simulation, the transport path works while the sensor path remains unproved.
Next, replace the sample's simplified error handling with explicit invalid-data reporting, automate capture and add a suitable external sensor if the intended quantity requires one. Keep those changes separate so each new failure has a small set of possible causes.