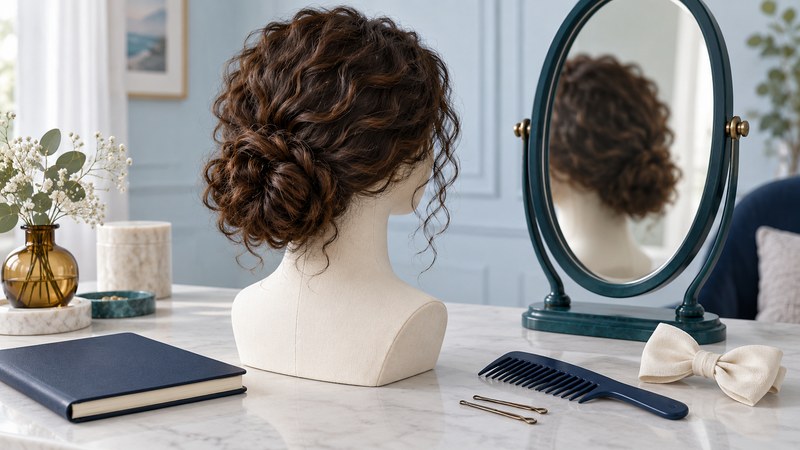
A useful wedding hair trial tests comfort, shape and staying power with the accessories you intend to wear. Bring a clear brief, record what was used and agree a realistic getting-ready schedule with your stylist.
Describe your hair and the day you are planning
Tell the stylist about your current length, texture, usual routine, recent treatments and any products or techniques you prefer to avoid. Share how you normally wear your hair and which parts of that familiar look you want to keep. If your plans include a cut, color change or extensions, discuss their timing and suitability with the stylist before the trial.
Choose a few reference images and explain the detail you like in each: softness around the face, a defined curl pattern, a low shape at the back or an uncovered neckline. Ask what can be achieved with your own hair and what extra preparation or materials the proposed look would involve.
Describe the ceremony and reception locations, likely time outdoors, travel between them and any outfit change. Show the neckline and any collar, wrap or head covering that affects the finished shape. For clothing decisions that influence the trial, use the wedding dress guide.
Bring the accessories and leave time to observe the result
Ask the stylist how to prepare your hair for the appointment. Bring the intended veil, comb, pins or other accessory, along with photographs of the outfit. If an item is still being chosen, tell the stylist its likely size and attachment method and agree whether another check will be needed.
Take photographs from the front, both sides and back in ordinary light. Move your head, sit down and try the veil or headpiece in its planned position. Agree who will remove or change an accessory later, then ask the stylist to demonstrate the sequence to that person when practical.
Wear the finished trial style for a representative period if your schedule allows. Record when it feels uncomfortable or begins to change, where pins become noticeable and what happens when the veil comes off. Weather on the wedding day may differ, so discuss an alternative that the stylist can execute within the appointment.
| Check | Observe | Agree with the stylist |
|---|---|---|
| Shape | Front, side and back views with the outfit neckline | Which details to retain or adjust |
| Comfort | Pulling, pressure, pin placement and head movement | How to reduce tension or change placement |
| Accessories | Position, weight and removal sequence | Who fits and removes each piece |
| Wear | Changes over time, with the time noted | Preparation, adjustments and realistic touch-ups |
| Appointment | Actual preparation and styling time | Arrival, finish time, workspace and supplies |
Treat comfort as part of the finished style
Tell the stylist promptly about painful pulling, pressure or stinging. The American Academy of Dermatology’s guidance on hairstyles that pull advises changing a painful style immediately and explains the risk from repeated tension. Ask for the style to be loosened or adjusted as soon as discomfort appears.
Discuss accessories that feel heavy and pins that press when you rest your head against a seat. Consider the whole day: a shape that feels comfortable standing still also needs to work through travel, hugs and dancing. Share any known product sensitivities with the stylist when making the appointment so they can discuss suitable options.
Work backward from being dressed and ready
Give the stylist the time you need to be fully ready, including dressing, photographs and travel. Ask for an estimate based on the agreed style, hair preparation and people being served. Clarify whether one stylist or a team will attend and which services can happen at the same time.
An illustrative single-person schedule
If you need to be ready at 1:00 p.m., allow 75 minutes for the agreed styling appointment, 15 minutes for final accessory checks, 15 minutes to dress and 15 minutes of buffer. That is 120 minutes, giving an 11:00 a.m. start. Add makeup, travel and any other tasks separately; replace every allowance with the times agreed with your team.
Confirm the address, parking or access arrangements, suitable workspace, mirror, lighting and any power needs. Ask what the stylist brings and what the venue must provide. Keep the schedule realistic for attendants too; confirm their interest, service cost and payer before adding appointments.
Save the final version and a small touch-up plan
Download the editable hair trial and wedding-day brief. Record the selected photographs, preparation instructions, accessory order, appointment details and approved changes. Send the agreed version to the stylist and retain a copy for the morning.
Ask which small supplies would be useful for this particular style and who can help with a loose piece or accessory change. Have the stylist demonstrate any adjustment you expect to do yourself. Plan how accessories will be stored after removal and ask for instructions for taking the style down comfortably at the end of the day.
Confirm the final balance, cancellation terms and contact for a delay. Add the appointment to the wedding planning schedule, and use the wedding-party agreement guide to coordinate optional services with attendants.