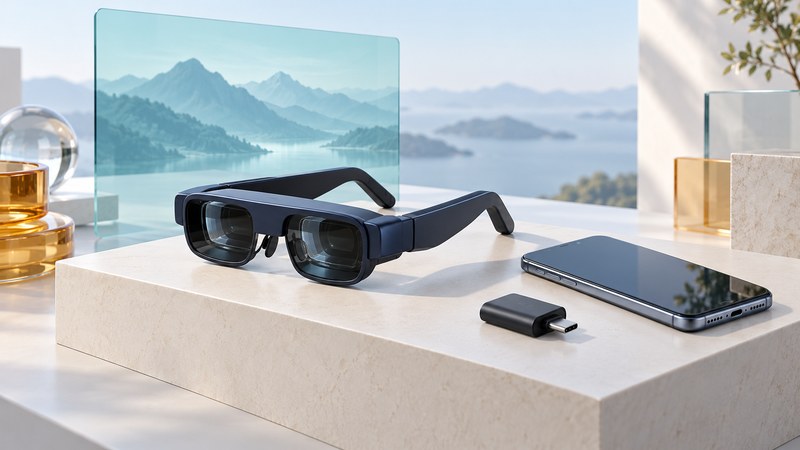
Wearable video displays work best when the connection, optical fit and screen behavior suit a specific task. Start with the phone, computer or player you will use, then test readable content and a realistic viewing session.
Identify what the glasses actually do
A wearable display can show an external device’s picture near the eyes. Some products follow head movement like a fixed screen attached to the wearer; others can stabilize a virtual screen or anchor it using tracking. The term “AR glasses” covers different capabilities, so ask what tracking is available with the exact source device and operating mode.
Three-degree-of-freedom tracking measures head rotation. Positional tracking adds movement through space and requires a supported system. Check whether screen behavior is provided inside the glasses, by an accessory, or by software on the source. Include that complete configuration in any comparison.
The Eyetop DVD system of 2005 used a display for one eye with a portable video source. Modern binocular viewing glasses address both eyes and can use different optics, inputs and tracking. Historical screen-size claims are poor substitutes for testing the current equipment at the intended viewing distance and fit.
As one model-specific example, XREAL’s One series user guide documents Follow and Anchor screen modes and fit adjustments. Use the manual for the exact glasses you are considering; a family name alone leaves accessory and feature requirements unresolved.
Verify video, power and adapter direction
USB-C describes a connector. VESA’s DisplayPort over USB-C explanation describes the video transport used by compatible devices. Check the source’s specifications for video output and the glasses’ requirements for both signal and power. A charging port or charging-only cable can fit while leaving the video path incomplete.
For example, the XREAL xbx a01 connection instructions require DisplayPort video output and 5 V/1 A power from a directly connected source, with a cable that supports DP video. Those requirements belong to that model. Its instructions also distinguish direct USB-C sources from HDMI sources needing a compatible adapter.
| Part | Evidence to obtain |
|---|---|
| Source device | Exact model and port with supported video output, resolution and refresh rate. |
| Cable | Documented video support, correct connectors and sufficient length for seated use. |
| Adapter or hub | Correct signal direction, required power input and explicit compatibility with the source and glasses. |
| Glasses | Accepted signal, power requirement, fit range and prescription options. |
| App and content | Successful external-display playback, subtitles and audio using your actual account and material. |
An HDMI source feeding USB-C glasses needs conversion in that direction. Check the adapter documentation and its power supply; a common USB-C-to-HDMI display adapter serves the reverse path. For a blank picture, begin with a documented direct connection and a known local video file, then add one hub or adapter at a time.
Judge readability across the whole picture
Try the glasses while seated, using the manufacturer’s nose-pad, temple and optical adjustments. Check any prescription insert or correction requirements before evaluating sharpness. Read text in the center and at all four corners. Move through the supported adjustments and note whether the entire picture stays visible without holding the frame in place.
Compare per-eye resolution, field of view, text readability and edge visibility. An advertised diagonal such as a “large virtual screen” assumes a viewing distance; it does not describe detail by itself. Ask for the distance behind the comparison and use the same content when evaluating two displays.
For a subtitle test, use the size and language you normally watch. For computer use, open an actual document or application with the text size you need. A dramatic full-screen video can conceal clipped corners or difficult small text. Include the weight of attached cables and the way the frame fits for the whole session.
Run a useful playback trial
- Connect the exact source, cable and adapter you intend to carry. Confirm picture, audio and basic controls with a local file.
- Try your intended streaming or playback app. Check subtitle placement and audio routing; app policies and protected-content paths can differ.
- Compare available screen modes while seated. Note whether the picture follows head turns, stays anchored, recenters predictably or drifts.
- Check the source battery over a measured session and any charging arrangement you plan to use. Record the conditions instead of extrapolating from a short demonstration.
- Review fit, heat, cable handling and readability after the session. If the view is uncomfortable, stop the trial and reassess fit and suitability.
Record one clear result: “works with this phone, cable, app and mode,” followed by any unresolved issue. If a local file works while one app fails, investigate that app’s external-display support before replacing unrelated equipment. If the picture disappears through a hub, test the direct route again and consult the hub’s power and video specifications.
Choose around the task
For watching saved videos while seated, prioritize dependable playback, readable subtitles and comfortable fit. For a portable computer display, test the actual amount of text and workspace required. For an anchored screen, verify tracking behavior in the complete configuration. Choose a trial or return arrangement that lets you resolve those questions before committing to a setup.
Use the HDMI connection guide for a source or adapter problem and portable-media backup guide for keeping travel footage. Explore the Digital Video library for the rest of the recording-to-viewing workflow.