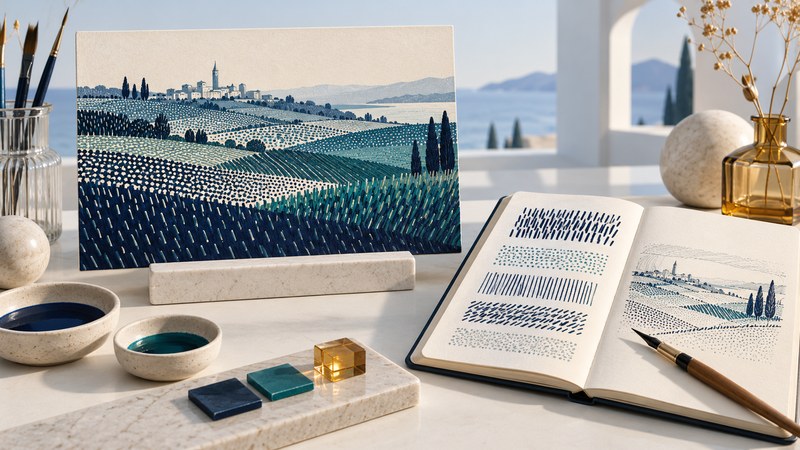
In a Van Gogh drawing, a field can feel full of movement even when its colors are reduced to ink and paper. Look at the direction, spacing and density of the marks: they describe surfaces, separate distances and move your eye through the scene.
Start with the actual drawing
Open Arles: View from the Wheatfields in the Getty collection. Vincent van Gogh made this drawing in 1888 using reed and quill pens and brown ink. The museum identifies it as object 2001.25; its drawing exhibition checklist records a sheet about 31.2 by 24.1 centimeters. This is an intimate sheet that a screen can enlarge far beyond its actual size.
The Getty’s illustrated landscape discussion offers a second way to see it and a detail of the harvest and city. The 2009 exhibition dates on that resource are historical. Use the collection record for the object itself.
Take one minute at whole-image size. Find the cut field nearest you, the activity farther back and the skyline. Those three zones give your detailed looking a framework.
Build a vocabulary of marks
Choose a small patch of foreground and describe the marks without naming the objects they represent. Are they short, curved, upright, closely packed or widely spaced? Then compare a sheaf of wheat and a patch of sky. “A field” names the subject; “short repeated marks separated by pale paper” describes how it becomes visible.
- Direction: follow a group of strokes. Do they lean together or cross?
- Spacing: find a light area and a dark area. Compare how much paper remains visible.
- Length: locate a change from short marks to long ones. Does it coincide with a new surface or object?
- Boundary: look for an edge formed by a change in texture, as well as an edge drawn with a single line.
The Getty describes the progression from larger foreground forms to smaller, denser forms near the city. Try following that progression with your finger just above the screen. Scale, overlap and changes in texture work together; perspective here involves more than a road narrowing toward a distant point.
Turn an impression into an explanation
This sequence makes your response discussable. Another viewer may follow a different route through the same sheet. Compare the visible reasons for each response instead of treating one emotional description as the artist’s documented intention.
Enlargement can make tiny strokes look forceful. Return to the whole image regularly, and record whether an observation comes from normal view or a magnified detail. Exact ink color also depends on the reproduction and screen.
Compare drawing with painting
The Musée Rodin holds Van Gogh’s Les Moissonneurs, a harvest painting from 1888, inventory P.07304. Set its image beside the Getty drawing. Compare the arrangement of fields, gathered wheat and distant buildings before looking at individual marks. Keep the museum titles and inventory numbers in your notes: translated titles alone can make related landscapes difficult to distinguish.
Use this as a comparison of what two media make possible. In a painting, adjacent colors can separate areas that a pen drawing distinguishes through white space, density or direction. Ask how the harvest scene remains readable when color is replaced by patterns of ink.
Choose one shared motif and write what each version makes easiest to see. For instance, trace a sheaf’s outer shape in both, then inspect its interior. A later drawing can be a fresh exploration of a painted subject. Establish exact chronology and documented intent from object research or correspondence before claiming a particular reason for a change.
Make a small mark study
Draw three postcard-size rectangles on scrap paper. Use a pencil or pen and a simple view from a window, or a photograph you made.
- In the first rectangle, use only short strokes. Change their direction to distinguish surfaces.
- In the second, use dots and vary the spacing to make light and dark areas.
- In the third, combine the two with a few longer lines. Leave some paper untouched.
Look from arm’s length. Can you distinguish foreground, middle distance and background? If everything has equal emphasis, reduce the density in one area or change the mark direction in another. Label this your own experiment; it teaches a visual principle rather than reproducing Van Gogh’s materials or working process.
Record your comparison on the close-looking worksheet. For another way of organizing water, sky and distance, continue to Manet’s marine paintings.
Explore all seven artist guides · Browse the broader art library